Disclaimer: This article is for educational and informational purposes only. It does not constitute financial or investment advice. Trading forex and CFDs carries significant risk of loss. Past performance of any strategy — including backtests — does not guarantee future results. Never trade with money you cannot afford to lose.
What Is This Strategy?
The Volume Shelf Accumulation Bounce is a volume-profile mean-reversion strategy that hunts for hidden institutional support and resistance zones and trades price reactions against them. Its core tool is the volume profile — a horizontal histogram that shows how much traded volume occurred at each price level rather than at each point in time. Where classic indicators track when trading happened, a volume profile tracks where it happened, and that difference is what this strategy is built around.
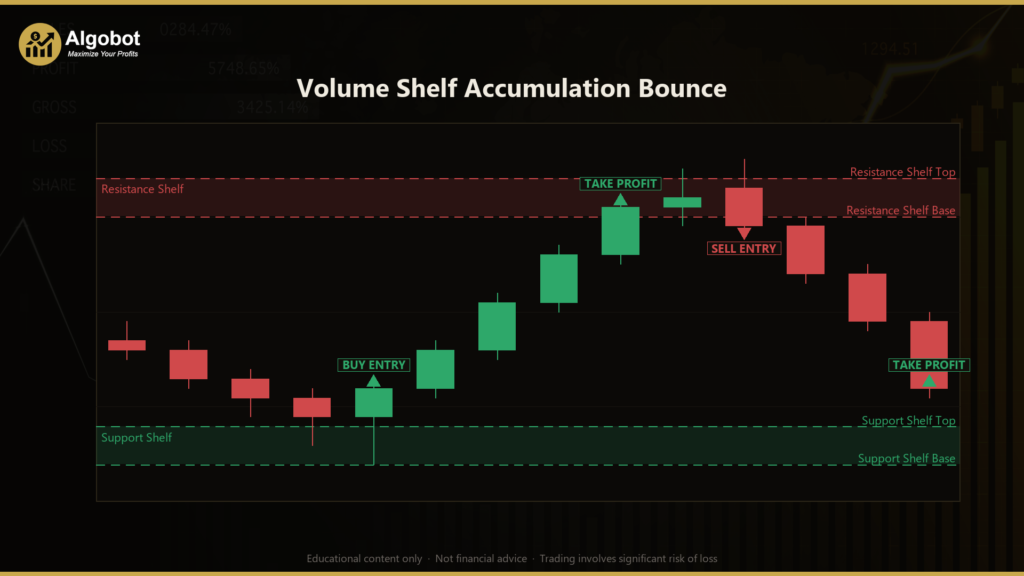
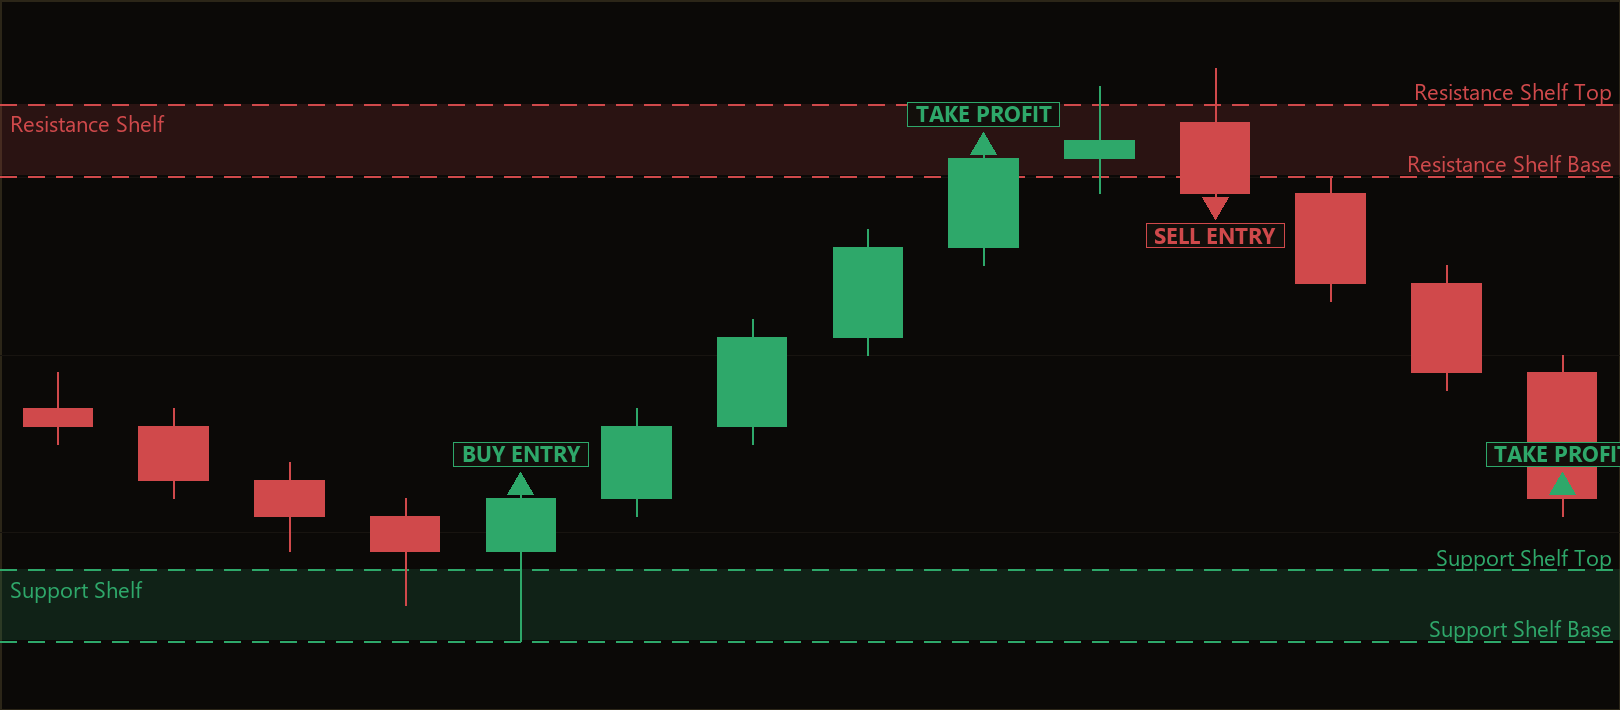
The idea comes from how large participants operate. Institutions cannot buy or sell a big position in one click without moving the market against themselves, so they accumulate (or distribute) inventory quietly at prices where enough liquidity exists to absorb their size. That activity leaves a fingerprint: a cluster of adjacent high-volume price bins, which this strategy calls a "shelf." A shelf sitting below the current price is treated as hidden support, and a shelf sitting above price is treated as hidden supply. The strategy waits for price to probe one of these shelves and close back on the defended side before it signals an entry.
As a learning tool, this approach suits traders who want to move beyond simple moving-average crossovers and study how resting liquidity shapes price behaviour. It is designed for liquid, high-tick-density instruments such as XAUUSD (gold) or the US500 index on the M15 timeframe. It is best viewed as a framework for understanding volume-based support and resistance — not as a shortcut to results — and it rewards patient study of how shelves form, hold, and break.
How It Works
The strategy operates only on the close of each new bar, rebuilding its volume profile and checking for a reaction each time a bar completes. Here is the full logic in plain English.
Building the volume profile
- The strategy rolls a profile over the last
ProfileBarsclosed bars. - It finds the highest high and lowest low across that window and divides the range into
Binsequal price buckets. - Each bar's tick volume (guarded to at least 1) is spread across every bucket its high-to-low range overlaps.
- A bucket becomes a High-Volume Node (HVN) when its volume clears
HvnThresholdpercent of the single richest bucket in the profile.
Fusing buckets into shelves
- Contiguous HVN buckets are merged into one shelf.
- A shelf only counts if it spans at least
MinShelfBinsbuckets and carries at leastMinShelfSharepercent of the total profile volume. These twin filters separate genuine accumulation from a single noisy print. - Each qualifying shelf receives a volume-weighted centre, a bottom edge, and a top edge.
- The strategy keeps the nearest support shelf below price and the nearest resistance shelf above price.
Long entry — the strategy signals a buy when:
- A valid support shelf exists with its centre below the bar's close.
- The bar dipped into the shelf zone: its low reached the shelf top plus a tolerance of
TouchAtrMult× ATR. - The bar closed back above the shelf top, indicating support held.
- The bar was a bullish reaction bar (close above open).
Short entry — the strategy signals a sell when:
- A valid resistance shelf exists with its centre above the bar's close.
- The bar pushed into the shelf zone: its high reached the shelf bottom minus a tolerance of
TouchAtrMult× ATR. - The bar closed back below the shelf bottom, indicating supply held.
- The bar was a bearish reaction bar (close below open).
Stop-loss logic
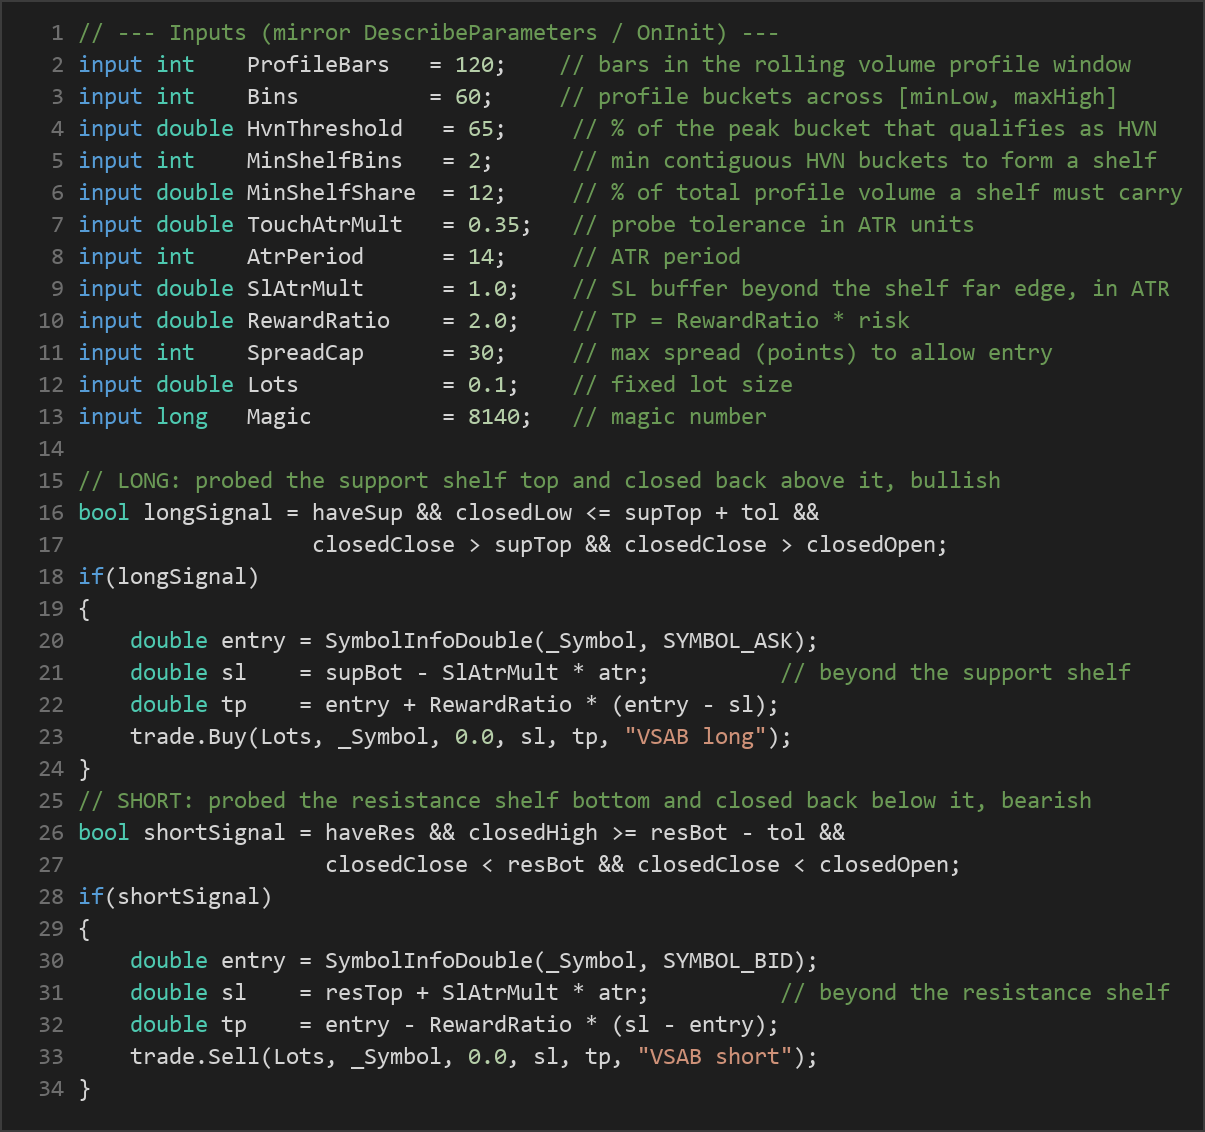
- For longs, the stop is placed one
SlAtrMult× ATR buffer below the far (bottom) edge of the support shelf. - For shorts, the stop is placed one
SlAtrMult× ATR buffer above the far (top) edge of the resistance shelf. - The reasoning: a full break through the institutional shelf invalidates the accumulation thesis, so the trade should be closed.
Take-profit logic
- The take-profit distance is set to
RewardRatiomultiplied by the measured risk (the distance from entry to stop). With the default reward ratio of 2.0, the target sits twice as far from entry as the stop.
Execution guards
- Only one position per magic number is allowed at a time.
- Entries are skipped when the current spread exceeds
SpreadCappoints, which helps avoid trading during thin or volatile conditions.
Strategy Parameters
| Parameter | Default | Min | Max | Description |
|---|---|---|---|---|
| ProfileBars | 120 | 40 | 300 | Number of closed bars in the rolling volume-profile window. |
| Bins | 60 | 20 | 120 | Count of equal price buckets the profile range is divided into. |
| HvnThreshold | 65 | 40 | 90 | Percent of the peak bucket a bin must reach to qualify as a High-Volume Node. |
| MinShelfBins | 2 | 1 | 6 | Minimum number of contiguous HVN buckets required to form a shelf. |
| MinShelfShare | 12 | 4 | 40 | Minimum percent of total profile volume a shelf must carry. |
| TouchAtrMult | 0.35 | 0.10 | 1.50 | Probe tolerance, in ATR units, for how close price must come to a shelf. |
| AtrPeriod | 14 | 7 | 30 | Lookback period for the Average True Range volatility measure. |
| SlAtrMult | 1.0 | 0.30 | 3.00 | Stop-loss buffer, in ATR units, beyond the shelf's far edge. |
| RewardRatio | 2.0 | 1.0 | 5.0 | Take-profit distance as a multiple of the measured risk. |
| SpreadCap | 30 | 5 | 150 | Maximum spread, in points, allowed for an entry. |
| Lots | 0.1 | 0.01 | 10.0 | Fixed trade volume in lots. |
| Magic | 8140 | 1 | 999999 | Unique identifier for positions opened by this EA. |
Recommended Chart Settings
This strategy was designed for the M15 (15-minute) timeframe on high-liquidity instruments — primarily XAUUSD (gold) or the US500 index. These markets carry the tick density the volume profile relies on to build meaningful shelves. The default bin count of 60 is tuned to gold's tick behaviour; the source notes suggest 40–80 bins for that instrument.
The strategy always reads the chart's primary symbol and timeframe rather than hardcoding them, so it will adapt to the chart you attach it to. That said, shelf structure, spread behaviour, and volatility differ across symbols and sessions, so results will vary across different market conditions, and settings that suit gold may need adjustment for an index or another instrument. Always test on the specific symbol and timeframe you intend to study before drawing conclusions.
How to Install on MetaTrader 5
- Download the .ex5 file from the link below
- Copy it to your MT5
MQL5\Expertsfolder - Restart MetaTrader 5 or refresh the Navigator panel
- Drag the EA onto a chart matching the recommended symbol and timeframe
- Configure the input parameters and enable Algo Trading
What to Consider Before Using This EA
Strengths of this approach. The strategy is grounded in a genuine market concept — resting liquidity absorbing opposing order flow — rather than an arbitrary indicator crossover. Its twin shelf filters (minimum bins and minimum volume share) are designed to reject noise, and its stop is anchored to a structural level rather than a fixed pip distance, so risk scales with volatility through the ATR buffer. The one-position-per-magic rule and spread cap add sensible execution discipline.
Known limitations. Volume profiles built from tick volume (the number of price changes) are a proxy for real traded volume, which retail MT5 feeds do not provide. This means "institutional accumulation" is inferred, not measured, and different brokers can produce different profiles from the same instrument. Shelves are also backward-looking: they describe where volume has traded, and a level that held ten times can still break on the eleventh.
Where it may underperform. Mean-reversion-against-a-level logic tends to struggle in strong, trending, one-directional markets, where price slices through shelves rather than bouncing off them. News-driven spikes, low-liquidity sessions, and gaps can also produce probe-and-fail patterns that the entry filters were not designed to handle. Treat this EA as a study of volume-based support and resistance, and observe how it behaves across ranging versus trending regimes before forming any opinion.
Risk Management Tips
Sound risk management matters more than any single entry signal. Consider these general principles:
- Position sizing: Size each trade so that a stop-loss hit costs only a small, predefined fraction of your account. A common educational guideline is to risk no more than 1–2% of your capital per trade.
- Respect the stop: This strategy defines its stop structurally, beyond the far edge of the shelf. Widening or removing stops defeats the design and can expose you to outsized losses.
- Use a demo account first: Study the EA on a demo account across many market conditions before considering any live use, so you understand its behaviour without financial pressure.
- Understand drawdown: Every strategy experiences losing streaks. Know the maximum drawdown you are willing to tolerate and how it would feel to sit through one.
- Diversify and stay realistic: Avoid concentrating all risk in one instrument or one strategy, and keep expectations grounded — no configuration removes the possibility of loss.
Risk Warning
Trading foreign exchange, CFDs, and other leveraged financial instruments involves substantial risk of loss and is not suitable for all investors. The strategies and tools discussed on this page are provided for educational purposes only and do not constitute financial advice, investment recommendations, or solicitation to trade. Always consult a qualified financial adviser before making trading decisions. Past backtest performance is not indicative of future results.
Downloads
- Expert Advisor: VolumeShelfAccumulationBounce.ex5 (59 downloads)
- Source Code: VolumeShelfAccumulationBounce.mq5 (55 downloads)
- Documentation: VolumeShelfAccumulationBounce.pdf (55 downloads)