Disclaimer: This article is for educational and informational purposes only. It does not constitute financial or investment advice. Trading forex and CFDs carries significant risk of loss. Past performance of any strategy — including backtests — does not guarantee future results. Never trade with money you cannot afford to lose.
What Is This Strategy?
The Swing Boundary Engulfing Hedge is a pure price-action strategy for MetaTrader 5 that combines three classic discretionary trading tools into one automated framework: horizontal support and resistance levels drawn from genuine swing pivots, the two-bar engulfing candlestick pattern as a trade trigger, and a single pre-armed protective hedge order. Notably, it uses no indicators at all — no moving averages, no RSI, no ATR, no Bollinger Bands. Every decision is made from raw candle geometry, which makes it a clean teaching example of how structure-based trading logic can be expressed in code.
The strategy is designed for range-respecting markets — instruments that repeatedly travel between identifiable swing highs and swing lows, rejecting some boundaries and breaking through others. At a support or resistance level, price typically does one of two things: it rejects the level (a snap-back into the range, which is the strategy's mean-reversion trade), or it fails the level (a clean close through, which becomes a breakout). The Swing Boundary Engulfing Hedge attempts to participate in both outcomes by fading the rejection while simultaneously parking a resting stop order beyond the level to catch a failure.
This makes it most suitable as a learning tool for traders who want to understand how swing-pivot level detection, candlestick pattern recognition, and hedging mechanics fit together in a rules-based system. It is not a shortcut to results — it is a structured way to study how a single setup can be designed to handle two opposite market reactions.
How It Works
The strategy recalculates its levels on every newly closed bar of the primary timeframe and only hunts for a new trade when it is completely flat (no open positions and no resting orders). Here is the logic in plain English:
- Finding the levels: A swing high is a bar whose high is the highest within a set number of neighbouring bars on either side; the most recent one becomes resistance. A swing low (the mirror) becomes support. The distance between them — the "range" — is used to size every buffer, so all distances scale automatically to any symbol or timeframe without hard-coded pip values.
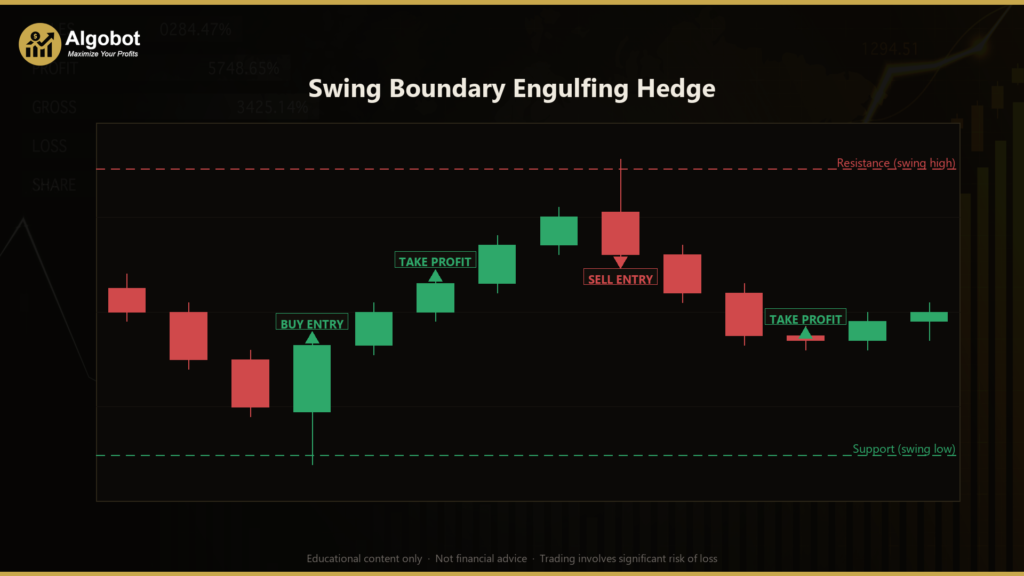
- The trigger pattern: An engulfing is a two-bar pattern where the second candle's body completely covers the prior candle's body. A bullish engulfing is a green bar engulfing a prior red bar; a bearish engulfing is a red bar engulfing a prior green bar.
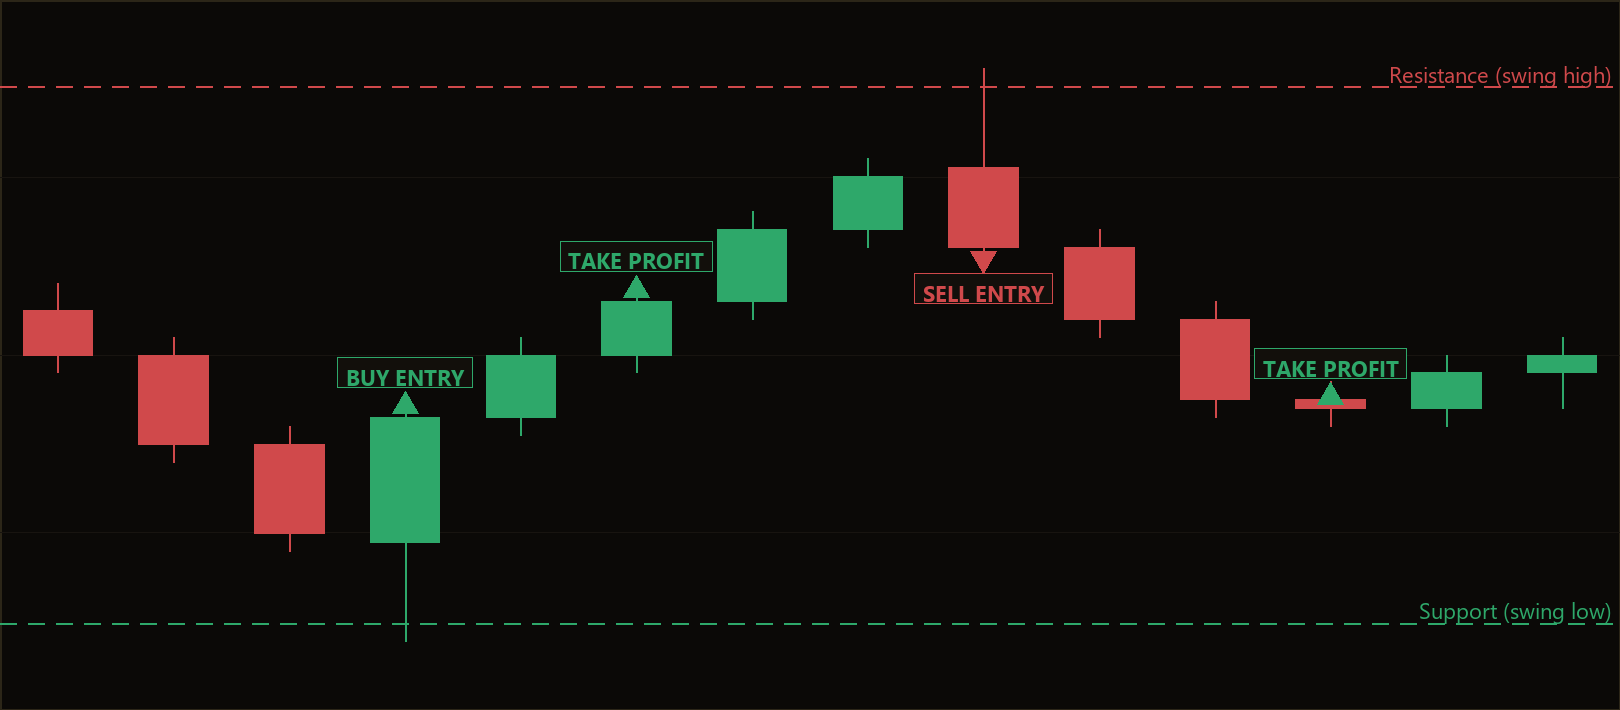
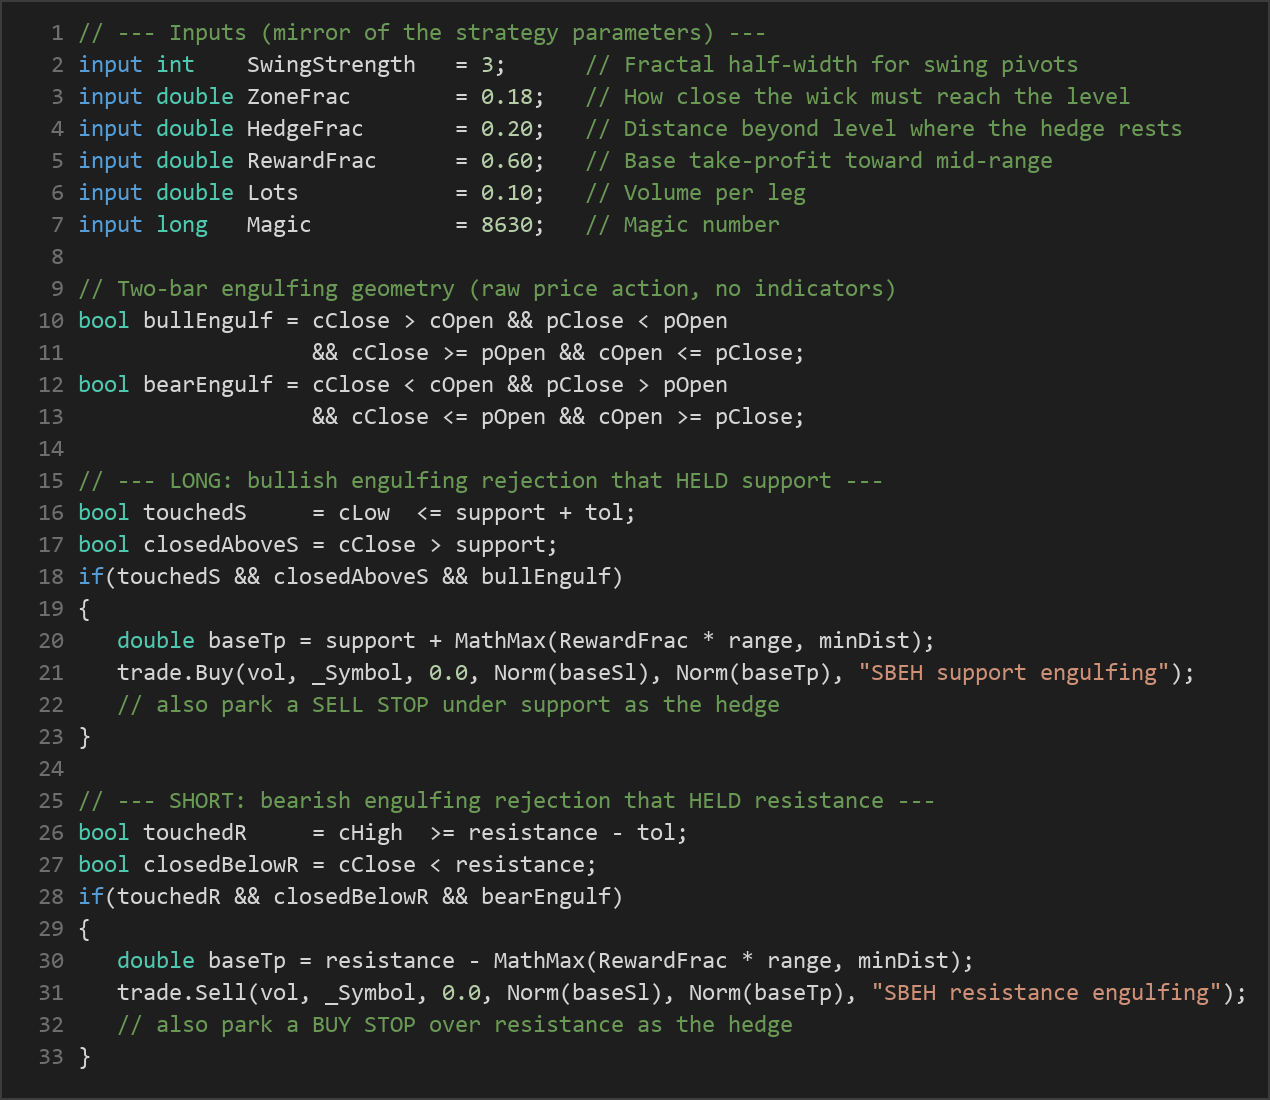
- Long entry signal: The strategy signals a long when the just-closed candle dips into the support zone (its low reaches close to support), closes back above support, and forms a bullish engulfing pattern. This may indicate that sellers were overwhelmed at support.
- Short entry signal: The strategy signals a short when the just-closed candle pokes into the resistance zone (its high reaches close to resistance), closes back below resistance, and forms a bearish engulfing pattern. This may indicate that buyers were overwhelmed at resistance.
- The hedge mechanic: At the moment of entry, the system also parks one opposite stop order a fraction of the range beyond the faded level — a sell stop under support for a long, or a buy stop over resistance for a short. This order only fills if the level fails.
- Base exit logic: The base trade's take-profit is placed a fraction of the range back toward the middle of the range. Its stop-loss is deliberately placed beyond the hedge trigger, so that if the level decisively fails, the hedge fills first and both legs coexist as a true locked hedge.
- Hedge exit logic: If the hedge fills on a breakout, its take-profit rides further along the break, while its stop-loss sits back on the far side of the level — the point at which the break would be considered false.
- Housekeeping: If the base trade resolves (hits its TP or SL) while the hedge order never triggered, the resting hedge is cancelled and the system re-arms on the next qualifying swing setup. A spread filter can also skip new entries when spreads are too wide.
Strategy Parameters
| Parameter | Default | Min | Max | Description |
|---|---|---|---|---|
| SwingStrength | 3 | 1 | 12 | Fractal half-width — a swing high/low must be the extreme within this many bars on each side. Larger values find more significant, less frequent levels. |
| ZoneFrac | 0.18 | 0.02 | 0.60 | How close to the level the candle's wick must reach, expressed as a fraction of the range. Wider zones admit more setups. |
| HedgeFrac | 0.20 | 0.05 | 1.00 | Distance beyond the level where the protective hedge stop rests, as a fraction of the range. |
| StopPadFrac | 0.30 | 0.05 | 2.00 | Extra padding for the base stop-loss placed beyond the hedge trigger, as a fraction of the range. |
| RewardFrac | 0.60 | 0.20 | 3.00 | Base take-profit distance back toward mid-range, as a fraction of the range. |
| ReclaimFrac | 0.35 | 0.05 | 1.50 | Hedge invalidation distance — if price reclaims the far side of the level by this much, the hedge is cut. |
| HedgeRewardFrac | 0.90 | 0.20 | 4.00 | Hedge take-profit distance further along the break, as a fraction of the range. |
| MaxSpreadPoints | 50 | 0 | 500 | Skip new entries while the spread (in points) exceeds this value. Set to 0 to disable the filter. |
| Lots | 0.10 | 0.01 | 1.00 | Trade volume per leg, in lots. |
| Magic | 8630 | 0 | 9,999,999 | Unique magic number identifying this EA's orders. |
Recommended Chart Settings
The Swing Boundary Engulfing Hedge was designed for liquid, range-respecting FX majors such as EUR/USD or AUD/USD, as well as XAU/USD (gold), where swing rejections and false breaks tend to alternate. The intended timeframes are M15, M30, or H1, which balance enough structure to identify meaningful swings against enough trade frequency to be observable. Because every distance is scaled from the measured range rather than fixed pip values, the strategy can run on whatever symbol and timeframe you attach it to. Keep in mind that results will vary considerably across different instruments, sessions, and market conditions — a setup that behaves well in a balanced range may behave very differently in a strong trend.
How to Install on MetaTrader 5
- Download the
SwingBoundaryEngulfingHedge.ex5file from the link below. - Copy it to your MT5
MQL5\Expertsfolder. - Restart MetaTrader 5 or refresh the Navigator panel.
- Drag the EA onto a chart matching the recommended symbol and timeframe.
- Configure the input parameters and enable Algo Trading.
What to Consider Before Using This EA
Strengths of the approach. The biggest conceptual appeal of this strategy is that it has a plan for both outcomes at a level. A trader who only fades a boundary wins on rejections but can be steam-rolled when the level breaks; here, the resting hedge is designed to turn that "faded a level that then ran" scenario into a scratch or a recovery rather than a single large loss. Because it is pure price action with no indicators, its logic is transparent and easy to study, and its range-relative sizing means there are no fragile pip assumptions baked in.
Known limitations. Engulfing patterns and swing pivots are simple, common signals — they appear frequently, and many of those occurrences are noise rather than genuine turning points. Hedging is not a free lunch: holding two opposing legs means you can pay the spread and stops on both, and choppy conditions that whipsaw around a level can trigger and then invalidate the hedge repeatedly. The system also only works one setup at a time, so it may sit idle while waiting to be completely flat. In strongly trending markets where price slices through levels without clean rejections, the rejection trade may underperform, leaning heavily on the hedge leg.
Where it may struggle. Low-liquidity instruments, news-driven gaps, and very wide-spread symbols can all distort the level-relative distances and degrade fills. Always test on the specific symbol, broker, and timeframe you intend to use before drawing any conclusions.
Risk Management Tips
Sound risk management matters more than any single setup. As general educational principles:
- Size positions conservatively. Many traders limit risk to no more than 1–2% of account equity per trade. With a hedging system, account for the possibility that both legs incur costs.
- Use a demo account first. Run the strategy on a demo for an extended period to understand how it behaves across different market conditions before considering any live use.
- Understand drawdown. Study how deep and how long the equity dips can be, not just the wins. A strategy's worst stretch is as important as its best.
- Mind the hedge interaction. Confirm your broker permits hedging (the ability to hold opposing positions on the same symbol) and understand any associated margin requirements.
- Avoid over-optimization. Tuning parameters until a backtest looks perfect often produces a curve-fit that fails on new data. Prefer robust settings that work reasonably across a range of conditions.
Risk Warning
Trading foreign exchange, CFDs, and other leveraged financial instruments involves substantial risk of loss and is not suitable for all investors. The strategies and tools discussed on this page are provided for educational purposes only and do not constitute financial advice, investment recommendations, or solicitation to trade. Always consult a qualified financial adviser before making trading decisions. Past backtest performance is not indicative of future results.
Downloads
- Expert Advisor: SwingBoundaryEngulfingHedge.ex5 (58 downloads)
- Source Code: SwingBoundaryEngulfingHedge.mq5 (61 downloads)
- Documentation: SwingBoundaryEngulfingHedge.pdf (63 downloads)