Disclaimer: This article is for educational and informational purposes only. It does not constitute financial or investment advice. Trading forex and CFDs carries significant risk of loss. Past performance of any strategy — including backtests — does not guarantee future results. Never trade with money you cannot afford to lose.
What Is This Strategy?
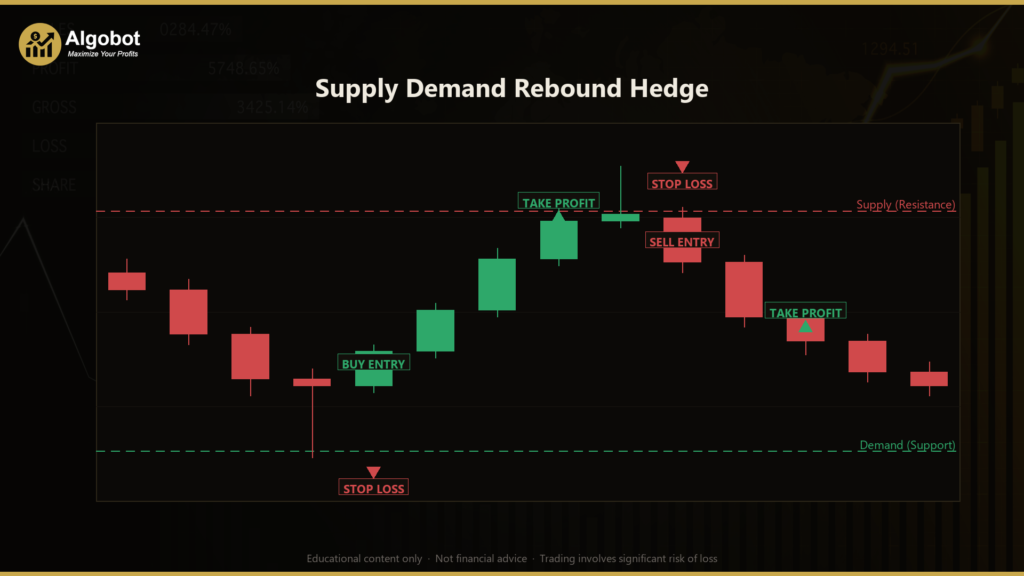
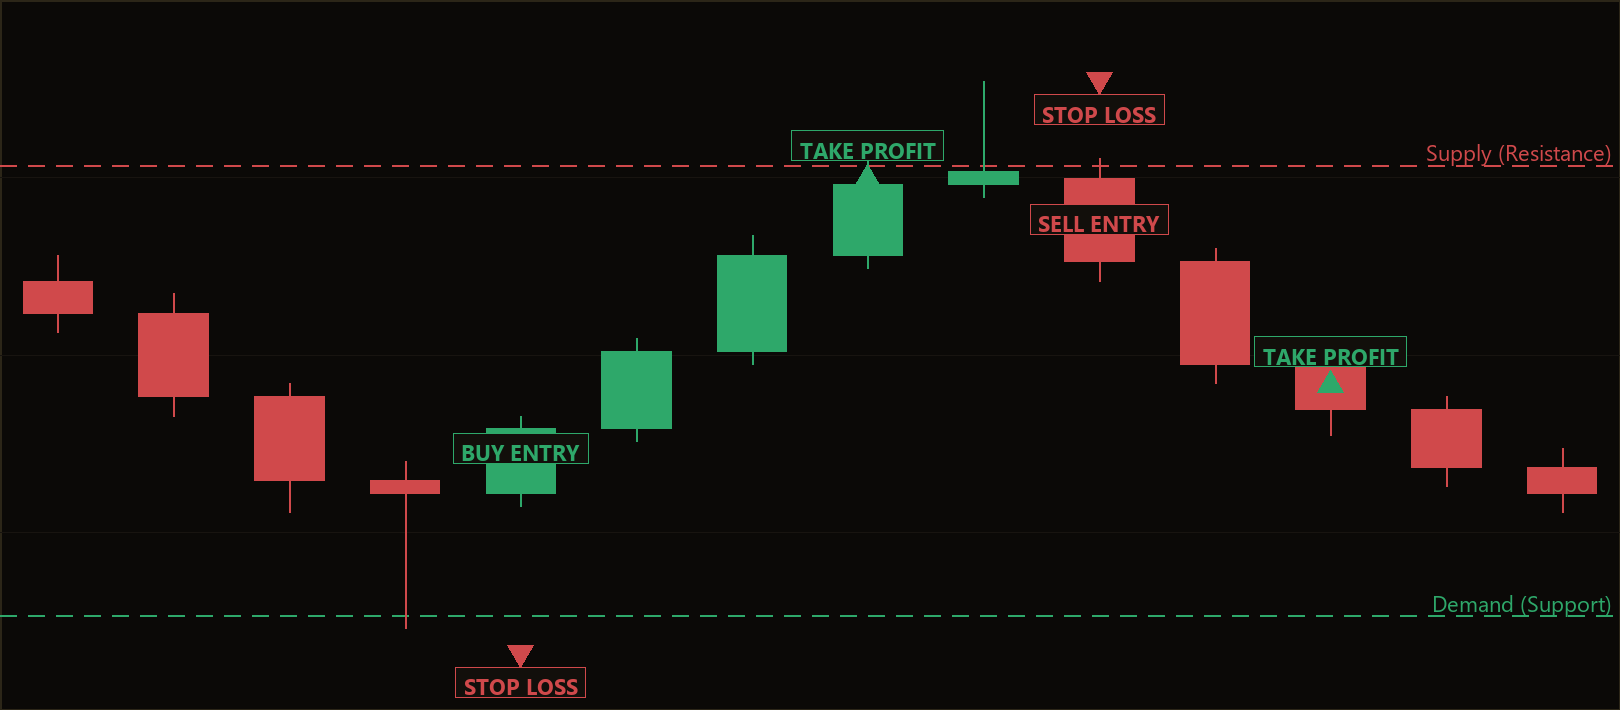
The Supply Demand Rebound Hedge is a pure price-action expert advisor (EA) for MetaTrader 5 that trades structural supply and demand zones using candlestick wick-rejection patterns — without any technical indicators. Instead of relying on moving averages, RSI, or ATR, it reads raw market structure: the rolling swing high of the recent range becomes the supply (resistance) zone, and the rolling swing low becomes the demand (support) zone. The "rebound" in its name refers to the way it waits for price to test one of these zones and then bounce off it, confirmed by a long rejection wick, before entering a trade against the test.
This is a mean-reversion style approach, designed for ranging or consolidating markets where price repeatedly oscillates between a floor and a ceiling. When price probes the demand floor and snaps back up with a long lower wick, the strategy reads that as buyers defending the level and signals a long. When price probes the supply ceiling and snaps back down with a long upper wick, it reads that as sellers defending the level and signals a short. The "hedge" component is a defensive layer that opens a single opposite-direction position if the original trade moves adversely, aiming to limit the net loss if the zone ultimately breaks.
As a learning tool, this EA is well suited to traders who want to study how support and resistance, candlestick rejection (pin bar) patterns, and basic hedging logic can be expressed in code. Because it uses no indicators, it is a clear, readable example of how structural price-action concepts translate into mechanical entry and exit rules. It is best viewed as a strategy to analyze and understand, not as a shortcut to results.
How It Works
The strategy evaluates a new setup only when a candle closes, and it manages an open trade on every tick. Here is the logic in plain English:
- Mapping the zones: Over a configurable lookback window of recent candles (excluding the just-closed signal candle and the still-forming candle), the strategy records the highest high as the supply/resistance zone and the lowest low as the demand/support zone.
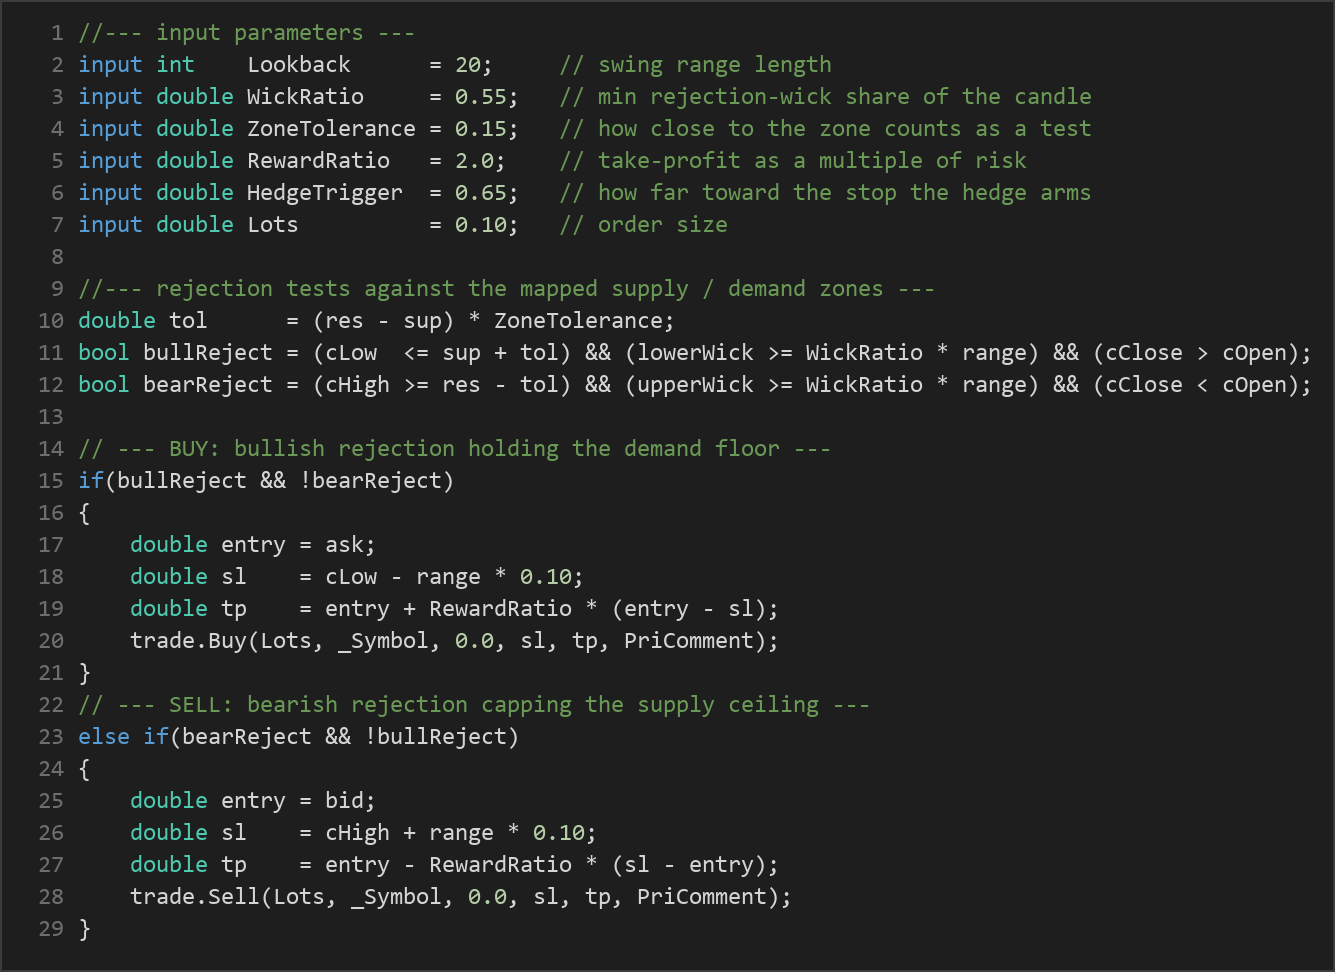
- Bullish rejection (long signal): The just-closed candle's low must reach into the demand zone (within a tolerance band), its lower wick must be at least a defined fraction of the candle's total range, and it must close higher than it opened. This combination signals that sellers were rejected at support.
- Bearish rejection (short signal): The just-closed candle's high must reach into the supply zone (within tolerance), its upper wick must be at least the defined fraction of the candle's range, and it must close lower than it opened. This signals that buyers were rejected at resistance.
- Stop-loss logic: For a long, the stop is placed just below the rejection candle's low (with a small 10% buffer of the candle range). For a short, it is placed just above the rejection candle's high. This is a structure-based stop — no ATR or volatility indicator is used.
- Take-profit logic: The take-profit is a multiple of the measured risk (the distance from entry to stop), set by the Reward Ratio parameter. With the default of 2.0, the target is twice the stop distance away from entry.
- The hedge trigger: If, after entry, price pushes adversely toward the stop and reaches a configurable fraction of the way there (the Hedge Trigger), the strategy opens one opposite-direction hedge position. This hedge has its own small stop (at the original entry) and a take-profit positioned just beyond the original stop.
- Zone reclaim: If price recovers back to the original entry level while the hedge is open, the hedge is closed (for a small cost) and the original position is left to run toward its take-profit.
- Continuation break: If price instead breaks through the zone, the original position is stopped out while the hedge's take-profit may capture the continuation move — the mechanism intended to cap the net loss.
- One setup at a time: The strategy stays flat between setups and does not look for new entries while a position is live.
Strategy Parameters
| Parameter | Default | Min | Max | Description |
|---|---|---|---|---|
| Lookback | 20 | 8 | 60 | Number of recent candles used to map the swing high (supply) and swing low (demand) zones. |
| WickRatio | 0.55 | 0.40 | 0.80 | Minimum size of the rejection wick as a fraction of the candle's total range; higher values demand a more pronounced rejection. |
| ZoneTolerance | 0.15 | 0.05 | 0.40 | How deep into the zone (as a fraction of the range between support and resistance) a candle may reach and still count as a valid test. |
| RewardRatio | 2.0 | 1.0 | 4.0 | Take-profit distance expressed as a multiple of the stop-loss distance (the risk). |
| HedgeTrigger | 0.65 | 0.40 | 0.90 | Fraction of the distance from entry toward the stop at which the single opposite-direction hedge is opened. |
| Lots | 0.10 | 0.01 | 1.0 | Fixed trade volume in lots for both the primary position and the hedge. |
Recommended Chart Settings
The Supply Demand Rebound Hedge was designed as a structural price-action strategy, which makes it most coherent on the higher intraday timeframes — for example the H1 (1-hour) or M30 (30-minute) charts — where swing highs and lows form clearer, more reliable supply and demand zones. Major forex pairs with steady liquidity and tighter spreads, such as EUR/USD or GBP/USD, are a sensible starting point for study because their ranging behavior tends to respect structure.
Because the strategy is built around range and mean-reversion behavior, its character will change significantly across different market conditions. Results will vary between trending and ranging environments, across symbols with different volatility profiles, and across brokers with different spreads and execution. Treat any chart and timeframe combination as a starting point for your own testing rather than a fixed recommendation, and always validate behavior on a demo account first.
How to Install on MetaTrader 5
- Download the .ex5 file from the link below
- Copy it to your MT5
MQL5\Expertsfolder - Restart MetaTrader 5 or refresh the Navigator panel
- Drag the EA onto a chart matching the recommended symbol and timeframe
- Configure the input parameters and enable Algo Trading
What to Consider Before Using This EA
The main strength of this approach is its transparency. Because it uses no indicators, every decision traces back to a clearly defined structural rule — the swing high, the swing low, the wick proportion, and the close direction. That makes it an excellent example for studying how support and resistance trading and candlestick rejection patterns can be mechanized. The structure-based stop also keeps each trade's risk tied to the actual rejection candle rather than an arbitrary fixed distance.
There are, however, important limitations to understand. Mean-reversion strategies that fade tested zones historically struggle in strong trending markets, where a "rejection" can be a brief pause before price continues straight through the level. In those conditions the zone breaks, the primary is stopped, and the strategy relies entirely on the hedge to soften the outcome. The hedging logic itself is not a guarantee against loss — it is a structured attempt to cap downside, and in fast or gapping markets the hedge may fill at a worse price than intended, or the sequence of reclaim-and-break can still produce a combined loss.
A few other points worth weighing:
- The strategy uses a fixed lot size rather than balance-based position sizing, so risk per trade does not automatically scale with account equity.
- It trades one setup at a time, which limits exposure but also means it can sit idle for long stretches when no clean rejection appears.
- Performance is sensitive to the ZoneTolerance and WickRatio settings; values that are too loose may produce weak signals, while values that are too strict may filter out most setups.
- Spread and slippage matter, because entries are taken at market on the close of a signal candle.
The honest summary is that this EA is a thoughtful, well-structured implementation of a recognizable price-action idea — neither a flawless system nor a poor one. Its value is greatest as something to study, test, and adjust.
Risk Management Tips
Sound risk management matters more than any single entry rule. As a general educational guideline, many experienced traders limit the risk on any one trade to roughly 1–2% of account equity, and the fixed-lot default here should be reviewed against your own balance before live use. Consider these principles:
- Test on demo first. Run the EA on a demo account across varied market conditions before risking real capital, so you understand how it behaves in both ranging and trending phases.
- Size positions deliberately. Adjust the Lots parameter so the structural stop distance corresponds to a small, defined percentage of your account — not a number that feels large relative to your balance.
- Understand drawdown. Even a logically sound strategy will have losing streaks. Know the maximum drawdown you are willing to tolerate and stop if it is reached.
- Account for costs. Spread, commission, and swap can meaningfully affect a strategy that takes trades at market and sometimes holds a hedge.
- Never over-leverage. Hedging adds a second open position; make sure your margin can comfortably support both legs.
Risk Warning
Trading foreign exchange, CFDs, and other leveraged financial instruments involves substantial risk of loss and is not suitable for all investors. The strategies and tools discussed on this page are provided for educational purposes only and do not constitute financial advice, investment recommendations, or solicitation to trade. Always consult a qualified financial adviser before making trading decisions. Past backtest performance is not indicative of future results.
Downloads
- Expert Advisor: SupplyDemandReboundHedge.ex5 (60 downloads)
- Source Code: SupplyDemandReboundHedge.mq5 (56 downloads)
- Documentation: SupplyDemandReboundHedge.pdf (61 downloads)