Disclaimer: This article is for educational and informational purposes only. It does not constitute financial or investment advice. Trading forex and CFDs carries significant risk of loss. Past performance of any strategy — including backtests — does not guarantee future results. Never trade with money you cannot afford to lose.
What Is This Strategy?
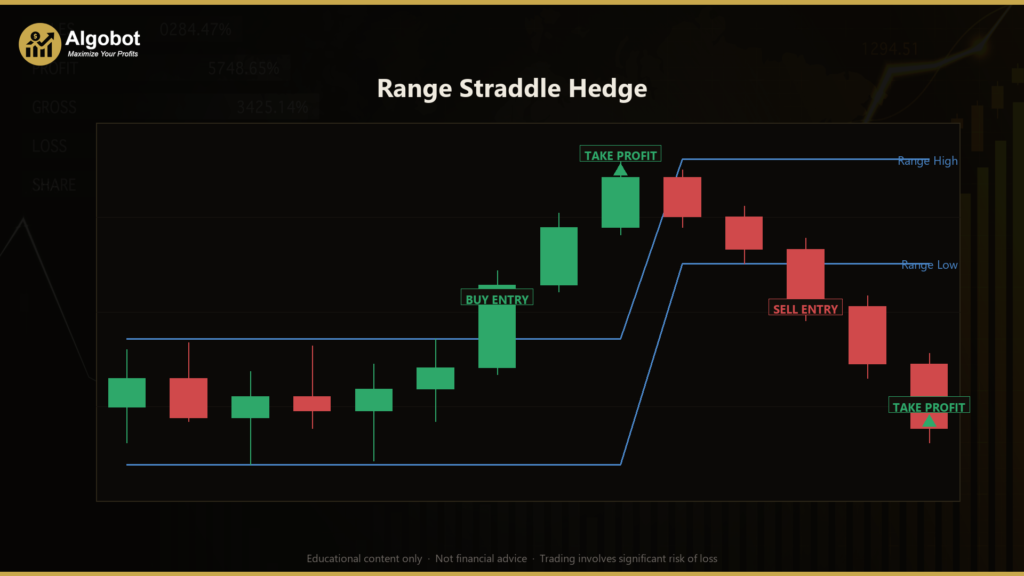
Range Straddle Hedge is a pure price-action expert advisor (EA) for MetaTrader 5 that uses no technical indicators at all — no moving averages, no RSI, no ATR, no pivots, and no chart patterns. Instead, it reads raw bar highs and lows to measure a consolidation range, then "straddles" that range with a mirror-image pair of pending stop orders. Its trading style is breakout hedging: it tries to capture genuine breakouts while using a deliberately retained hedge order to recover from false ones.
The strategy is designed for range-bound, choppy markets — the kind of sideways conditions where price repeatedly pokes above resistance or below support and then snaps back. These "false breakout" whipsaws are the natural enemy of a simple breakout system, which gets stopped out on the first move and then stopped out again on the reverse. Range Straddle Hedge approaches this problem differently: it keeps the opposite resting order alive as a hedge rather than cancelling it, so that a reversal across the range can be captured by the second leg.
As a learning tool, this EA is best suited to traders who want to study basket money management and hedging mechanics — how multiple open positions can be managed as a single book, and how floating profit and loss across legs can be netted to a target. It is not a "set and forget" money machine, and it is not a beginner's first EA. Treat it as a structured example of how a hand-managed hedge book can be expressed in code.
How It Works
Range Straddle Hedge operates as a simple state machine that runs on a single timeframe and moves between three phases: Idle, Armed, and Engaged. Here is what the strategy signals at each step:
- Measuring the range (Idle): When the EA is flat with no resting orders, it looks back over the last
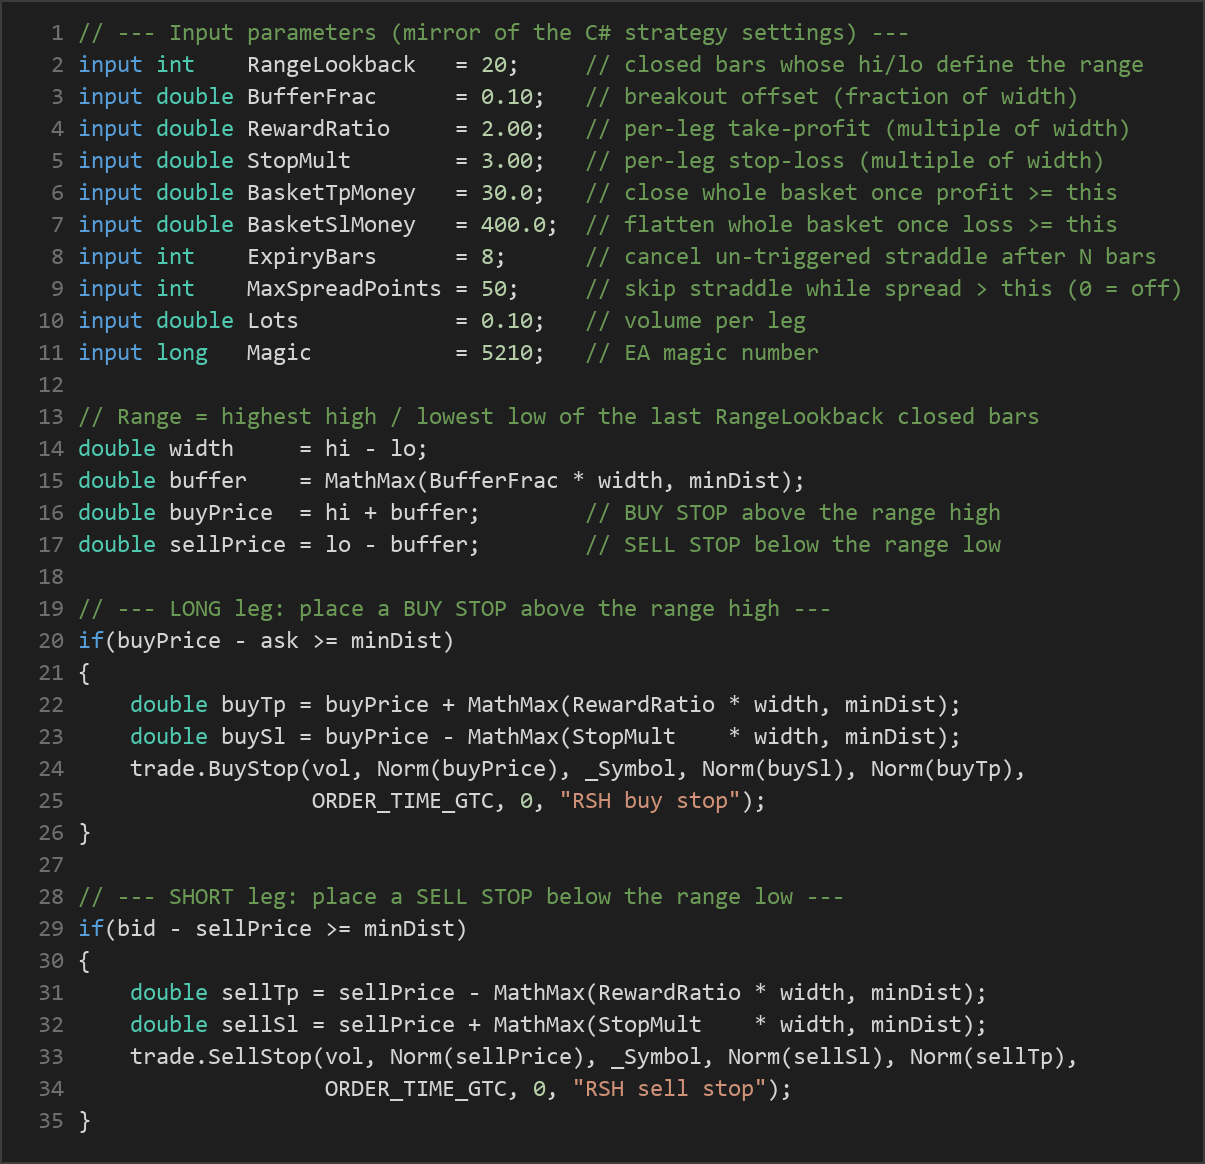
RangeLookbackclosed bars and records the highest high (rangeHigh) and lowest low (rangeLow). The difference between them is the range width, which becomes the unit of measurement for every distance the strategy uses. - Placing the straddle (Idle → Armed): The strategy places two pending stop orders that "straddle" the range — a buy stop a small buffer above
rangeHigh, and a sell stop a small buffer belowrangeLow. The buffer isBufferFracof the range width (or the broker's minimum stop distance, whichever is larger). With both orders resting, the EA is Armed. - Waiting for a break (Armed): If neither order triggers within
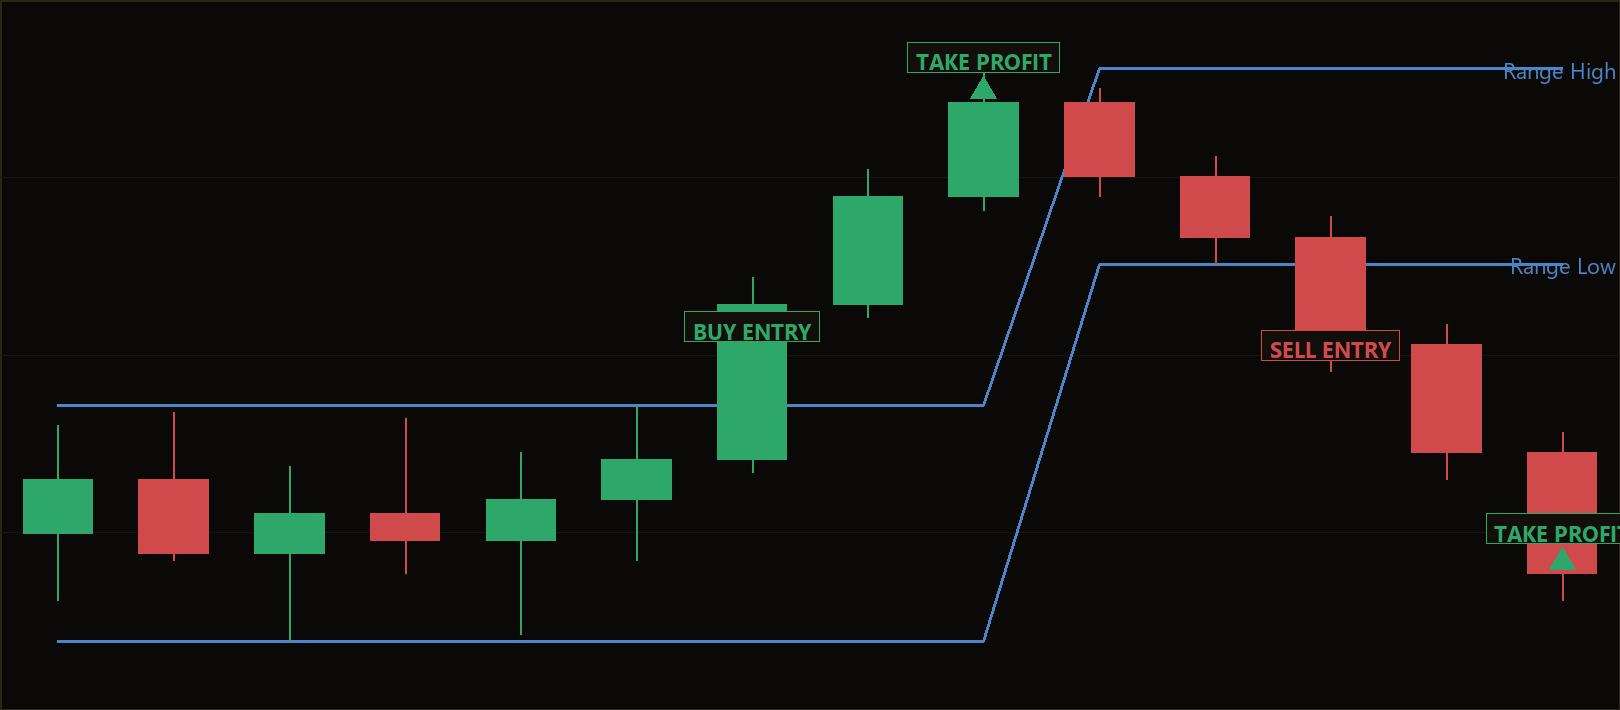
ExpiryBarsbars, the strategy cancels both pending orders and returns to Idle to measure a fresh range. This prevents stale orders from sitting on an outdated range. - The breakout fills (Armed → Engaged): When price breaks the range, one stop order fills and becomes the running breakout leg. Unlike a standard one-cancels-the-other (OCO) setup, the EA deliberately leaves the opposite stop resting — this untriggered order now acts as the hedge trigger.
- Real vs. false breakout: If the breakout is genuine and runs, the running leg reaches its take-profit and the untriggered hedge order is pulled. If the breakout is false and price reverses back across the range, the hedge stop fills too — so the account now holds both a long and a short position, a locked hedge.
Stop-loss logic (per leg): Each leg carries a wide catastrophic stop-loss set at StopMult range-widths against the trade. This stop is intentionally placed wider than the opposite boundary, so that the hedge order fills first and the two legs can coexist rather than stop-and-reverse. It exists mainly as a hard ceiling so no single leg can live indefinitely.
Take-profit logic (per leg): Each leg also carries a fixed take-profit at RewardRatio range-widths in the trade's favour. This is what banks a clean, running breakout.
The dominant exit — basket money management: Above the per-leg orders sits a basket layer that runs on every tick whenever positions are open. It sums the floating profit and loss (including swap) across all open legs:
- If the basket's floating profit reaches
BasketTpMoney(in account currency), the EA closes everything and re-straddles. This is what banks a recovered whipsaw the moment the net turns sufficiently green. - If the basket's floating loss reaches
BasketSlMoney, the EA flattens the entire book. This is the hard ceiling on hedge risk — the failure mode being a strong one-way trend after the hedge has formed.
A spread filter (MaxSpreadPoints) can also be enabled to skip placing a straddle when the spread is unusually wide.
Strategy Parameters
| Parameter | Default | Min | Max | Description |
|---|---|---|---|---|
| RangeLookback | 20 | 5 | 120 | Number of closed bars whose highest high and lowest low define the consolidation range. |
| BufferFrac | 0.10 | 0.00 | 1.00 | Breakout offset placed beyond each range boundary, expressed as a fraction of the range width. |
| RewardRatio | 2.00 | 0.50 | 6.00 | Per-leg take-profit distance, as a multiple of the range width. |
| StopMult | 3.00 | 1.00 | 10.00 | Per-leg catastrophic stop-loss distance, as a multiple of the range width. |
| BasketTpMoney | 30.0 | 5.0 | 2000.0 | Close the whole basket once floating profit reaches this amount (account currency). |
| BasketSlMoney | 400.0 | 50.0 | 100000.0 | Flatten the whole basket once floating loss reaches this amount (account currency). |
| ExpiryBars | 8 | 1 | 100 | Cancel an untriggered straddle after this many bars, then re-measure the range. |
| MaxSpreadPoints | 50 | 0 | 500 | Skip placing a straddle while the spread (in points) is wider than this (0 = filter off). |
| Lots | 0.10 | 0.01 | 1.00 | Trade volume, in lots, used for each leg. |
| Magic | 5210 | 0 | 9,999,999 | Unique identifier so the EA manages only its own orders and positions. |
Recommended Chart Settings
Range Straddle Hedge was designed for a liquid, range-prone FX major such as EURUSD or AUDUSD, on the M15 or M30 timeframe. These conditions are the natural habitat of the false-breakout whipsaws the hedge is meant to recover. Because every distance the EA uses is derived from the measured range width, the logic adapts to different symbols and timeframes automatically — but that does not mean every market suits it equally. Results will vary across instruments, sessions, and volatility regimes, and a setting that historically worked on one pair may behave very differently on another.
How to Install on MetaTrader 5
- Download the .ex5 file from the link below.
- Copy it to your MT5
MQL5\Expertsfolder. - Restart MetaTrader 5 or refresh the Navigator panel.
- Drag the EA onto a chart matching the recommended symbol and timeframe.
- Configure the input parameters and enable Algo Trading.
What to Consider Before Using This EA
Strengths of this approach. The clearest strength is conceptual: by retaining the opposite order as a hedge, the strategy can turn a classic whipsaw — where a naive breakout system would take two consecutive losses — into a scratch or a small win. The basket exit is responsive, banking recovered moves quickly, and because everything is measured in range-widths, the system scales cleanly across symbols without hard-coded pip values. Being indicator-free, it also has no lag from smoothing or repainting.
Known limitations. Hedging is not a free lunch. The well-documented failure mode is a strong, sustained one-way trend that begins right after the hedge locks in: both legs can drift against the basket until BasketSlMoney is hit, producing a single larger loss that may exceed several small wins. Holding two legs also means paying spread and potentially swap on both, and on hedging-restricted account types (including many under certain regulators) the locked long-and-short structure may not be permitted at all. Frequent re-straddling can increase transaction costs in very quiet markets.
Where it may underperform. Trending markets, news-driven gaps, and instruments with wide or unstable spreads are the conditions where this design tends to struggle. The MaxSpreadPoints filter helps with the spread problem, but it cannot anticipate a breakout that simply keeps going. Always study how the EA behaves across a range of market conditions before considering it on a live account.
Risk Management Tips
Sound risk management matters more than any single strategy. Consider these general principles as you study this EA:
- Position sizing: Keep your lot size small relative to account equity. A common guideline is to risk no more than 1–2% of your account on any single trade or basket.
- Mind the basket, not just the leg: Because this is a hedging system, your real exposure is the basket. Make sure
BasketSlMoneyreflects a loss you can genuinely accept on the account you are using. - Demo first: Test the EA on a demo account until you understand its behaviour, including how it handles locked hedges and how often it re-straddles.
- Understand drawdown: Even a strategy with many small wins can experience a meaningful drawdown during a sustained trend. Know your maximum tolerable drawdown in advance.
- Diversify and review: Avoid concentrating all capital in one EA or one symbol, and review performance regularly rather than leaving it unattended indefinitely.
Risk Warning
Trading foreign exchange, CFDs, and other leveraged financial instruments involves substantial risk of loss and is not suitable for all investors. The strategies and tools discussed on this page are provided for educational purposes only and do not constitute financial advice, investment recommendations, or solicitation to trade. Always consult a qualified financial adviser before making trading decisions. Past backtest performance is not indicative of future results.
Downloads
- Expert Advisor: RangeStraddleHedge.ex5 (67 downloads)
- Source Code: RangeStraddleHedge.mq5 (66 downloads)
- Documentation: RangeStraddleHedge.pdf (66 downloads)