Disclaimer: This article is for educational and informational purposes only. It does not constitute financial or investment advice. Trading forex and CFDs carries significant risk of loss. Past performance of any strategy — including backtests — does not guarantee future results. Never trade with money you cannot afford to lose.
What Is This Strategy?
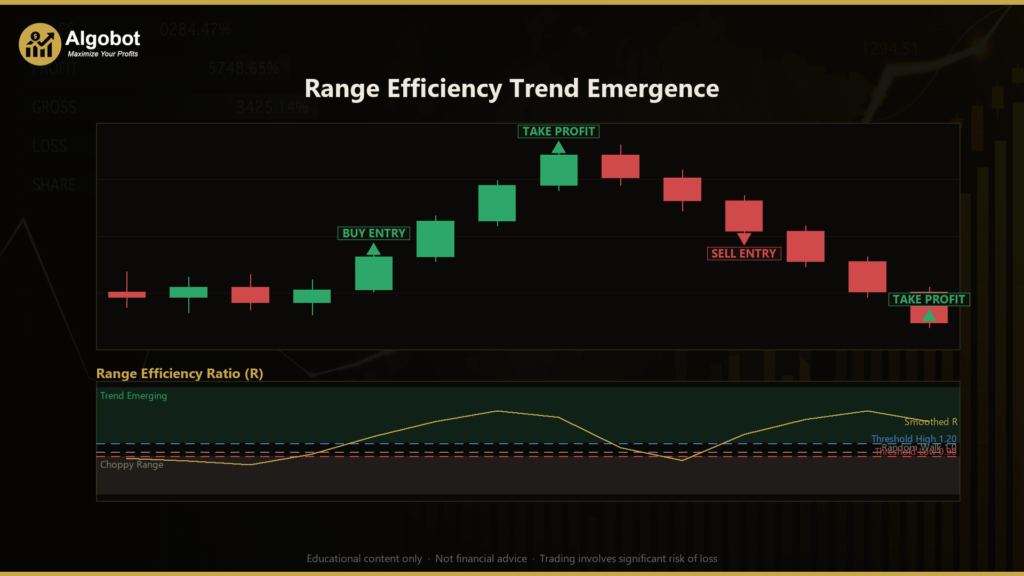
The Range Efficiency Trend Emergence strategy is a regime-detection approach that trades the moment a genuine trend begins to appear inside otherwise noisy price action. Its core indicator is a range-efficiency ratio — a comparison of two classic volatility estimators measured over the same rolling window: the close-to-close variance (how far the closing prices actually travel bar to bar) and the Parkinson range variance (a high-to-low estimator of the same underlying volatility, published by Michael Parkinson in 1980). The trading style is best described as volatility-regime trend emergence: it does not chase price continuously, but instead waits for a structural shift from chop into directional order.
The intuition is elegant. Under a pure random walk, these two estimators tend to agree, so their ratio hovers near 1. When the market is choppy and mean-reverting, price makes large intrabar ranges but the closes keep snapping back, which suppresses close-to-close variance and pushes the ratio below 1. When a real trend takes hold, closes march the same direction and inflate close-to-close variance relative to the range, lifting the ratio decisively above 1. A rising ratio, therefore, is the signature of efficiency turning on — order emerging from noise.
This makes the strategy most suitable as a learning tool for traders who want to understand how volatility estimators can be repurposed as regime filters, and how entries can be timed to a transition rather than a continuous condition. It is designed for markets that alternate between ranging and trending phases — common in major forex pairs — and it is best studied by those already comfortable with concepts like ATR stops, EMA smoothing, and log returns. It is an analytical framework, not a shortcut, and should be examined and tested rather than trusted blindly.
How It Works
The strategy processes one signal per newly closed bar. On each bar it recomputes the efficiency ratio, smooths it, and checks for a regime transition. Here is the logic in plain English:
- The efficiency ratio (the core signal): Over the most recent
Windowbars, the strategy sums the squared log close-to-close returns and divides by the Parkinson range variance (the squared log high/low ranges scaled by 4·ln2). The result, R, is a scale-free number where values near 1 mean "random walk," below 1 mean "choppy/mean-reverting," and above 1 mean "trending." - Smoothing: The raw ratio is passed through an exponential moving average (EMA) controlled by
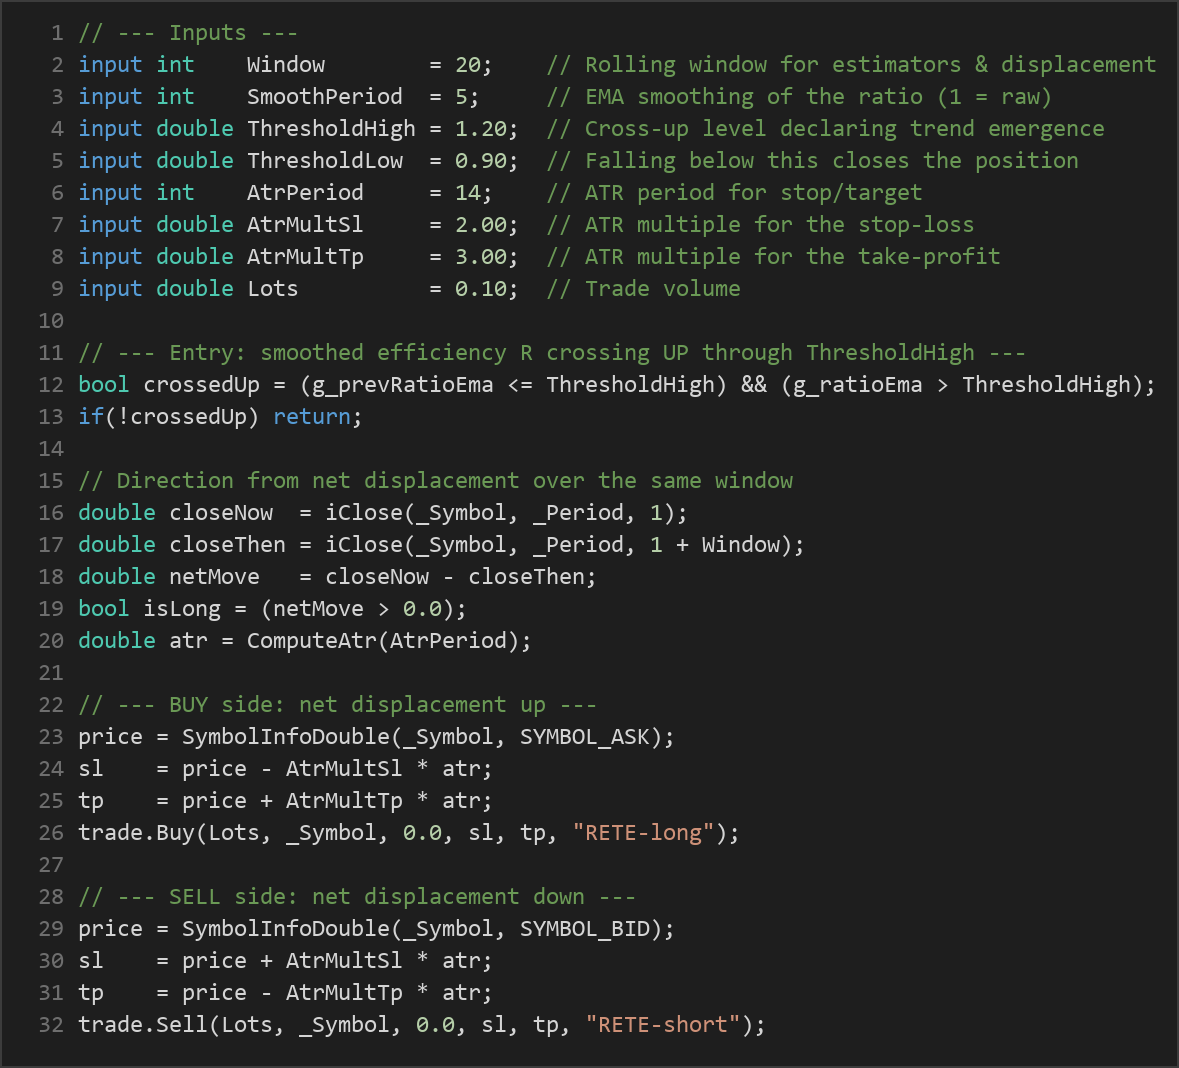
SmoothPeriod, which reduces single-bar noise. SettingSmoothPeriodto 1 effectively uses the raw ratio. - Entry — trend emergence: The strategy signals an entry only on the bar where the smoothed ratio crosses UP through
ThresholdHigh. This is a one-time transition (the previous value was at or below the threshold and the current value is above it), not a continuous "ratio is high" condition — that is what makes it an emergence signal. - Trade direction: Direction is taken from net displacement over the same window — the current close minus the close
Windowbars ago. If price has net-risen, the signal is long; if it has net-fallen, the signal is short. If there is exactly zero net movement, the strategy stands aside. Long and short are fully symmetric. - Exit — efficiency collapse: While a position is open, if the smoothed ratio falls back below
ThresholdLow, the strategy closes the position. The interpretation is that the directional move has exhausted itself and the market is reverting to chop. - Stop-loss logic: On entry, a protective stop is placed
AtrMultSlmultiples of the Average True Range (ATR) away from the fill price — below price for longs, above price for shorts. ATR here is a simple mean of true range overAtrPeriodbars. - Take-profit logic: A target is placed
AtrMultTpATR multiples in the favorable direction. With the defaults (2.0 stop, 3.0 target), this frames a reward-to-risk ratio of roughly 1.5-to-1 before costs. - One position at a time: The strategy holds a single position per magic number. While one is open, no new entries are taken; the ATR stop, ATR target, or the efficiency-collapse exit manage the trade to completion.
Strategy Parameters
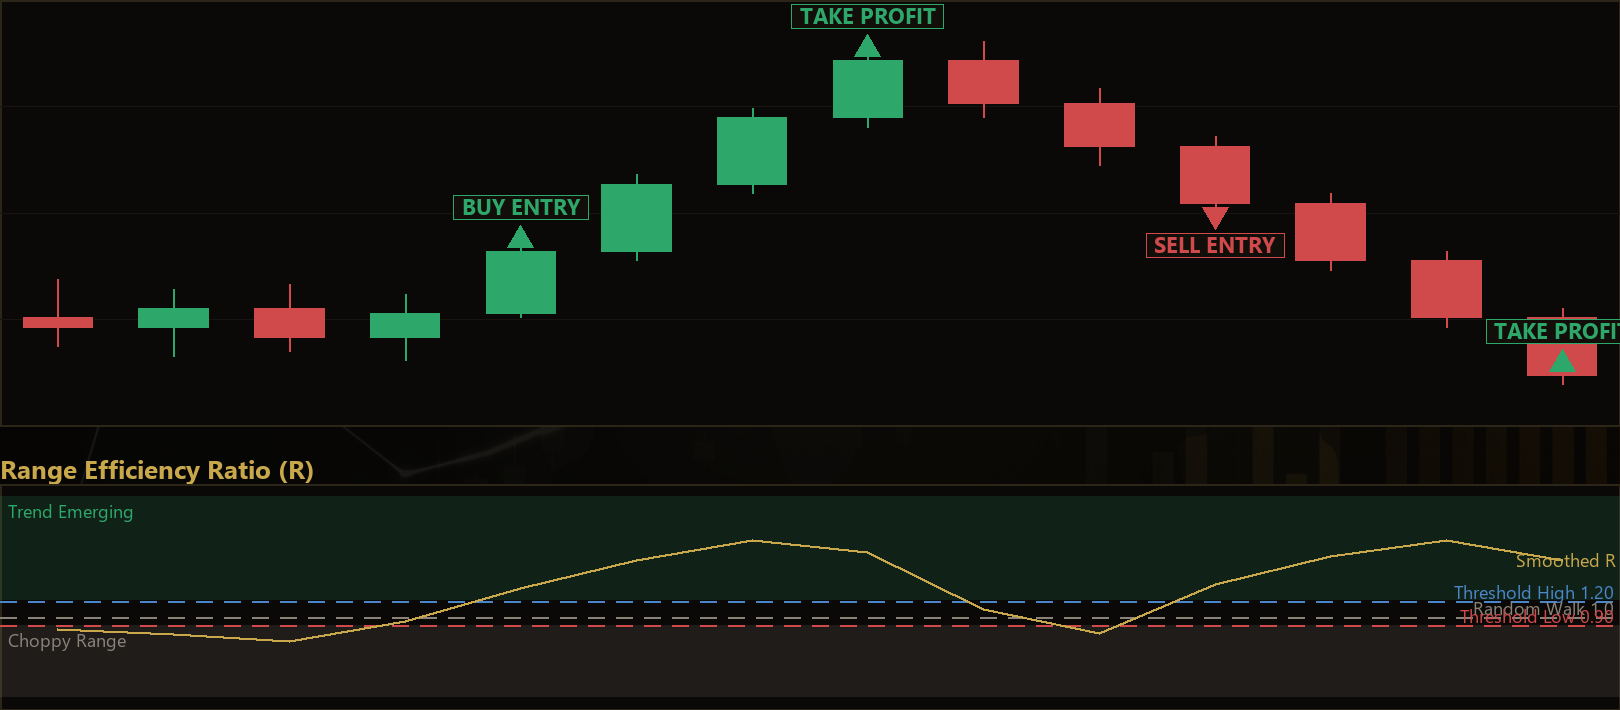
| Parameter | Default | Min | Max | Description |
|---|---|---|---|---|
| Window | 20 | 8 | 60 | Rolling window (in bars) for both volatility estimators and the net-displacement direction check. |
| SmoothPeriod | 5 | 1 | 20 | EMA smoothing period applied to the raw efficiency ratio; 1 means effectively no smoothing. |
| ThresholdHigh | 1.20 | 1.00 | 2.50 | The level the smoothed ratio must cross upward to declare a trend emerging and trigger an entry. |
| ThresholdLow | 0.90 | 0.40 | 1.20 | If the smoothed ratio falls below this level, the open position is closed (regime back to chop). |
| AtrPeriod | 14 | 5 | 40 | Number of bars used to compute the Average True Range for the stop and target. |
| AtrMultSl | 2.00 | 0.50 | 6.00 | ATR multiple that sets the distance of the protective stop-loss from entry. |
| AtrMultTp | 3.00 | 0.50 | 10.0 | ATR multiple that sets the distance of the take-profit target from entry. |
| Lots | 0.10 | 0.01 | 1.00 | Fixed trade volume in lots. |
| Magic | 7314 | 0 | 9,999,999 | Magic number identifying this EA's positions so it manages only its own trades. |
Recommended Chart Settings
The Range Efficiency Trend Emergence EA is a single-timeframe strategy: every calculation uses the chart's own timeframe, so it runs on whatever period you attach it to. It was designed with liquid major forex pairs in mind — for example EUR/USD — where the alternation between ranging and trending phases is pronounced and the log-return estimators behave well.
A common starting point for study is the H1 (1-hour) or M15 (15-minute) timeframe, which balances signal frequency against the noise that shorter periods introduce. Because the ratio depends on the statistical character of the instrument, results will vary considerably across different symbols, timeframes, and market conditions. Always test on the specific instrument and period you intend to study before drawing any conclusions, and re-examine the thresholds if you change the timeframe.
How to Install on MetaTrader 5
- Download the .ex5 file from the link below
- Copy it to your MT5
MQL5\Expertsfolder - Restart MetaTrader 5 or refresh the Navigator panel
- Drag the EA onto a chart matching the recommended symbol and timeframe
- Configure the input parameters and enable Algo Trading
What to Consider Before Using This EA
Strengths of the approach. The strategy's chief merit is conceptual clarity. Rather than layering more moving averages, it asks a sharper question — is price moving efficiently or inefficiently? — using two well-established volatility estimators. Because entries fire on a transition rather than a persistent condition, the strategy avoids piling into a trend that is already mature, and it tends to sidestep the endless whipsaws of a purely range-bound tape. The dual-threshold design (a high level to enter, a lower level to exit) creates a deliberate hysteresis band that historically helps filter out marginal regime flickers.
Known limitations. No regime detector is perfect, and this one has honest weaknesses. The ratio is a lagging measure by construction — it needs a full window of bars to register a shift, so the strategy will often enter after a trend has already begun, giving up some of the early move. In fast, gapping, or news-driven markets the Parkinson estimator can be distorted, and the ratio may spike or collapse for reasons unrelated to genuine trend structure. The direction rule is a simple net-displacement check; in a window that reverses sharply near its end, that sign may not reflect the immediate move.
Where it may underperform. The approach is most challenged in persistently choppy, low-volatility conditions where the ratio oscillates around the thresholds, producing entries that are quickly stopped out or exited on efficiency collapse. It can also struggle in strongly trending markets that never revert below ThresholdLow, because the exit that closes on regime collapse may not trigger, leaving the ATR stop or target to do all the work. As with any single-instrument, single-timeframe system, parameter values that suited one market regime may need revisiting as conditions change. Treat every default as a starting hypothesis to be tested, not a finished answer.
Risk Management Tips
Sound risk management matters far more than any single indicator. Consider these general principles as you study this or any strategy:
- Position sizing: Size trades so that a losing trade costs only a small, predefined fraction of your account. A widely cited guideline is to risk no more than 1–2% of account equity per trade. The fixed
Lotsinput does not scale to your balance, so calculate an appropriate volume for your own account before use. - Respect drawdown: Every strategy endures losing streaks. Understand the maximum drawdown you are willing to tolerate and how many consecutive losses that implies at your chosen risk per trade.
- Demo first: Test on a demo account across varied market conditions before considering real capital. This lets you observe how the emergence signal and the efficiency-collapse exit behave in practice without financial consequences.
- Understand the stop: The ATR-based stop adapts to volatility, but wider volatility means wider stops and larger potential loss per trade in absolute terms. Always know your worst-case loss before entering.
- Avoid over-optimization: Tuning parameters until a backtest looks flawless usually produces a fragile curve fit. Prefer robust settings that behave reasonably across a range of values.
Risk Warning
Trading foreign exchange, CFDs, and other leveraged financial instruments involves substantial risk of loss and is not suitable for all investors. The strategies and tools discussed on this page are provided for educational purposes only and do not constitute financial advice, investment recommendations, or solicitation to trade. Always consult a qualified financial adviser before making trading decisions. Past backtest performance is not indicative of future results.
Downloads
- Expert Advisor: RangeEfficiencyTrendEmergence.ex5 (28 downloads)
- Source Code: RangeEfficiencyTrendEmergence.mq5 (31 downloads)
- Documentation: RangeEfficiencyTrendEmergence.pdf (35 downloads)