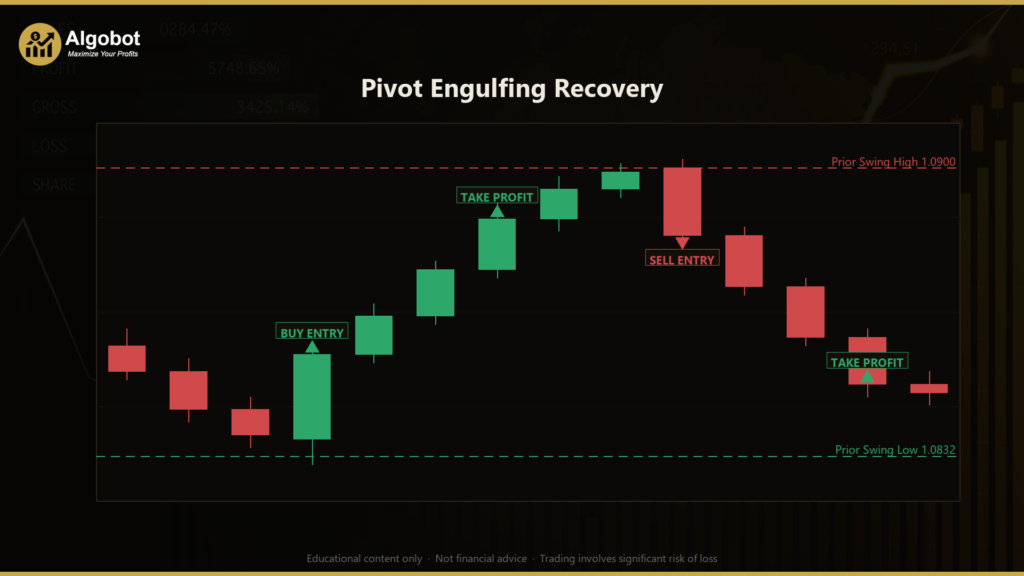
Disclaimer: This article is for educational and informational purposes only. It does not constitute financial or investment advice. Trading forex and CFDs carries significant risk of loss. Past performance of any strategy — including backtests — does not guarantee future results. Never trade with money you cannot afford to lose.
What Is This Strategy?
The Pivot Engulfing Recovery strategy is a pure price-action expert advisor (EA) for MetaTrader 5 that combines swing-pivot structure mapping with the engulfing candlestick pattern — and it does so without a single technical indicator. Instead of moving averages or oscillators, it reads the raw chart: it locates confirmed swing highs and swing lows (often called fractal pivots) and then waits for an engulfing candle to interact with those levels. A swing pivot is simply a bar whose high (or low) is more extreme than a set number of bars on either side, which makes it a natural, price-derived support or resistance point.
This is a discretionary-style logic translated into automated rules, designed for traders who want to study how structure and candlestick reversals can be combined into a single mechanical system. It is built to operate in markets that swing between defined support and resistance — the kind of two-sided, range-and-break behaviour common in major forex pairs. The strategy trades two distinct edges against the same structure: a reversal edge (fading a sweep of a swing level) and a breakout edge (riding a strong close beyond a swing level).
Pivot Engulfing Recovery is best treated as a learning tool for intermediate traders who already understand candlestick anatomy and want to see how a recovery-hedge basket is constructed. It also introduces a volume-weighted break-even basket with a built-in disaster stop, which makes it a useful case study in how to keep recovery logic bounded rather than relying on open-ended martingale position sizing.
How It Works
The strategy evaluates entries only once per newly closed bar, while its position-management routine runs on every tick so adverse moves are caught promptly. Here is the logic in plain English:
- Mapping structure: On each new bar the EA scans for a confirmed swing pivot. A candidate bar sitting
PivotRightbars back must have a strictly higher high (for a swing high) or strictly lower low (for a swing low) than every neighbouring bar to its left and right. These confirmed levels become the active support and resistance the strategy trades against. - Volatility sizing: Rather than an indicator, the strategy uses a "range proxy" — the average bar range (high minus low) over the last
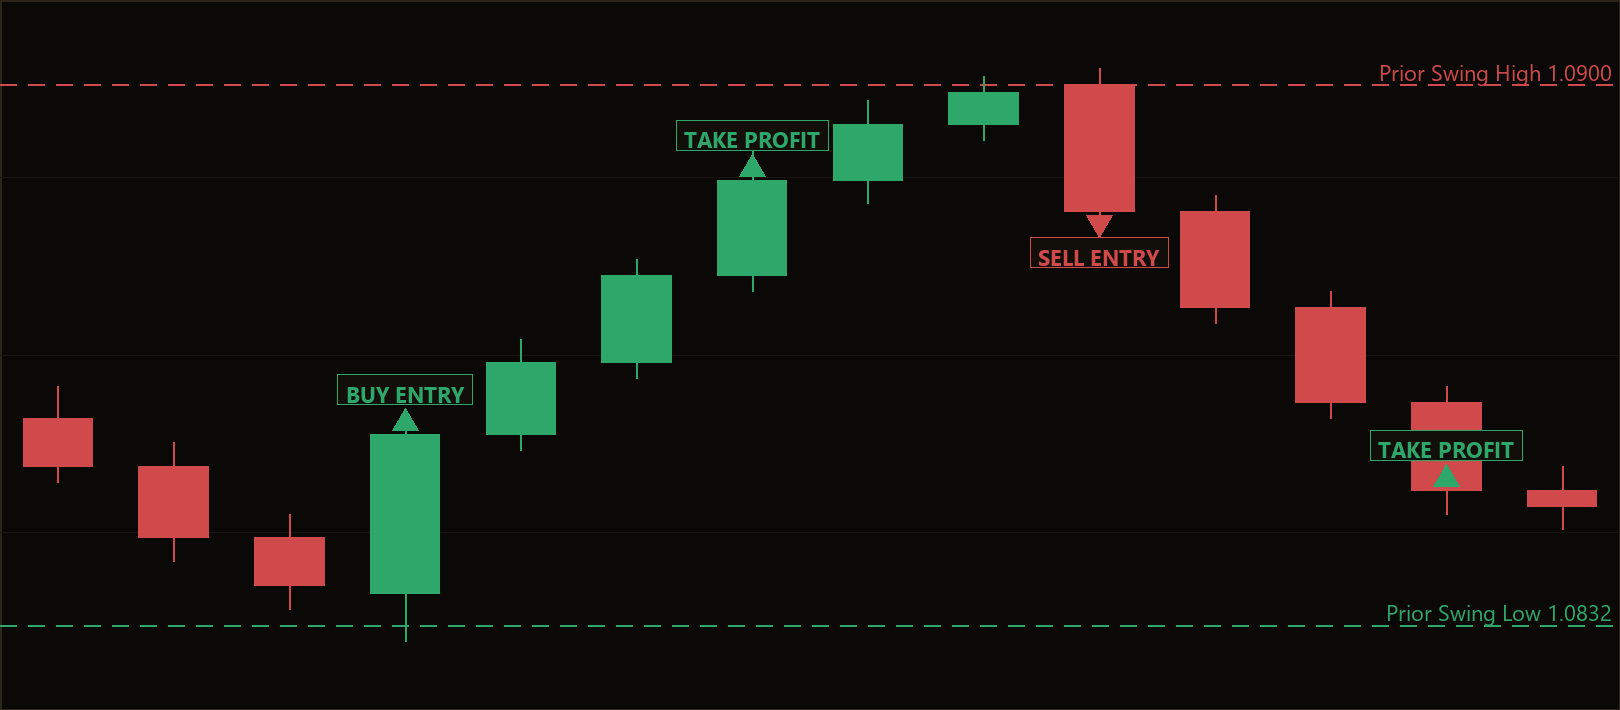
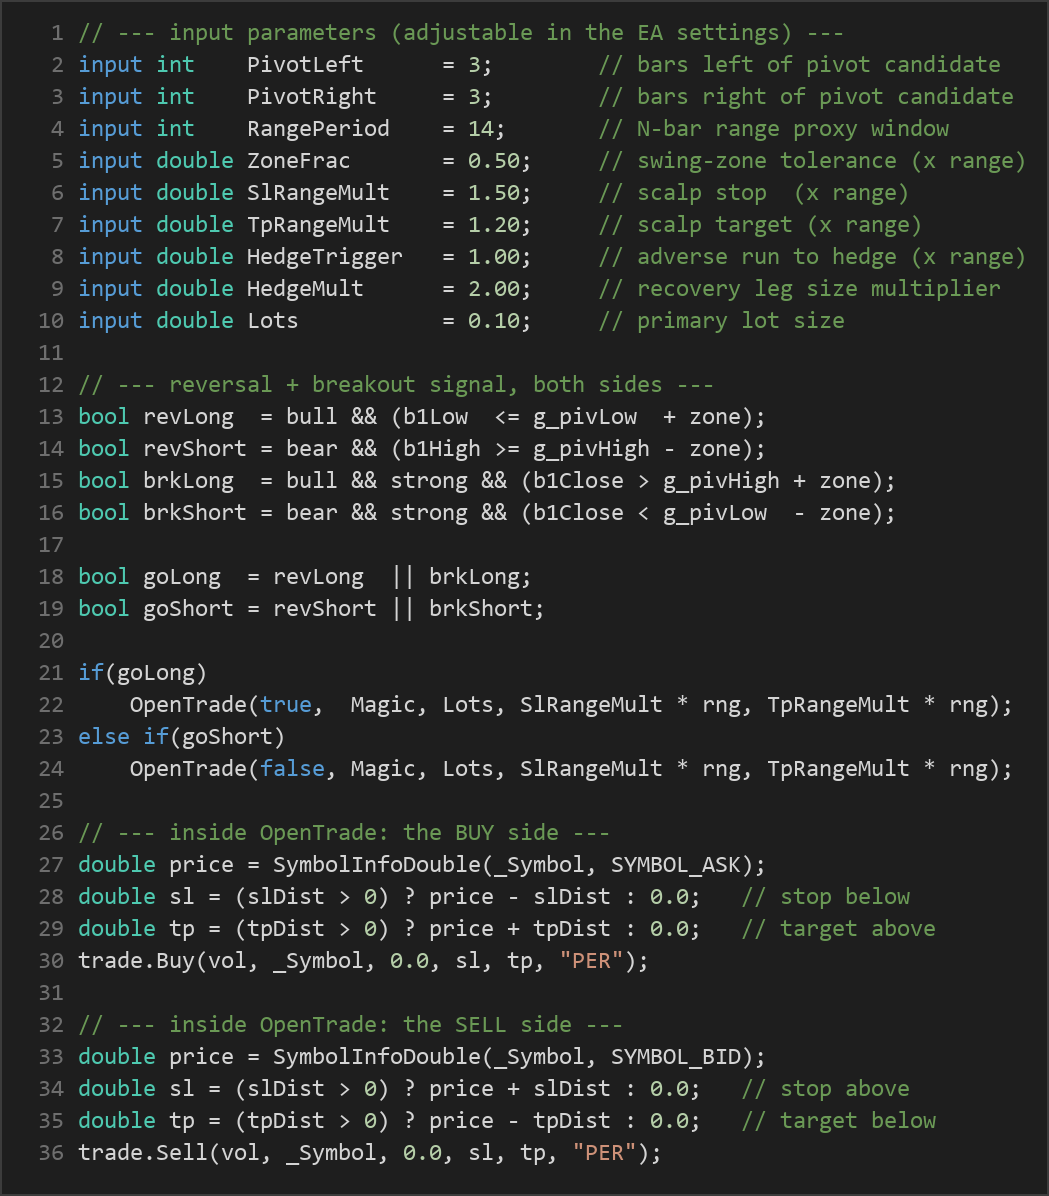
RangePeriodbars. This single number sizes the stop-loss, the take-profit, the entry tolerance zone, and the recovery thresholds, keeping every distance proportional to current volatility. - Reversal entries (the strategy signals): A bullish engulfing candle whose low pierces into the swing-low zone signals a potential long reversal — price swept the support and reclaimed it. A bearish engulfing candle whose high pushes into the swing-high zone signals a potential short reversal.
- Breakout entries: A strong-bodied bullish engulfing (body at least half the candle's total range) that closes decisively above the swing high signals a long breakout — a break of structure. The mirror condition signals a short breakout below the swing low.
- Ambiguity filter: If a bar somehow satisfies both a long and a short condition, the strategy stands aside and takes no trade.
- Initial stop-loss and take-profit: When the primary scalp opens, its stop-loss is placed
SlRangeMultranges away and its take-profitTpRangeMultranges away from entry. These are conventional, fixed scalp brackets while the trade is un-hedged. - Recovery hedge (Phase 1): If the primary trade runs adverse by
HedgeTriggerranges, the EA opens a larger opposite leg sized atHedgeMult× the original lots, under a separate magic number. Because the new leg is bigger, the net position flips to the prevailing direction. At this point the original scalp stops are removed — the basket now governs the exit. - Basket break-even management (Phase 2): Once hedged, the strategy calculates a volume-weighted break-even price for the combined book — the price at which the net profit of all legs is zero. It then exits the entire basket when price clears break-even by
RecoverMultranges (the recovery target) or runsMaxAdverseMultranges the wrong way past break-even (the disaster stop). - Bounded risk: Crucially, there is no pyramiding of ever-larger trades. The disaster stop caps the maximum adverse excursion, so the recovery mechanism stays bounded rather than behaving like a martingale.
- Re-entry discipline: The EA only looks for a fresh primary trade when the account is completely flat for this symbol — no primary and no hedge open.
Strategy Parameters
| Parameter | Default | Min | Max | Description |
|---|---|---|---|---|
| PivotLeft | 3 | 2 | 10 | Number of older bars to the left of a pivot candidate that must be lower/higher to confirm a swing. |
| PivotRight | 3 | 2 | 10 | Number of newer bars to the right of a pivot candidate required to confirm it; also sets how many bars back the candidate sits. |
| RangePeriod | 14 | 5 | 30 | Window length for the average-bar-range volatility proxy used to size stops, targets and the basket. |
| ZoneFrac | 0.50 | 0.10 | 2.0 | Tolerance zone around a swing level, expressed as a fraction of the range proxy. |
| SlRangeMult | 1.50 | 0.50 | 4.0 | Initial scalp stop-loss distance, in range-proxy multiples. |
| TpRangeMult | 1.20 | 0.50 | 5.0 | Initial scalp take-profit distance, in range-proxy multiples. |
| HedgeTrigger | 1.00 | 0.30 | 3.0 | Adverse distance (in ranges) the primary must run before the recovery hedge opens. |
| HedgeMult | 2.00 | 1.20 | 3.0 | Size of the recovery leg as a multiple of the primary lot size. |
| RecoverMult | 0.50 | 0.10 | 2.0 | Distance beyond basket break-even (in ranges) that triggers a recovery exit. |
| MaxAdverseMult | 3.00 | 1.50 | 6.0 | Distance past break-even (in ranges) that triggers the basket disaster stop. |
| Lots | 0.10 | 0.01 | 1.0 | Primary lot size for the initial scalp trade. |
Recommended Chart Settings
This strategy was designed with liquid major forex pairs in mind — symbols such as EUR/USD or GBP/USD — where swing structure is well defined and engulfing candles are meaningful. A timeframe in the M15 to H1 range is a sensible starting point for study, balancing enough swing pivots to map structure against the noise of very low timeframes. Because every distance is scaled by the range proxy, the logic adapts to the symbol's volatility automatically. Keep in mind that results will vary considerably across different symbols, timeframes, and market conditions, so any settings should be validated on your own data before further study.
How to Install on MetaTrader 5
- Download the .ex5 file from the link below
- Copy it to your MT5
MQL5\Expertsfolder - Restart MetaTrader 5 or refresh the Navigator panel
- Drag the EA onto a chart matching the recommended symbol and timeframe
- Configure the input parameters and enable Algo Trading
What to Consider Before Using This EA
Strengths. Because the system uses no indicators, it has no lag from smoothing — it reacts to structure and candles as they form. The pivot logic produces genuine, price-derived support and resistance rather than arbitrary lines, and trading both reversal and breakout edges lets it engage with the same level in two different market states. The recovery basket is also more disciplined than many hedging schemes: it uses a single larger leg and a hard disaster stop instead of an open-ended sequence of doubling trades.
Limitations. Engulfing patterns are common, and not every one near a swing level marks a true turning point — false signals are inevitable, particularly in choppy, directionless conditions. The recovery hedge, while bounded, still increases exposure precisely when a trade is already losing; if price stalls near break-even, the basket can sit open and exposed for an extended period. In a strong, sustained trend that runs straight through a swing level, the disaster stop may be hit before any recovery, producing the strategy's largest losses. Like all pivot-based systems, it also needs enough historical bars to confirm structure, so it is quiet immediately after a fresh chart loads.
Where it may underperform. Low-volatility, tightly ranging markets can generate frequent small whipsaws, and news-driven gaps can move price past stops faster than the basket logic intends. Treat this EA as a framework for understanding structure-plus-pattern trading rather than a finished, hands-off system.
Risk Management Tips
Sound risk management matters more than any single entry signal. Consider these general principles:
- Position sizing: Keep the primary lot size small relative to your account, and remember the recovery leg can be up to three times larger — size with the total basket exposure in mind, not just the first trade.
- Risk per trade: A widely cited guideline is to risk no more than 1–2% of account equity on any single idea. Account for the hedge when estimating that figure.
- Use a demo account first: Run the strategy on a demo or simulated environment until you fully understand how the hedge and basket behave in live conditions.
- Understand drawdown: Hedging strategies can experience extended open exposure. Study the maximum adverse excursion the
MaxAdverseMultsetting allows and confirm you are comfortable with it. - Diversify and review: Avoid concentrating risk in a single symbol or correlated pairs, and review performance periodically rather than leaving any EA unattended.
Risk Warning
Trading foreign exchange, CFDs, and other leveraged financial instruments involves substantial risk of loss and is not suitable for all investors. The strategies and tools discussed on this page are provided for educational purposes only and do not constitute financial advice, investment recommendations, or solicitation to trade. Always consult a qualified financial adviser before making trading decisions. Past backtest performance is not indicative of future results.
Downloads
- Expert Advisor: PivotEngulfingRecovery.ex5 (55 downloads)
- Source Code: PivotEngulfingRecovery.mq5 (65 downloads)
- Documentation: PivotEngulfingRecovery.pdf (67 downloads)