Disclaimer: This article is for educational and informational purposes only. It does not constitute financial or investment advice. Trading forex and CFDs carries significant risk of loss. Past performance of any strategy — including backtests — does not guarantee future results. Never trade with money you cannot afford to lose.
What Is This Strategy?
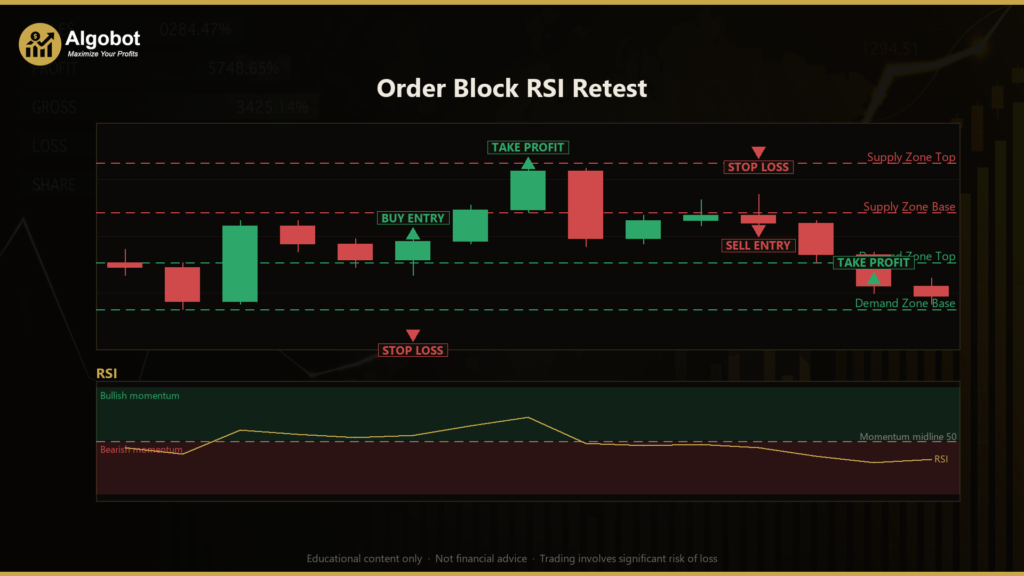
The Order Block RSI Retest strategy is a Smart-Money continuation system that combines two well-known technical concepts: the order block (a price-action pattern drawn from institutional-flow theory) and the Relative Strength Index, or RSI (a momentum oscillator that measures the speed of recent price changes on a 0–100 scale). The idea is to identify a candle that likely held leftover institutional orders, wait for price to drift back into that zone, and only act on the retest when momentum still agrees with the original move.
In this context, an order block is the last opposing candle printed immediately before an aggressive, one-sided move — what traders call a displacement. The theory holds that the players who fired that impulsive move left unfilled orders behind in that candle. When price later returns to the zone, those resting orders are often defended, and the original direction tends to resume. The Order Block RSI Retest strategy is designed for this resumption, making it a momentum-continuation style best suited to trending conditions rather than tight, sideways ranges.
This strategy is intended as a learning tool for traders who want to study how Smart-Money concepts can be made objective and rule-based. Rather than eyeballing zones by hand, it defines an order block mathematically — using the Average True Range (ATR) to confirm that a move was genuinely impulsive — and then uses RSI as a veto to screen out retests that are really the start of a reversal. It is an analysis framework for understanding structure, momentum, and risk placement, not a shortcut to results.
How It Works
The strategy evaluates the market once per closed bar and works through a clear sequence. Each step below describes what the strategy signals, not a guaranteed outcome.
- Detect displacement: When a candle closes, the strategy measures its body against the current ATR. A bullish displacement requires
(Close − Open) ≥ DisplacementAtr × ATR; a bearish displacement requires(Open − Close) ≥ DisplacementAtr × ATR. Only moves large relative to volatility qualify as institutional intent. - Mint the order block: After a qualifying impulse, the strategy looks back over the previous
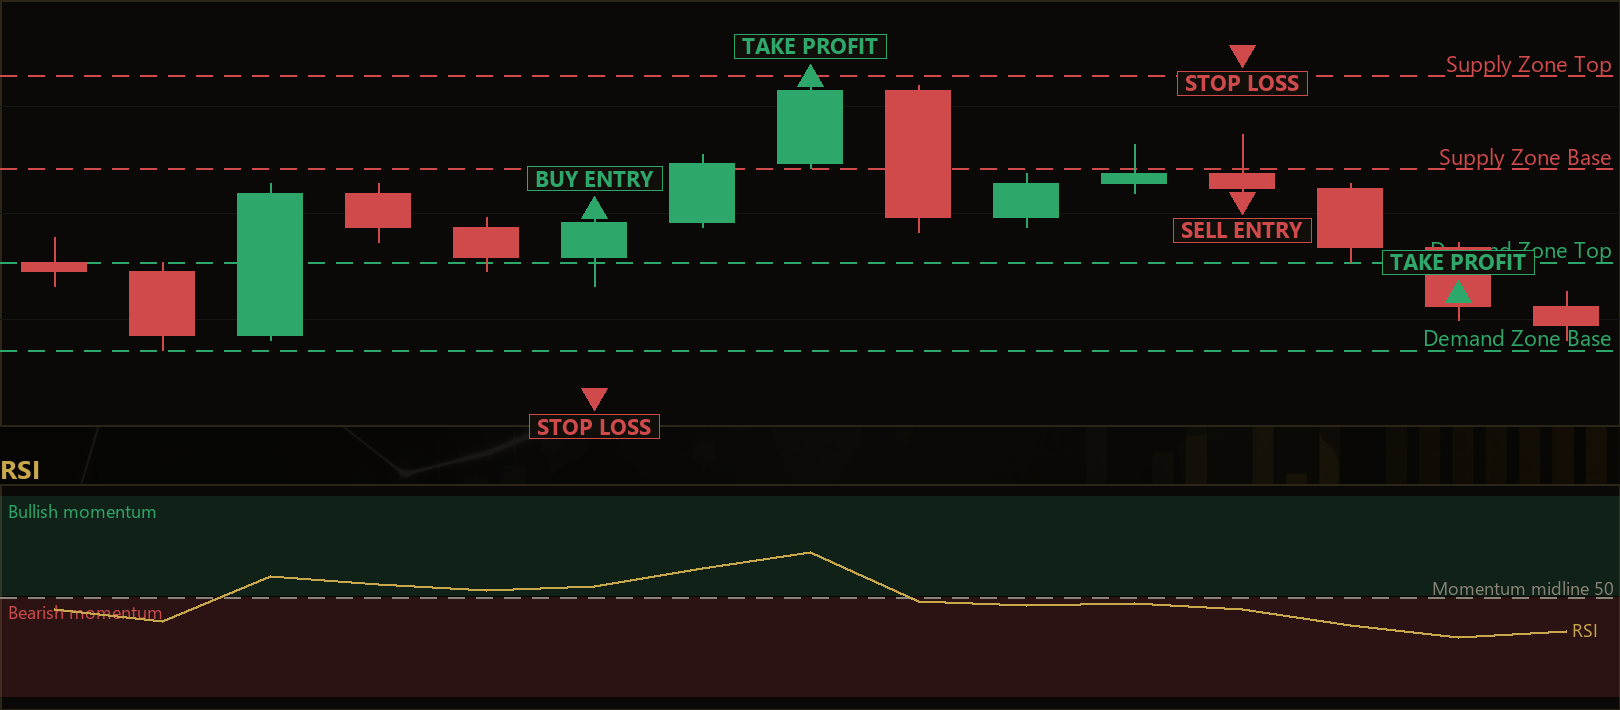
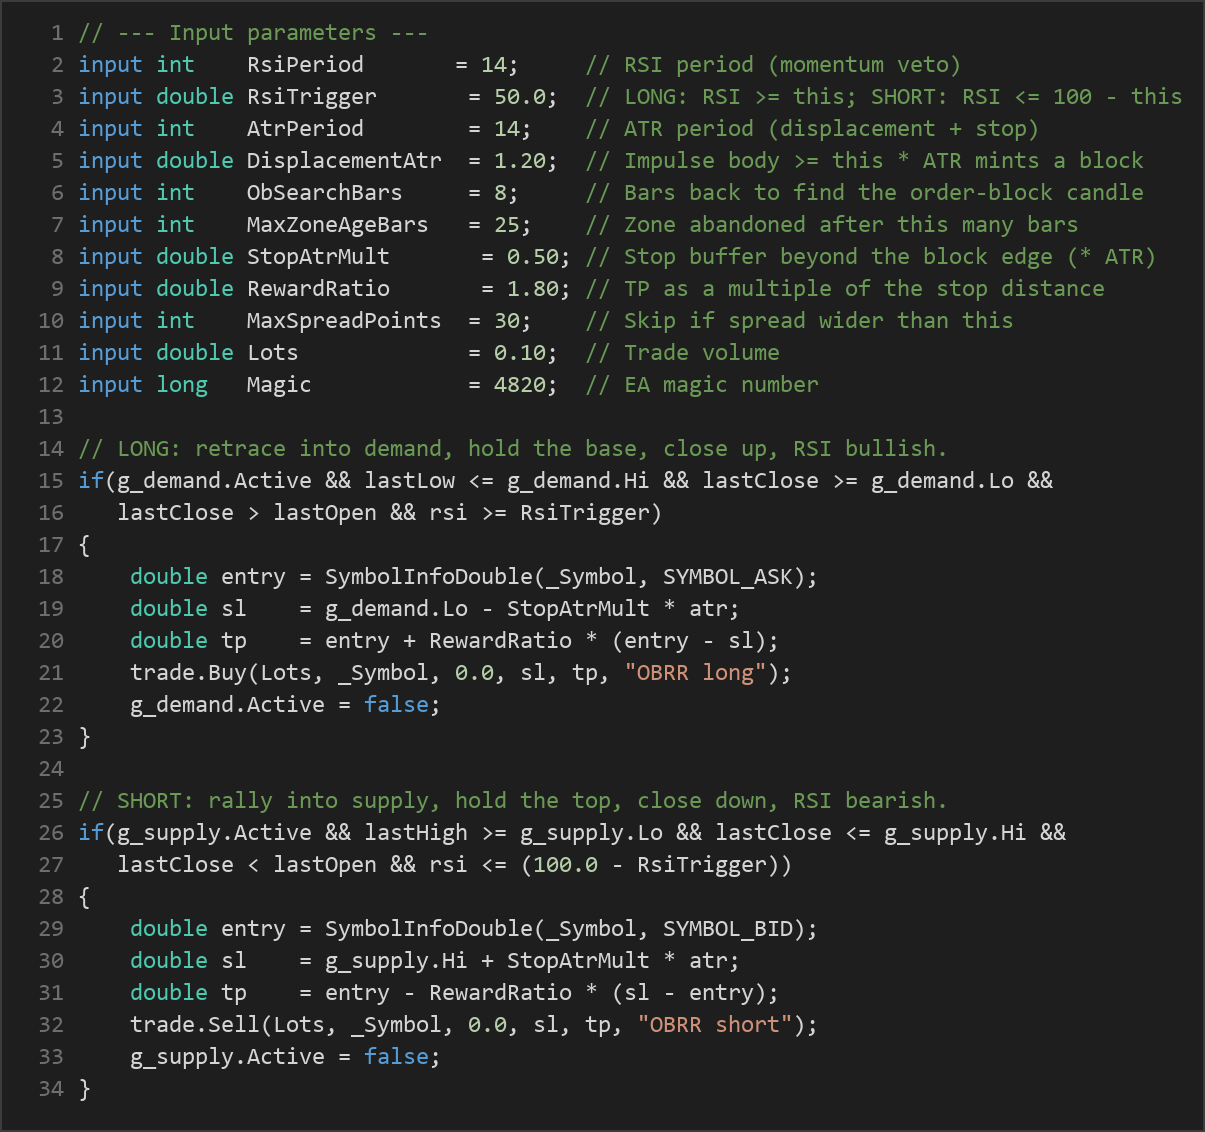
ObSearchBarscandles for the most recent opposite-colour candle. A bullish impulse marks the last down candle as a demand zone[Low, High]; a bearish impulse marks the last up candle as a supply zone[Low, High]. - Long entry signal: With an active demand zone, the strategy signals a long when the bar dips into the zone (
Low ≤ zone High) but holds its base (Close ≥ zone Low), closes up (Close > Open), and RSI still reads bullish (RSI ≥ RsiTrigger). - Short entry signal: With an active supply zone, the strategy signals a short when the bar rallies into the zone (
High ≥ zone Low) but holds below its top (Close ≤ zone High), closes down (Close < Open), and RSI still reads bearish (RSI ≤ 100 − RsiTrigger). - The RSI veto: Momentum must confirm the impulse direction on the retest bar. This filter is designed to skip retests where momentum has already rolled over against the block — the kind that may indicate a reversal rather than a continuation.
- Stop-loss logic: The stop is structural and volatility-scaled. For a long, it sits at
zone Low − StopAtrMult × ATR; for a short, atzone High + StopAtrMult × ATR. If price trades cleanly through the block, the thesis is considered invalid. - Take-profit logic: The target is a fixed multiple of the stop distance, set by
RewardRatio. With the default 1.80, the take-profit sits 1.8 times the risk distance away from entry. - Housekeeping: Each zone fires at most once. Zones expire after
MaxZoneAgeBarsclosed bars, or sooner if price closes through them. The strategy holds only one position per magic number at a time and skips new entries when the spread exceedsMaxSpreadPoints.
Strategy Parameters
| Parameter | Default | Min | Max | Description |
|---|---|---|---|---|
| RsiPeriod | 14 | 7 | 28 | Smoothing period for the RSI momentum veto. |
| RsiTrigger | 50.0 | 50.0 | 70.0 | Longs need RSI ≥ this value; shorts need RSI ≤ (100 − this). 50 is the plain midline. |
| AtrPeriod | 14 | 7 | 28 | ATR period used for displacement sizing and the structural stop buffer. |
| DisplacementAtr | 1.20 | 0.50 | 3.00 | Impulse body must be at least this multiple of ATR to mint an order block. |
| ObSearchBars | 8 | 2 | 20 | How many bars before the impulse to look back for the originating candle. |
| MaxZoneAgeBars | 25 | 5 | 100 | A zone is abandoned once it is older than this many closed bars. |
| StopAtrMult | 0.50 | 0.10 | 2.00 | Stop buffer beyond the far edge of the block, as a multiple of ATR. |
| RewardRatio | 1.80 | 1.00 | 5.00 | Take-profit distance as a multiple of the structural stop distance. |
| MaxSpreadPoints | 30 | 1 | 200 | Skip new entries if the current spread (in points) is wider than this. |
| Lots | 0.10 | 0.01 | 1.00 | Trade volume in lots. |
| Magic | 4820 | 0 | 9,999,999 | Unique identifier so the EA manages only its own positions. |
Recommended Chart Settings
The Order Block RSI Retest strategy was designed with a trending major pair in mind, such as GBPUSD or USDJPY, on the M15 or M30 timeframe. These conditions tend to produce the clean, impulsive displacement moves the strategy looks for. Because the logic is volatility-scaled through ATR and structurally placed against the block, it can be studied on other symbols and timeframes as well — but results will vary across different market conditions, instruments, and broker spreads. Always confirm behaviour on your own data before drawing conclusions.
How to Install on MetaTrader 5
- Download the .ex5 file from the link below
- Copy it to your MT5
MQL5\Expertsfolder - Restart MetaTrader 5 or refresh the Navigator panel
- Drag the EA onto a chart matching the recommended symbol and timeframe
- Configure the input parameters and enable Algo Trading
What to Consider Before Using This EA
Every approach has trade-offs, and an honest assessment helps you study it more effectively.
Strengths. The strategy turns a subjective Smart-Money concept into objective, repeatable rules. Using ATR to validate displacement means an order block must be backed by a genuinely impulsive move rather than a small candle, and the ATR-buffered stop adapts automatically to each symbol's volatility. The RSI veto adds a momentum filter that may help avoid retests where the trend has already weakened. One-position-per-magic logic and a spread filter keep behaviour disciplined.
Limitations. Order blocks are a theory about institutional intent, not a guarantee of what price will do — many retests fail, and a buffered stop can still be hit on a clean break. RSI is a lagging momentum measure, so the veto can let through weakening setups or block valid ones near the trigger threshold. The fixed reward-to-risk target does not adapt to nearby support, resistance, or changing volatility, so some winners may reverse before the target and some losers may have offered an earlier exit.
Where it may underperform. In choppy, range-bound, or low-volatility markets, displacement moves are rarer and retests are noisier, which can lead to fewer signals or more whipsaws. News-driven spikes can also produce displacement candles that do not behave like genuine institutional flow. Treat the strategy as a structured way to study continuation setups rather than a finished system.
Risk Management Tips
Sound risk management matters far more than any single entry rule. Use these principles as part of your study:
- Risk a small, fixed fraction per trade. Many educational sources suggest risking no more than 1–2% of account equity on any single position. Size your lots so the distance to the structural stop reflects that limit, rather than trading a fixed lot blindly.
- Test on a demo account first. Run the strategy on a demo or in the Strategy Tester across varied market conditions before considering any live use. This helps you understand its signal frequency and behaviour without financial exposure.
- Understand drawdown. Even a well-constructed approach experiences losing streaks. Know the largest peak-to-trough decline you are willing to tolerate, and recognise that historical drawdown does not bound future drawdown.
- Account for costs. Spread, commission, and slippage all affect outcomes, especially on lower timeframes. The built-in
MaxSpreadPointsfilter helps, but real conditions still differ from idealised tests. - Keep parameters honest. Avoid over-optimising to a single historical window. Settings that look ideal on past data may not generalise to future conditions.
Risk Warning
Trading foreign exchange, CFDs, and other leveraged financial instruments involves substantial risk of loss and is not suitable for all investors. The strategies and tools discussed on this page are provided for educational purposes only and do not constitute financial advice, investment recommendations, or solicitation to trade. Always consult a qualified financial adviser before making trading decisions. Past backtest performance is not indicative of future results.
Downloads
- Expert Advisor: OrderBlockRSIRetest.ex5 (69 downloads)
- Source Code: OrderBlockRSIRetest.mq5 (67 downloads)
- Documentation: OrderBlockRSIRetest.pdf (63 downloads)