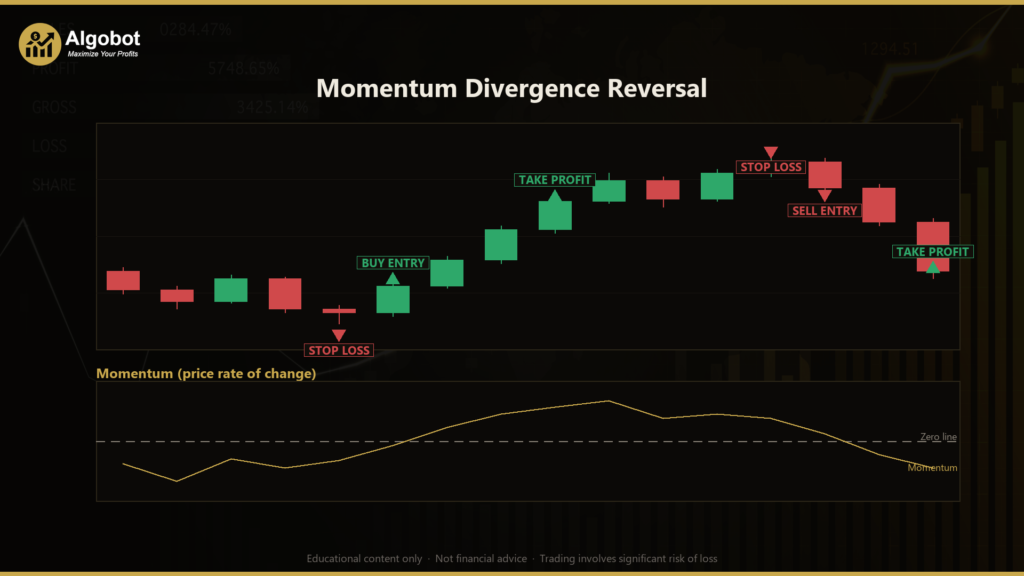
Disclaimer: This article is for educational and informational purposes only. It does not constitute financial or investment advice. Trading forex and CFDs carries significant risk of loss. Past performance of any strategy — including backtests — does not guarantee future results. Never trade with money you cannot afford to lose.
What Is This Strategy?
The Momentum Divergence Reversal strategy is a pure price-action swing-trading system that hunts for momentum divergence — the moment when price pushes to a fresh extreme but the force behind the move quietly fades. It uses no oscillators, no moving averages, and no external indicators. Instead, it measures momentum the honest way, as a raw rate-of-change in closing price, and reads that momentum directly off the swing highs and lows that price itself carves out on the chart. In simple terms, "momentum" here is just how far price has travelled over a fixed number of bars, and "divergence" is when price and momentum disagree about the strength of a trend.
The idea rests on a well-known observation in technical analysis: a healthy trend is confirmed by momentum. When a market grinds out a higher high but does so with less momentum than the previous high, buyers may be exhausted and the advance could be running on fumes. The mirror image applies at the bottom of a decline — a lower low made on stronger (less negative) momentum can signal that sellers are running out of steam. This makes the strategy a counter-trend, reversal-style approach designed for markets that swing between extremes rather than trend relentlessly in one direction.
As a learning tool, Momentum Divergence Reversal suits traders who want to study how divergence and swing structure can be combined into objective, rule-based signals. Because every condition is built from candle geometry — swing pivots, closing prices, and candle bodies — the logic is transparent and timeframe-agnostic. It is best viewed as a framework for understanding reversal mechanics, not as a shortcut to any particular outcome.
How It Works
The strategy works entirely on closed bars and acts once per bar. It continuously tracks the market's swing structure, looking for a divergence between two consecutive fractal pivots, and then waits for a confirming candle before committing to a trade. Here is the flow in plain English:
- Finding a swing pivot (fractal): A candidate bar is confirmed as a swing high if its high is greater than the highs of the neighbouring bars on both sides (the number of bars on each side is set by
SwingLookback). A swing low is the mirror image — a low beneath its neighbours on both sides. The pivot is only evaluated once enough bars have closed on the right side to prove it is a genuine turning point. - Measuring momentum at the pivot: At each confirmed pivot, the strategy calculates momentum as the pivot's closing price minus the close from
MomPeriodbars earlier. This raw rate-of-change is the "speed" reading attached to that swing. - Testing for bearish divergence (short setup): The strategy signals a potential short when price prints a higher swing high than the previous swing high, but the momentum at the new high is lower than at the prior high. This is classic bearish divergence — price is higher, but the push behind it is weaker.
- Testing for bullish divergence (long setup): The strategy signals a potential long when price prints a lower swing low than the previous swing low, but momentum at the new low is higher than at the prior low. Price is lower, yet selling pressure is fading.
- Arming the setup: When divergence appears, the setup is "armed" but no trade is placed yet. The armed setup remembers the divergent pivot level and stays valid for a limited window defined by
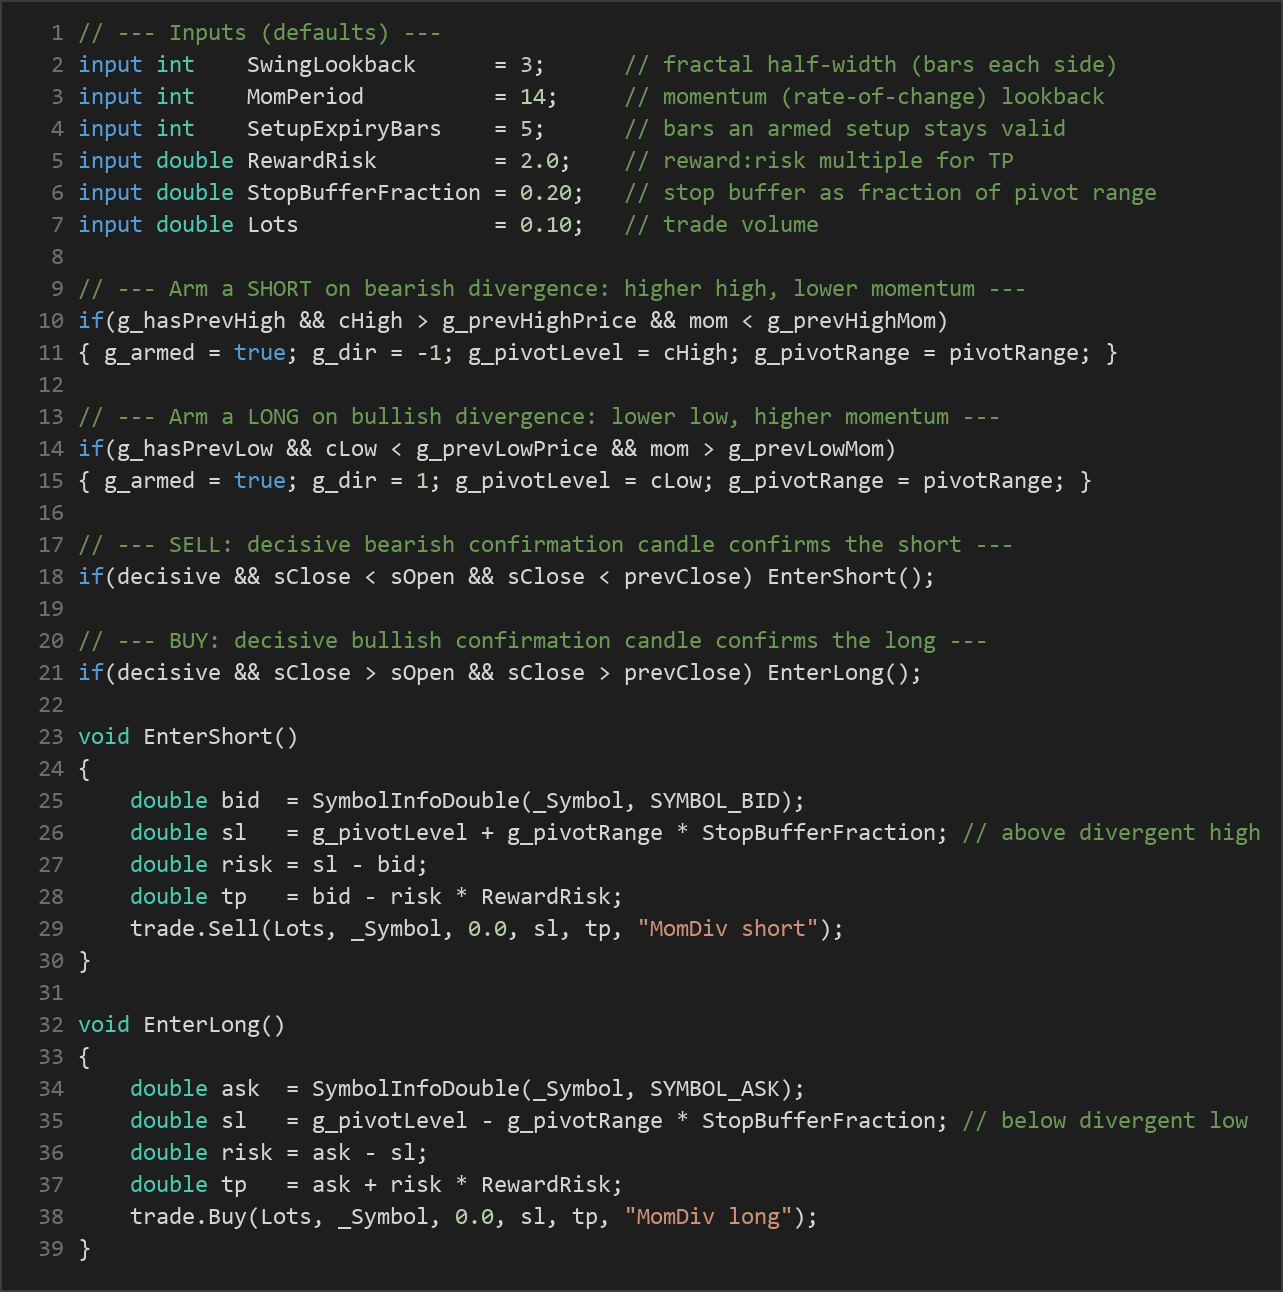
SetupExpiryBars. - Waiting for a decisive confirmation candle: Before entering, the strategy waits for a decisive candle in the reversal direction. A candle is considered "decisive" when its body (the distance between open and close) is at least 40% of its total high-to-low range — a sign of conviction rather than indecision. For a short, it also requires the close to be below the prior bar's close (downside follow-through); for a long, the close must be above the prior bar's close (upside follow-through).
- Invalidation: If price closes back beyond the divergent pivot before confirmation — a higher high holding above the short pivot, or a lower low holding below the long pivot — the thesis is considered broken and the setup is discarded. Setups also expire silently once the
SetupExpiryBarswindow passes.
Stop-loss logic: The stop is placed just beyond the divergent pivot, where the reversal idea would be proven wrong. For a short, it sits above the divergent swing high; for a long, it sits below the divergent swing low. A small buffer, sized as a fraction of the pivot bar's range (StopBufferFraction), is added so normal noise around the pivot does not trigger the stop prematurely.
Take-profit logic: The distance from entry to the stop is treated as one unit of risk. The target is placed at a fixed multiple of that risk, controlled by RewardRisk. With the default of 2.0, the target sits twice as far from entry as the stop. The strategy also holds only one position at a time, and any armed setup is cancelled while a trade is open.
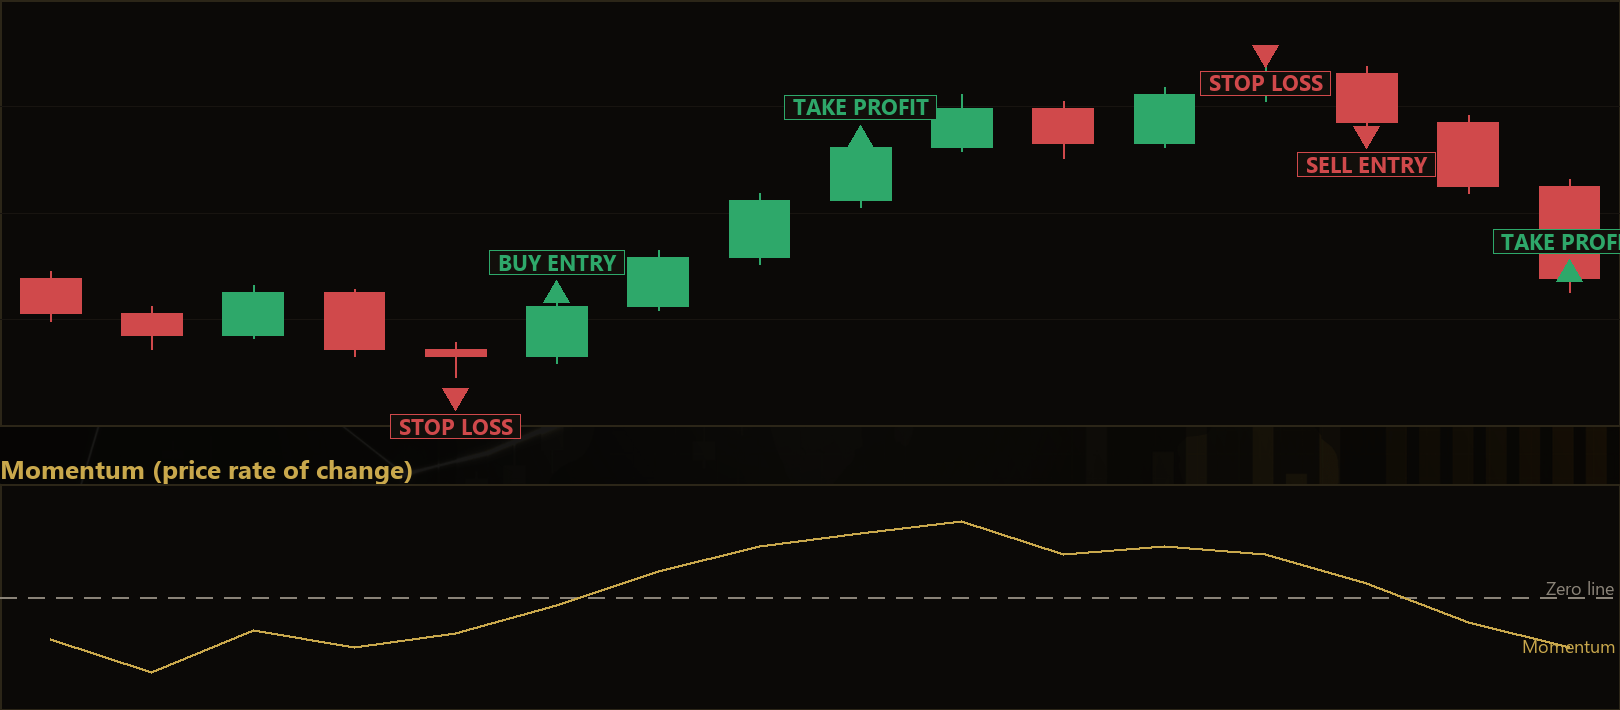
Strategy Parameters
| Parameter | Default | Min | Max | Description |
|---|---|---|---|---|
| SwingLookback | 3 | 2 | 6 | Fractal half-width — the number of bars required on each side of a pivot to confirm it as a swing high or low. Larger values demand more prominent, less frequent swings. |
| MomPeriod | 14 | 5 | 40 | Momentum (rate-of-change) lookback. Momentum at a pivot is its close minus the close this many bars earlier. Larger values smooth the momentum reading over a longer window. |
| SetupExpiryBars | 5 | 1 | 15 | How many bars an armed setup stays valid while waiting for a confirmation candle. Once this window passes without confirmation, the setup is discarded. |
| RewardRisk | 2.0 | 1.0 | 5.0 | Reward-to-risk multiple used to place the take-profit. The target distance equals this multiple times the stop distance. |
| StopBufferFraction | 0.20 | 0.0 | 1.0 | Extra stop-loss buffer expressed as a fraction of the pivot bar's high-to-low range, placed beyond the divergent pivot to absorb noise. |
| Lots | 0.10 | 0.01 | 1.0 | Fixed trade volume (position size) in lots for each order. |
(The strategy also uses a Magic number, default 5271, to tag and identify its own trades. This is an internal identifier rather than a tuning parameter.)
Recommended Chart Settings
Because Momentum Divergence Reversal is built entirely from candle geometry, it is timeframe-agnostic and runs on whatever timeframe you attach it to. That flexibility is a feature, but it also means you should choose a chart deliberately. Reversal-style logic tends to be studied most comfortably on the higher intraday and swing timeframes — for example the H1, H4, or D1 charts on a major forex pair such as EUR/USD — where swing pivots are cleaner and less prone to the noise that dominates very low timeframes.
The default parameters (a 3-bar fractal and a 14-bar momentum window) are a reasonable starting point for study on these timeframes. Whichever symbol and timeframe you choose, remember that results will vary considerably across different market conditions, instruments, and volatility regimes. Always test on the specific market and timeframe you intend to observe before drawing any conclusions.
How to Install on MetaTrader 5
- Download the .ex5 file from the link below
- Copy it to your MT5
MQL5\Expertsfolder - Restart MetaTrader 5 or refresh the Navigator panel
- Drag the EA onto a chart matching the recommended symbol and timeframe
- Configure the input parameters and enable Algo Trading
What to Consider Before Using This EA
Every strategy involves trade-offs, and an honest assessment helps you use this one as a genuine learning tool.
Strengths of the approach:
- Transparency. The logic is fully rule-based and built from price alone, so there is no hidden indicator smoothing or repainting. You can follow exactly why a setup arms and why it triggers.
- Defined risk. Every trade ships with a stop beyond the divergent pivot and a fixed reward-to-risk target, which encourages disciplined, structured risk-taking.
- Confirmation filter. Requiring a decisive candle with follow-through, rather than acting on divergence alone, is designed to filter out some premature reversals.
Known limitations:
- Counter-trend risk. Reversal strategies trade against the prevailing move. In a strong, persistent trend, divergence can appear repeatedly while price keeps running, and setups may be stopped out before the market finally turns.
- Divergence is not a timing tool. Momentum divergence historically indicates potential exhaustion, not a precise turning point. The confirmation candle helps, but late or false signals still occur.
- Whipsaw in choppy ranges. Tight, indecisive ranges can produce shallow swings that arm setups which quickly invalidate, leading to a cluster of small losing trades.
- Fixed position size. The
Lotsinput is a flat volume; it does not scale to account equity or volatility on its own.
The strategy may underperform in low-volatility drift, during news-driven spikes that ignore prior structure, and in relentless one-way trends. Treat it as a lens for studying divergence mechanics rather than a complete trading plan.
Risk Management Tips
Sound risk management matters far more than any single entry rule. As you study this strategy, keep these general principles in mind:
- Risk a small, fixed fraction per trade. Many educational sources suggest never risking more than 1–2% of account equity on any single position. Set your
Lotsand stop distance so a losing trade stays within that limit. - Understand drawdown. Even a well-designed reversal system will string together losing trades. Know the depth of losing streaks you could face before committing real capital, and size positions so you can survive them.
- Start on a demo account. Run the EA on a demo or simulated account first to observe how it behaves across different conditions without financial exposure.
- Diversify and avoid over-leverage. Concentrating risk in one instrument or using excessive leverage magnifies both outcomes. Keep leverage modest while learning.
- Keep a trading journal. Record why each setup armed, whether it confirmed, and how it resolved. Reviewing this over time teaches far more than any single result.
Risk Warning
Trading foreign exchange, CFDs, and other leveraged financial instruments involves substantial risk of loss and is not suitable for all investors. The strategies and tools discussed on this page are provided for educational purposes only and do not constitute financial advice, investment recommendations, or solicitation to trade. Always consult a qualified financial adviser before making trading decisions. Past backtest performance is not indicative of future results.
Downloads
- Expert Advisor: MomentumDivergenceReversal.ex5 (42 downloads)
- Source Code: MomentumDivergenceReversal.mq5 (43 downloads)
- Documentation: MomentumDivergenceReversal.pdf (43 downloads)