Disclaimer: This article is for educational and informational purposes only. It does not constitute financial or investment advice. Trading forex and CFDs carries significant risk of loss. Past performance of any strategy — including backtests — does not guarantee future results. Never trade with money you cannot afford to lose.
What Is This Strategy?
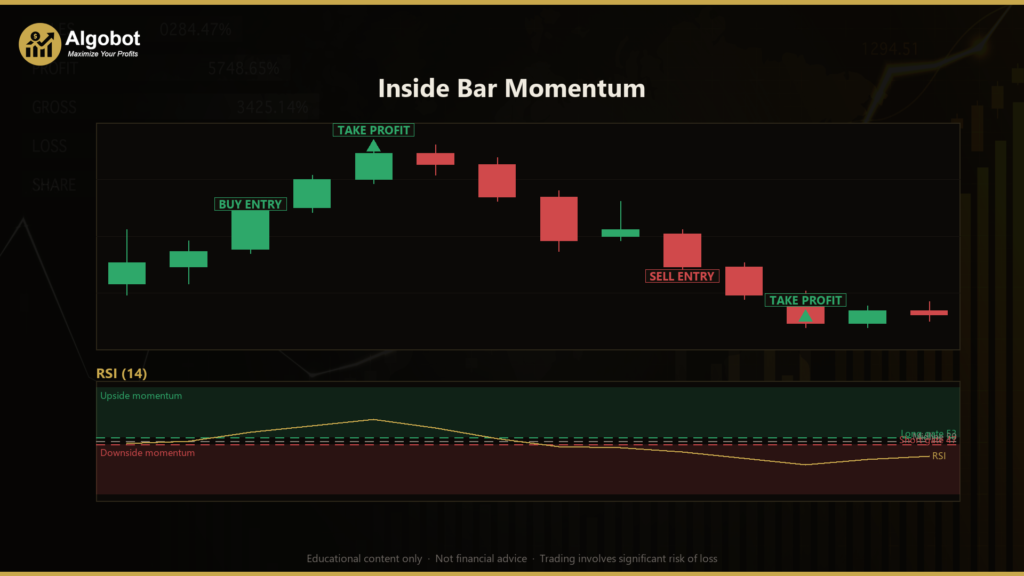
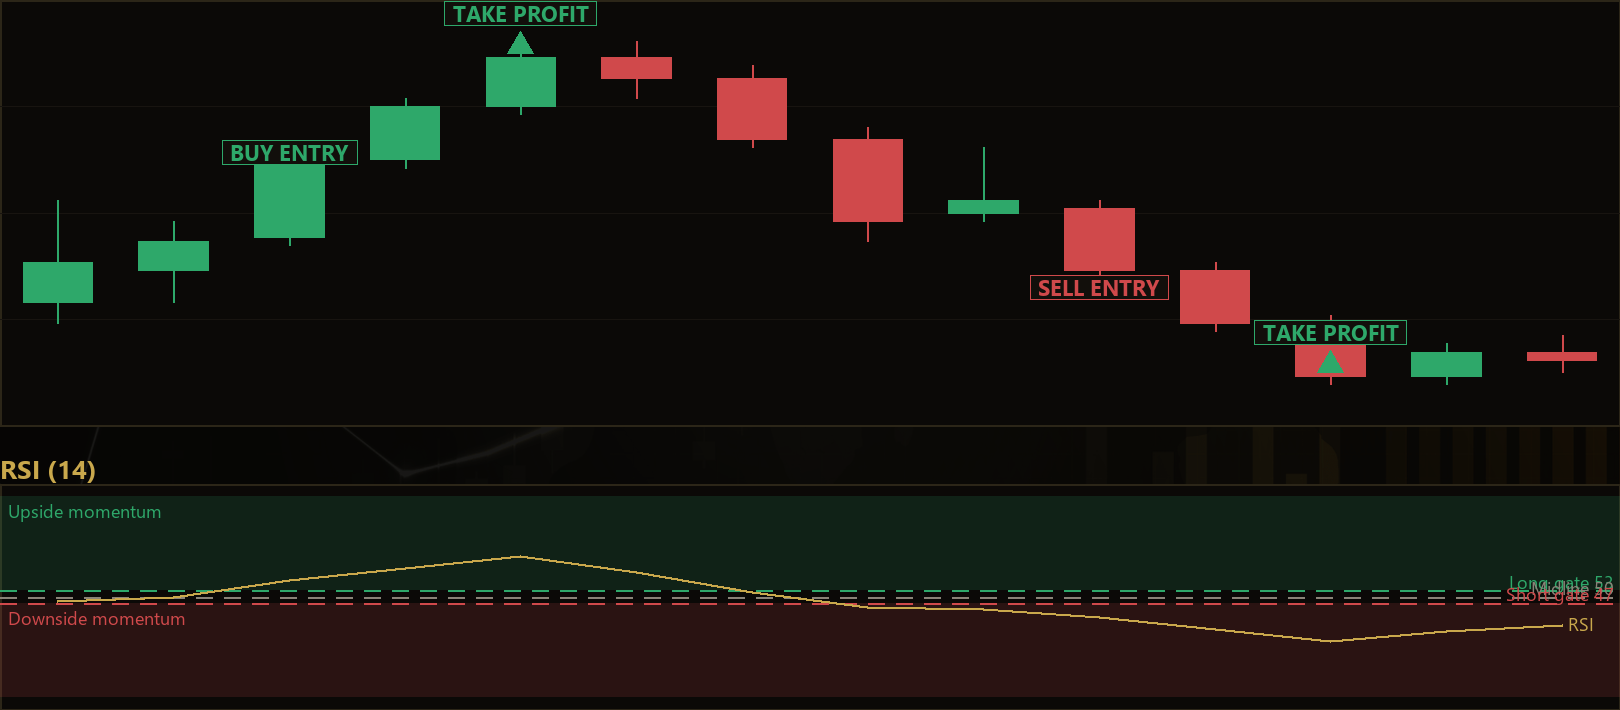
Inside Bar Momentum is a candlestick-pattern breakout strategy that combines the classic two-bar inside bar formation with an RSI (Relative Strength Index) momentum filter. The inside bar is a price pattern where one candle's entire high-to-low range sits fully inside the range of the candle before it — a visual sign that volatility has compressed, like a spring coiling before it releases. The RSI is a momentum oscillator that ranges from 0 to 100 and measures the speed and direction of recent price changes. By marrying the two, the strategy attempts to trade the expansion out of that coil only when momentum agrees with the breakout direction.
The strategy is designed for momentum-prone markets in a directional phase rather than flat, range-bound conditions. The inside bar pattern on its own is well known for producing false breaks during choppy, indecisive markets — price pokes through the breakout level and then snaps back. The RSI gate exists specifically to filter those fakeouts: a break is only taken when momentum is leaning in the same direction as the break. This makes it a study in how a confirmation filter can address a pattern's classic weakness.
As a learning tool, Inside Bar Momentum is well suited to traders who want to understand how volatility-compression patterns interact with momentum confirmation, and how to build volatility-adaptive risk using the ATR (Average True Range) indicator. It is presented here for educational analysis of the logic — not as a profit opportunity. The goal is to help you understand why each rule exists and how the pieces fit together.
How It Works
The strategy reads the two most recently closed candles on the chart's timeframe and looks for a qualifying inside bar setup. It then "arms" a breakout zone and waits for price to expand. Here is the full flow in plain English:
Detecting the coil (the setup):
- The mother bar is the older of the two candles. Its high and low become the breakout "walls."
- The mother bar must be a real range, not a tiny doji. Its size must be at least
MinMotherAtrMult× ATR — this filters out insignificant, low-energy bars. - The inside bar is the newer candle and must be fully contained inside the mother bar (its high is below the mother's high and its low is above the mother's low). This containment is the volatility compression the strategy looks for.
- When a valid inside bar closes, the strategy arms the mother bar's high and low as breakout walls and keeps them active for up to
ExpiryBarsbars.
Entry conditions (a market order on the break, not a resting pending order):
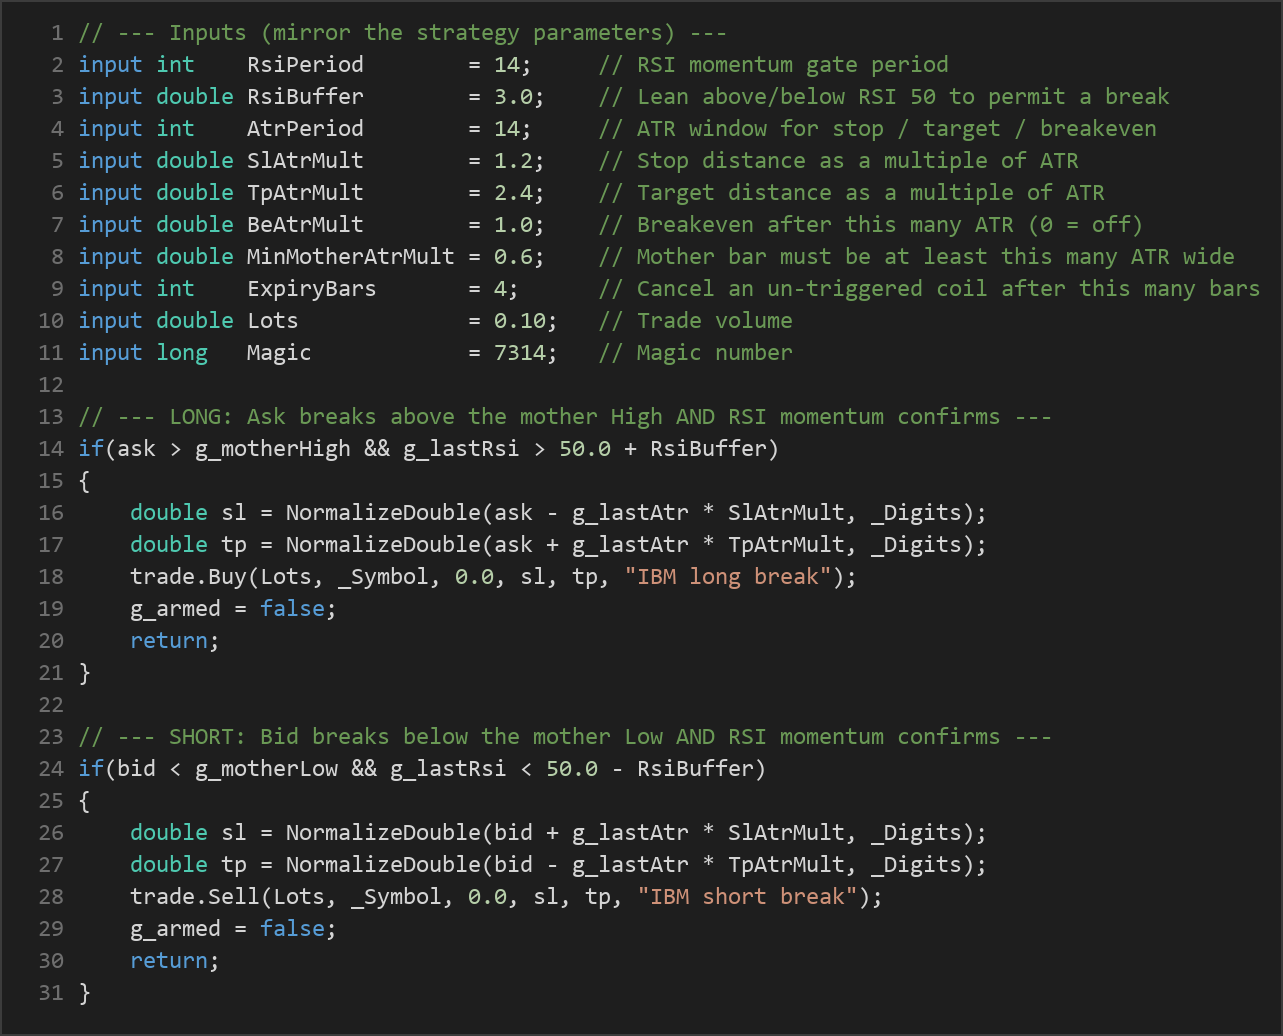
- The strategy signals a long entry when the Ask price breaks above the mother bar high and RSI is greater than 50 +
RsiBuffer— momentum confirms the upside. - The strategy signals a short entry when the Bid price breaks below the mother bar low and RSI is less than 50 −
RsiBuffer— momentum confirms the downside. - If price breaks the wall whose momentum does not confirm, the strategy simply does not trade it. That counter-momentum break is exactly the fakeout it aims to skip.
- Only one direction can ever fill, and the arm is cleared as soon as a trade opens or the coil expires.
Exit conditions — stop-loss and take-profit:
- The stop-loss is placed at ATR ×
SlAtrMultaway from entry. Because it scales with ATR, the stop automatically widens in volatile conditions and tightens in quiet ones. - The take-profit is set at ATR ×
TpAtrMultaway from entry, giving a volatility-adaptive reward target. - With the defaults (1.2 ATR stop and 2.4 ATR target), the reward-to-risk profile is roughly 2:1, meaning the target is about twice the distance of the stop.
Breakeven management:
- Once price travels
BeAtrMult× ATR in the trade's favour, the stop is pulled up (or down) to the entry price, aiming to remove the initial risk from a working trade. - Setting
BeAtrMultto 0 disables this behaviour. The strategy holds only one position at a time, identified by itsMagicnumber.
Strategy Parameters
| Parameter | Default | Min | Max | Description |
|---|---|---|---|---|
| RsiPeriod | 14 | 5 | 30 | Lookback period for the RSI momentum gate. |
| RsiBuffer | 3.0 | 0.0 | 15.0 | How far above/below the RSI 50 mid-line momentum must lean before a break is permitted. |
| AtrPeriod | 14 | 5 | 30 | ATR window used to size the stop, target, and breakeven distances. |
| SlAtrMult | 1.2 | 0.5 | 4.0 | Stop-loss distance as a multiple of ATR. |
| TpAtrMult | 2.4 | 0.5 | 6.0 | Take-profit distance as a multiple of ATR. |
| BeAtrMult | 1.0 | 0.0 | 3.0 | Move the stop to breakeven after this many ATR of favourable travel (0 = off). |
| MinMotherAtrMult | 0.6 | 0.0 | 2.0 | Minimum mother-bar width, in multiples of ATR, for the coil to count as a real range. |
| ExpiryBars | 4 | 1 | 10 | Number of bars an un-triggered armed coil stays active before it is cancelled. |
| Lots | 0.10 | 0.01 | 1.00 | Trade volume in lots. |
| Magic | 7314 | 0 | 9,999,999 | Unique identifier so the EA only manages its own positions. |
Recommended Chart Settings
Inside Bar Momentum was designed with a momentum-prone major pair in mind — such as EURUSD or GBPJPY — on the M15 or H1 timeframe. These markets tend to produce clean directional expansions out of compression, which is the behaviour the strategy is built to capture.
The strategy is single-timeframe by design: every calculation uses the chart's own timeframe, so it will run on whatever timeframe you attach it to. That flexibility comes with a caveat — results will vary considerably across different symbols, timeframes, and market conditions. A setting that behaves well on one pair during a trending phase may behave very differently on another pair or during a quiet, range-bound period. Always test any combination thoroughly before drawing conclusions.
How to Install on MetaTrader 5
- Download the .ex5 file from the link below
- Copy it to your MT5
MQL5\Expertsfolder - Restart MetaTrader 5 or refresh the Navigator panel
- Drag the EA onto a chart matching the recommended symbol and timeframe
- Configure the input parameters and enable Algo Trading
What to Consider Before Using This EA
Like every strategy, Inside Bar Momentum has both strengths and limitations worth understanding before you study it on a live or demo chart.
Strengths of this approach:
- The momentum gate directly targets the inside bar pattern's best-known weakness — false breaks in choppy markets — by refusing breaks that momentum does not confirm.
- ATR-based stops and targets are volatility-adaptive, so the risk profile self-adjusts across symbols and timeframes rather than relying on fixed pip distances.
- The breakeven mechanic offers a structured way to reduce a trade's open risk once it moves in your favour.
- The expiry rule prevents the strategy from acting on a stale coil long after the compression has lost relevance.
Known limitations:
- Breakout strategies historically struggle in tightly range-bound or low-volatility markets, where price repeatedly breaks a wall and reverses. The RSI filter reduces but does not eliminate this.
- Market entries on intra-bar ticks can be affected by slippage and spread, especially around news events, which may cause real-world fills to differ from idealized levels.
- RSI is a lagging momentum measure; in fast reversals it may confirm a direction that is already exhausting.
- A 2:1 reward-to-risk target means the strategy may have a lower win rate by design — it expects winners to be larger than losers, which requires discipline to sit through losing streaks.
This is an analytical framework for learning, not a finished system. Understanding when it may underperform is as valuable as understanding when it may signal cleanly.
Risk Management Tips
Sound risk management matters more than any single entry rule. As you study this strategy, keep these general principles in mind:
- Position sizing: Consider risking only a small, fixed fraction of your account on any one trade — many educational sources suggest no more than 1–2% per trade — so that a string of losses does not significantly damage your account.
- Use a demo account first: Test the strategy in a risk-free demo environment until you understand its behaviour across different market conditions before considering any live capital.
- Understand drawdown: Every strategy experiences losing streaks. Knowing the depth and duration of historical drawdowns helps you judge whether you could realistically tolerate them.
- Account for costs: Spread, commission, and slippage all eat into results — factor them into any evaluation rather than assuming frictionless fills.
- Avoid over-optimization: Tuning parameters until a backtest looks perfect often produces a curve-fitted result that fails on new data. Favour robust, sensible settings over fragile ones.
Risk Warning
Trading foreign exchange, CFDs, and other leveraged financial instruments involves substantial risk of loss and is not suitable for all investors. The strategies and tools discussed on this page are provided for educational purposes only and do not constitute financial advice, investment recommendations, or solicitation to trade. Always consult a qualified financial adviser before making trading decisions. Past backtest performance is not indicative of future results.
Downloads
- Expert Advisor: InsideBarMomentum.ex5 (59 downloads)
- Source Code: InsideBarMomentum.mq5 (63 downloads)
- Documentation: InsideBarMomentum.pdf (61 downloads)