Disclaimer: This article is for educational and informational purposes only. It does not constitute financial or investment advice. Trading forex and CFDs carries significant risk of loss. Past performance of any strategy — including backtests — does not guarantee future results. Never trade with money you cannot afford to lose.
What Is This Strategy?
The Harmonic Symmetry Reversal strategy is a measured-move ("AB=CD") pattern system that reads pure price structure — the swing highs and swing lows of the chart — to anticipate where a swing is likely to complete and reverse. Unlike the many momentum, moving-average, or oscillator systems you may already know, this Expert Advisor (EA) uses no smoothing indicator to generate its signal. Its only supporting tool is the Average True Range (ATR), a volatility measure used to size the "completion window" and the protective stop. The core logic is geometric: it looks for two symmetric price legs separated by a counter-trend retracement, then projects where the second leg should finish.
In classic harmonic trading, price often unfolds as an AB=CD pattern — a first directional leg (A→B), a partial pullback (B→C), and a second leg (C→D) that travels roughly the same distance as the first. When the second leg mirrors the first, the move is frequently exhausted, and the market tends to turn. Harmonic Symmetry Reversal tracks confirmed, alternating swing pivots, reads the last three of them as points A, B, and C, and projects a symmetric fourth pivot (D). It then waits patiently for price to actually reach that projected level before committing.
This EA is best understood as a counter-trend, mean-reversion learning tool. It is designed for liquid, mean-reverting instruments — think EUR/USD or XAU/USD (gold) — on intraday-to-swing timeframes such as M15 through H1. Because it fades the completion of a swing rather than chasing momentum, it suits traders who want to study swing structure, retracement geometry, and disciplined confirmation entries rather than trend-following breakouts.
How It Works
The strategy acts once per newly-closed bar and analyses only closed candles, so signals do not repaint mid-bar. Here is the full logic in plain English:
- Map the swing structure. The EA scans history for confirmed swing pivots — a bar qualifies as a swing high or swing low only if it is the most extreme point compared with
PivotLeftRightbars on each side. These pivots are then collapsed into a strictly alternating sequence (high, low, high, low, …), keeping the more extreme pivot whenever two of the same type appear in a row. - Read A, B, C. The three most recent alternating pivots become points A, B, and C — the first leg, the retracement, and the start of the projected second leg.
- Check the retracement is "harmonic." The BC pullback must retrace the AB leg by an amount inside the
RetraceMin–RetraceMaxband. A retracement that is too shallow or too deep is rejected as unbalanced. - Filter out noise. The AB leg must be at least
MinLegAtr× ATR in size, so tiny, insignificant swings are ignored. - Project the completion (D). The EA calculates D so that leg CD mirrors leg AB — a symmetric lower low for a bullish setup, or a symmetric higher high for a bearish setup. It then arms a completion zone of ±
ZoneTolAtr× ATR around D. - Confirm structure stays intact. No bar after C may break past pivot A; if it does, the setup is voided.
The strategy signals an entry only when a candle both reaches the zone and rejects it:
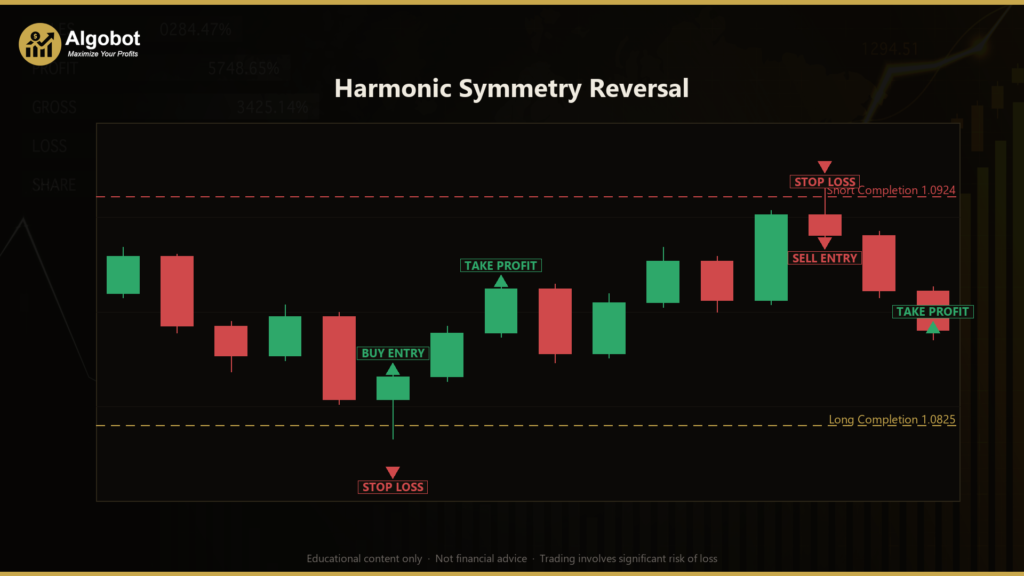
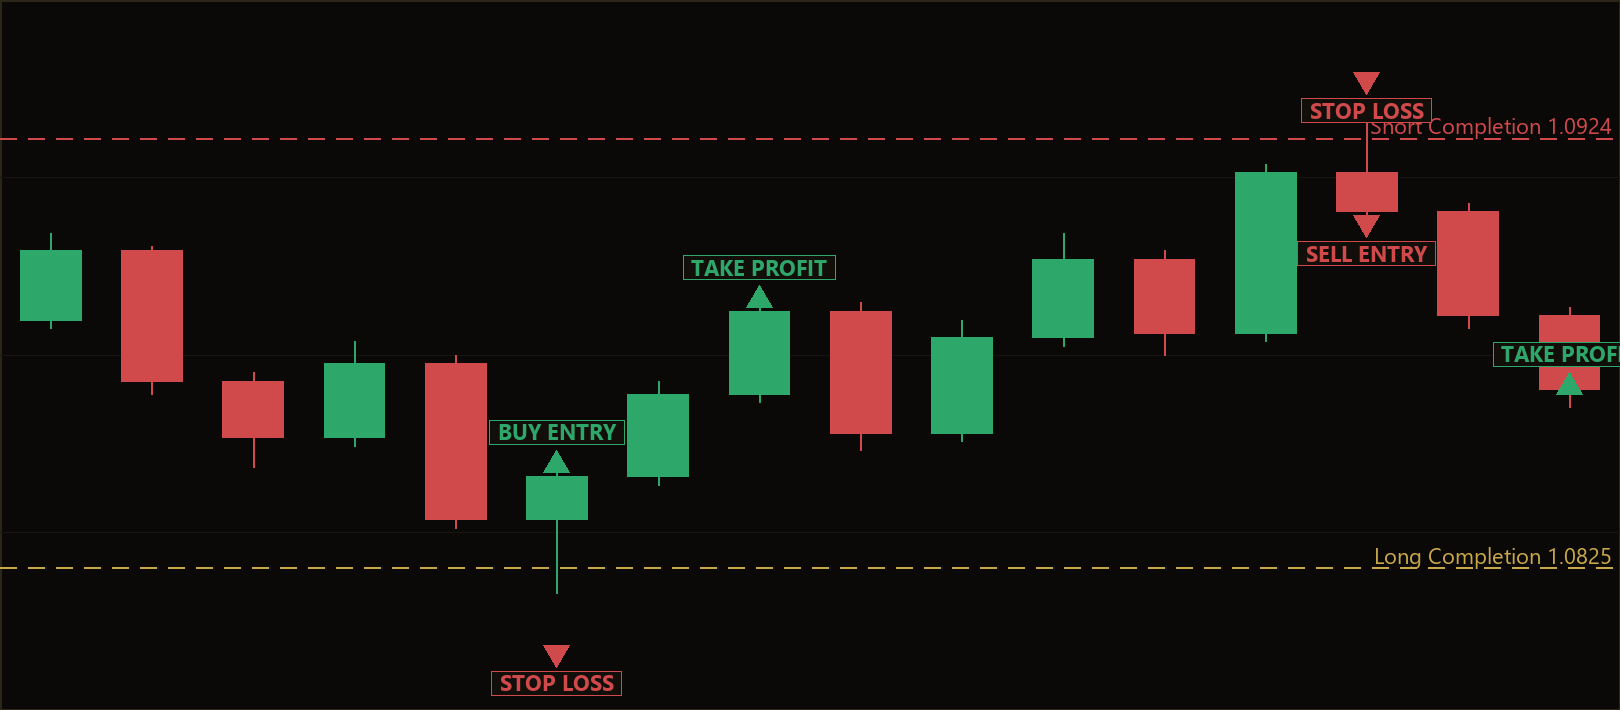
- Bullish (buy) setup: the pivots read High(A) → Low(B) → High(C) with B < C < A. The strategy signals a long when a bar dips into the D zone and then closes back above the completion level as a bullish (up-close) rejection candle — fading the completed down-swing.
- Bearish (sell) setup: the pivots read Low(A) → High(B) → Low(C) with A < C < B. The strategy signals a short when a bar pokes into the D zone and then closes back below the completion level as a bearish (down-close) rejection candle — fading the completed up-swing.
- Freshness filter: the completion trigger must occur within
MaxWaitBarsbars of pivot C, otherwise the setup is considered stale and skipped.
Stop-loss logic: the protective stop is placed just beyond the reclaim bar's extreme by StopAtrMult × ATR — below the low for longs, above the high for shorts. This anchors risk to the actual reversal point plus a volatility buffer.
Take-profit logic: the target is a fixed multiple of the measured risk, set by RewardRatio. If the stop distance is 20 pips and the reward ratio is 1.80, the target sits 36 pips from entry. The EA holds one position per magic number at a time and lets the broker-side stop-loss and take-profit manage the exit — there is no discretionary intervention.
Strategy Parameters
| Parameter | Default | Min | Max | Description |
|---|---|---|---|---|
| PivotLeftRight | 3 | 2 | 8 | Bars required on each side of a bar for it to qualify as a confirmed swing pivot. Higher values yield larger, rarer swings. |
| RetraceMin | 0.38 | 0.20 | 0.60 | Minimum BC retracement of the AB leg for the pattern to count as harmonic. |
| RetraceMax | 0.90 | 0.60 | 1.00 | Maximum BC retracement of the AB leg allowed before the setup is rejected. |
| ZoneTolAtr | 0.75 | 0.20 | 2.00 | Half-width of the completion window around D, measured in ATR units. |
| MinLegAtr | 1.50 | 0.50 | 5.00 | Minimum size of the AB leg in ATR units — filters out noise-sized swings. |
| StopAtrMult | 0.60 | 0.10 | 2.00 | Stop distance placed beyond the reclaim bar's extreme, in ATR units. |
| RewardRatio | 1.80 | 1.00 | 5.00 | Take-profit distance as a multiple of the stop distance. |
| MaxWaitBars | 25 | 5 | 80 | Maximum bars allowed between pivot C and the completion trigger — keeps the setup fresh. |
| AtrPeriod | 14 | 5 | 40 | Lookback period for the ATR volatility calculation. |
| Lots | 0.10 | 0.01 | 1.00 | Fixed order volume (position size). |
| Magic | 8817 | 0 | 9,999,999 | Unique identifier so the EA manages only its own trades. |

Recommended Chart Settings
Harmonic Symmetry Reversal was designed for liquid, mean-reverting instruments such as EUR/USD or XAU/USD (gold) on the M15 to H1 timeframes. The strategy reads every bar with the chart's primary timeframe, so it will run on whatever timeframe you attach it to — but the default parameters were tuned with intraday swing structure in mind. Because it fades completed swings, it tends to be more at home in ranging or oscillating conditions than in strong one-way trends. Results will vary across different symbols, timeframes, brokers, and market conditions, so treat any single configuration as a starting point for your own study rather than a finished setting.
How to Install on MetaTrader 5
- Download the .ex5 file from the link below
- Copy it to your MT5
MQL5\Expertsfolder - Restart MetaTrader 5 or refresh the Navigator panel
- Drag the EA onto a chart matching the recommended symbol and timeframe
- Configure the input parameters and enable Algo Trading
What to Consider Before Using This EA
Every approach has strengths and trade-offs, and it helps to understand both before committing capital — even on a demo account.
Strengths. The strategy is built on a clear, well-known chart pattern with objective rules, which makes it a good vehicle for learning how swing structure and retracement geometry work. Because it demands both a zone tag and a rejection-candle reclaim, it avoids blindly catching falling knives — the price must show evidence of turning before an order is placed. Risk is defined structurally on every trade, and the ATR scaling means stops and zones adapt to changing volatility.
Known limitations. Reversal and mean-reversion systems face their hardest environment during strong, persistent trends, where a "completed" swing may simply keep extending and repeatedly stop out counter-trend entries. The AB=CD projection is a probabilistic estimate, not a certainty — price may reverse before reaching D, overshoot it, or ignore the symmetry entirely. Pivot detection also inherently lags, since a swing point can only be confirmed after PivotLeftRight bars have printed on both sides, so the pattern is recognised somewhat after the fact. Finally, wide zones (ZoneTolAtr) can produce more signals of lower quality, while narrow zones may miss valid completions — parameter choice is a genuine trade-off, not a free lunch.
The honest takeaway: this is a structured, educational implementation of a classic pattern, not a shortcut. It may indicate potential reversal points, but no pattern wins every time.
Risk Management Tips
- Risk a small, fixed percentage per trade. A common guideline among educators is to risk no more than 1–2% of account equity on any single position. Adjust the
Lotssize so the distance to your stop reflects that percentage rather than using a fixed lot blindly. - Test on a demo account first. Run the EA on a demo or a small account for an extended period, across different market conditions, before considering real capital.
- Understand drawdown. Even a sound strategy will experience losing streaks. Know the maximum historical drawdown you are willing to tolerate and size positions so a bad run does not threaten your account.
- Respect correlation. Running the EA on several correlated symbols at once can multiply your effective risk. Treat the whole portfolio, not just one chart, as your risk unit.
- Keep records and review. Journaling each trade — the setup, the outcome, and your observations — turns the EA into a learning tool rather than a black box.
Risk Warning
Trading foreign exchange, CFDs, and other leveraged financial instruments involves substantial risk of loss and is not suitable for all investors. The strategies and tools discussed on this page are provided for educational purposes only and do not constitute financial advice, investment recommendations, or solicitation to trade. Always consult a qualified financial adviser before making trading decisions. Past backtest performance is not indicative of future results.
Downloads
- Expert Advisor: HarmonicSymmetryReversal.ex5 (38 downloads)
- Source Code: HarmonicSymmetryReversal.mq5 (43 downloads)
- Documentation: HarmonicSymmetryReversal.pdf (60 downloads)