Disclaimer: This article is for educational and informational purposes only. It does not constitute financial or investment advice. Trading forex and CFDs carries significant risk of loss. Past performance of any strategy — including backtests — does not guarantee future results. Never trade with money you cannot afford to lose.
What Is This Strategy?
The Engulfing Boundary Hedge is a pure price-action scalping strategy built around the engulfing candlestick pattern and a self-constructed floor pivot boundary — with no traditional indicators such as moving averages, RSI, ATR, or VWAP involved. Instead of leaning on lagging calculations, every decision is derived from raw candle geometry: the open, high, low, and close of recent bars. A scalper is a short-term trading style that aims to capture small, frequent moves rather than holding positions for days.
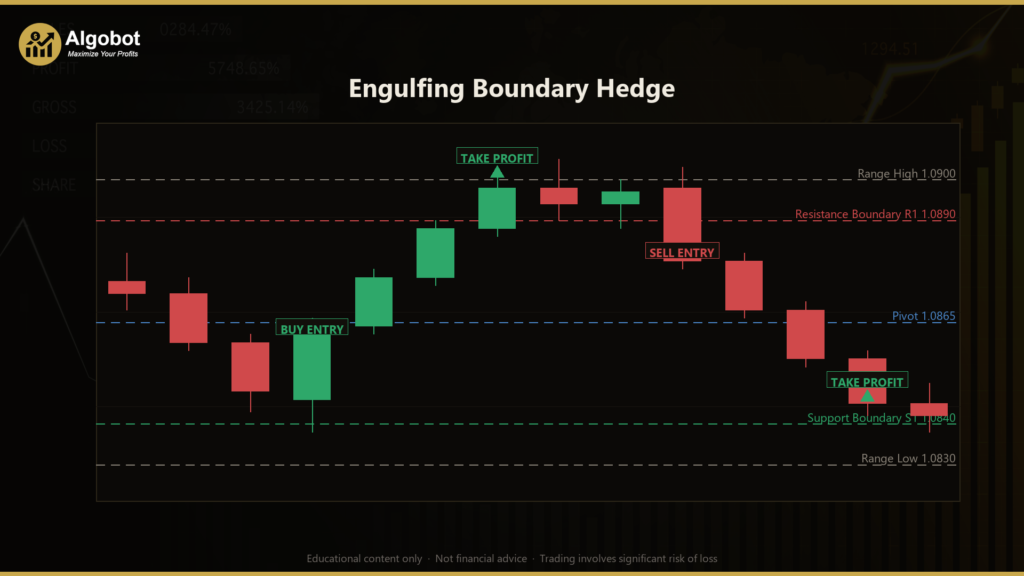
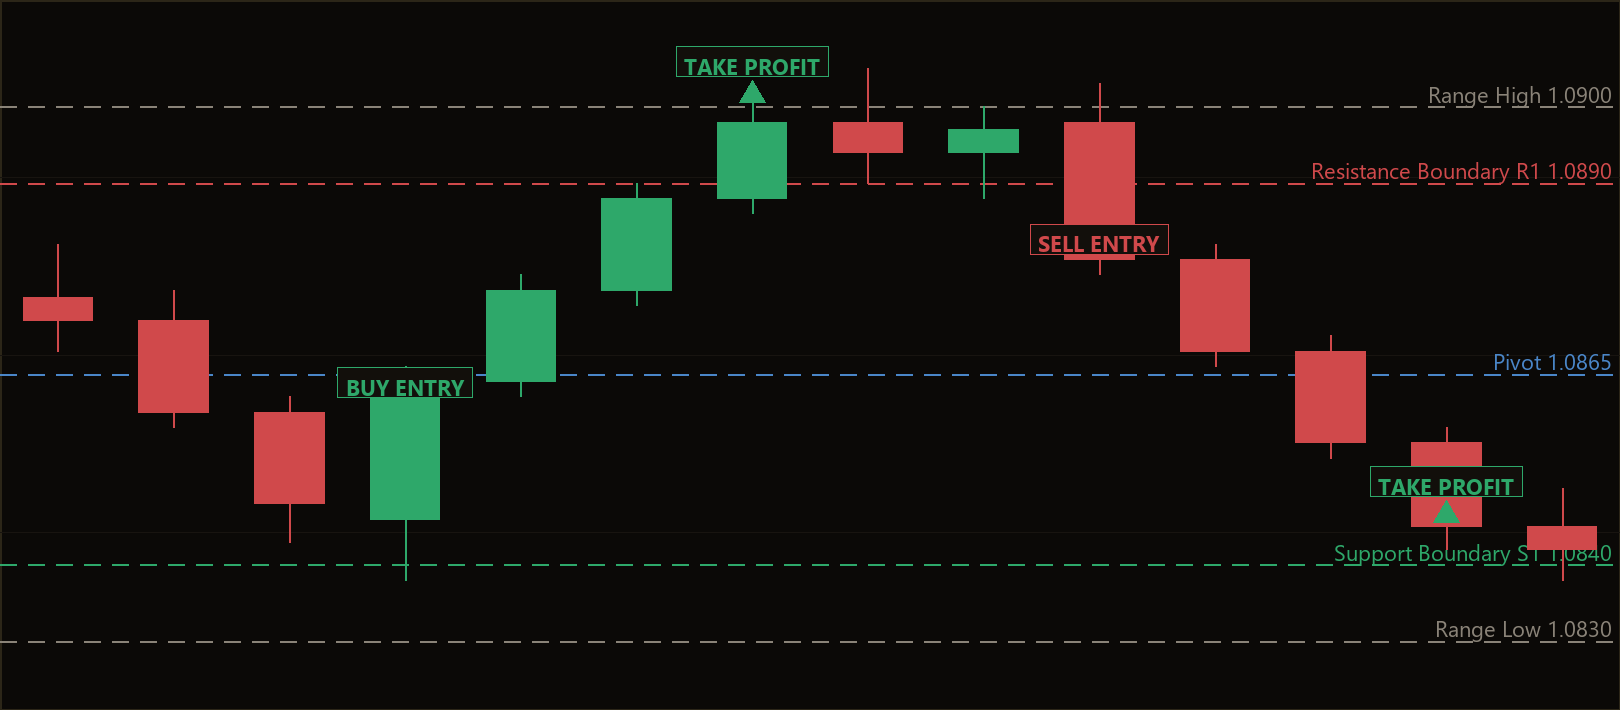
The strategy is designed for fast, range-prone markets on lower timeframes. It maps out the recent trading range, places classic pivot-derived support and resistance levels inside that range, and waits for an engulfing candle — a candle whose body completely "swallows" the previous candle's body — to signal a potential turning point. From there it can either fade the boundary (a reversal scalp) or, if no fade applies, ride a clean break of the range (a breakout). Layered on top is a hedging overlay that can open an opposite position when a trade moves against it, which is why the system requires a hedging-enabled account.
As a learning tool, this strategy is well suited to traders who want to study how candlestick reversal patterns interact with pivot-based support and resistance, and how a rules-based hedge can be used to manage an adverse move. It is best understood as a structured framework for analysis and education — not as a profit opportunity. Treat it as a way to explore price-action mechanics, structure-based stops, and hedging logic in a controlled, repeatable form.
How It Works
The strategy rebuilds its "map" on every closed bar using the last Lookback bars before the signal candle. It then evaluates a single completed candle for an entry.
Building the boundary (the map):
- HH / LL — the highest high and lowest low of the lookback window define the range edges.
- Pivot P — calculated as
(HH + LL + prior close) / 3, the classic floor pivot. - R1 (resistance) —
2P − LL, the upper reaction boundary. - S1 (support) —
2P − HH, the lower reaction boundary. - A buffer (a fraction of the range) is added beyond HH/LL to qualify breakouts.
Entry conditions — the strategy signals a trade when:
- A valid engulfing candle forms. The body must fully cover the previous candle's body, and the body must be at least
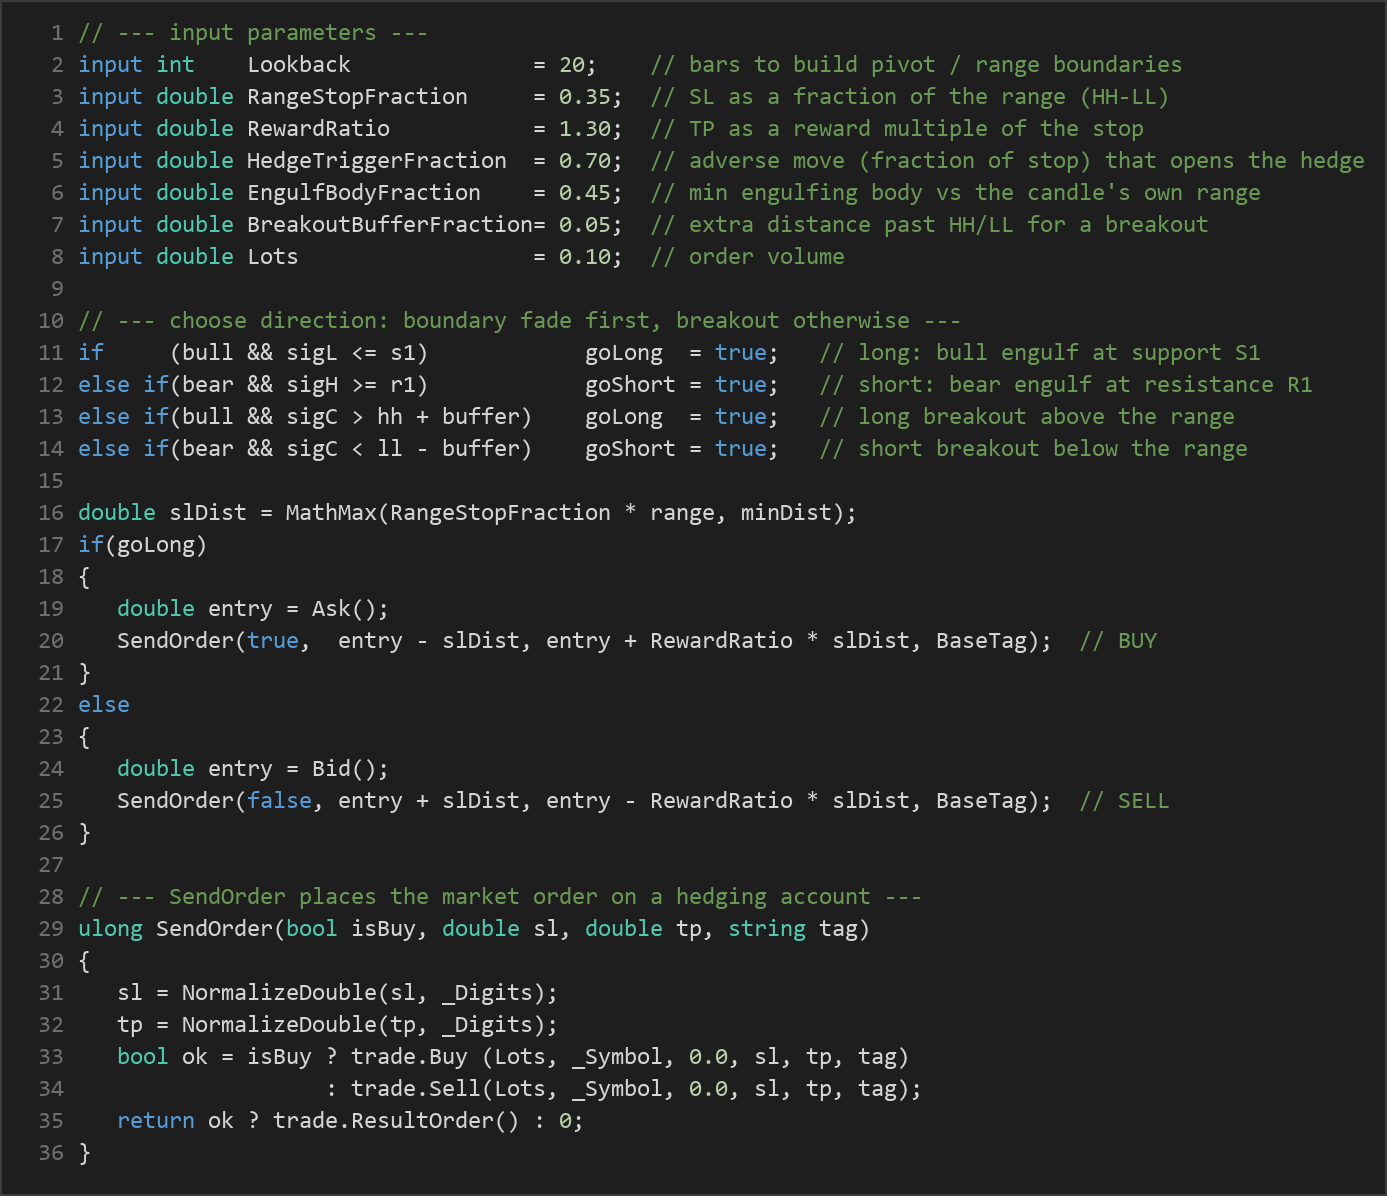
EngulfBodyFractionof the candle's own high-to-low range (this filters out indecisive doji-like candles). - Reversal long — a bullish engulfing candle whose low dipped to or below S1 signals a potential snap-back off support.
- Reversal short — a bearish engulfing candle whose high tagged or exceeded R1 signals a potential snap-back off resistance.
- Breakout long — only if no reversal applies, a bullish engulfing candle closing above HH + buffer signals a potential upside range break.
- Breakout short — only if no reversal applies, a bearish engulfing candle closing below LL − buffer signals a potential downside range break.
- Only one base trade per side can exist at a time, and new entries are skipped while the spread is wider than
MaxSpreadPoints.
Stop-loss logic:
- The stop distance is structure-based, set to
RangeStopFractionof the measured range (HH − LL), and never tighter than the broker's minimum stop level.
Take-profit logic:
- The target is a fixed reward multiple:
RewardRatio × stop distance. With the default values, the strategy aims for a reward larger than the risk on each base trade.
Hedge overlay (the protective layer):
- Each base trade can spawn one opposite hedge. If price runs against the base by
HedgeTriggerFractionof its own stop distance, an opposite-side position is opened so the adverse continuation may be captured rather than left to bleed the base. - When the base recovers back to break-even, the hedge is lifted.
- If the base closes (via take-profit or stop-loss), any leftover orphan hedge is flattened. At most you hold one base per side plus its hedge — a deliberately tight book.
Strategy Parameters
| Parameter | Default | Min | Max | Description |
|---|---|---|---|---|
| Lookback | 20 | 8 | 60 | Number of bars used to build the pivot and range boundaries. |
| RangeStopFraction | 0.35 | 0.10 | 1.00 | Stop-loss distance as a fraction of the measured range (HH − LL). |
| RewardRatio | 1.30 | 0.50 | 3.00 | Take-profit set as a reward multiple of the stop distance. |
| HedgeTriggerFraction | 0.70 | 0.30 | 1.50 | Adverse move (as a fraction of stop distance) that arms the opposite hedge. |
| EngulfBodyFraction | 0.45 | 0.10 | 0.90 | Minimum engulfing body size versus the candle's own range (filters doji noise). |
| BreakoutBufferFraction | 0.05 | 0.00 | 0.30 | Extra distance past HH/LL (fraction of range) required to qualify a breakout. |
| MaxSpreadPoints | 40 | 0 | 500 | Skip new entries while spread (in points) is wider than this (0 = off). |
| Lots | 0.10 | 0.01 | 1.00 | Order volume per trade. |
| Magic | 73010 | 0 | 9,999,999 | Magic number used to identify this EA's positions. |
Recommended Chart Settings
This strategy was designed for fast, range-prone markets — a liquid FX major (such as EUR/USD or GBP/USD) or a metal like gold is the natural home. The intended timeframes are M5 or M15, where short-term swings inside a defined range occur frequently enough to feed the engulfing-plus-boundary logic.
Because the system holds both buy and sell positions at the same time through its hedge overlay, it requires a hedging-enabled MetaTrader 5 account (not a netting account). Keep in mind that behavior will vary considerably across different symbols, brokers, spreads, and market conditions. A setting that suits one instrument may need adjustment for another, so always test on the specific symbol and timeframe you intend to study.
How to Install on MetaTrader 5
- Download the .ex5 file from the link below
- Copy it to your MT5
MQL5\Expertsfolder - Restart MetaTrader 5 or refresh the Navigator panel
- Drag the EA onto a chart matching the recommended symbol and timeframe
- Configure the input parameters and enable Algo Trading
What to Consider Before Using This EA
Strengths of this approach. The strategy is fully rules-based and transparent — every entry traces back to candle geometry and pivot math you can verify by hand. Because it uses no indicators, there are no lagging signals or repainting concerns. Stops and targets are tied to market structure rather than fixed pip counts, so they adapt to the range size. The single-base-per-side rule and one-hedge cap keep the position book small and easy to reason about.
Known limitations. Engulfing patterns are common, and not every engulfing candle marks a genuine reversal; many "fades" against support or resistance fail when momentum continues. Pivot boundaries are a simplified model of support and resistance and may not align with the levels other participants watch. The hedge overlay is a risk-management tool, not a guarantee — opening an opposite position locks in a spread cost and can compound losses if price whipsaws around the trigger level. The break-even recovery rule may also lift a hedge just before price reverses again.
Where it may underperform. In strongly trending markets, repeated reversal fades against a boundary can accumulate losses, while breakout entries may arrive late. In very quiet or thin conditions, spreads can widen past the MaxSpreadPoints guard and signals may dry up. As always, results historically vary with volatility regime, broker execution, and the chosen parameter set. Use this EA as an educational framework for studying these dynamics, not as a hands-off solution.
Risk Management Tips
Sound risk management matters far more than any single entry rule. Consider the following general principles as part of your study:
- Position sizing. Size each trade so that a full stop-loss represents only a small slice of your account. A common educational guideline is to risk no more than 1–2% of capital per trade.
- Account for the hedge. Because this strategy can hold a base and a hedge simultaneously, your total exposure can be larger than a single position. Factor that into your sizing.
- Use a demo account first. Test the EA in a risk-free demo environment until you fully understand how it behaves across different conditions before considering any live use.
- Understand drawdown. Even a well-designed strategy will experience losing streaks. Know the maximum drawdown you are willing to tolerate and how it affects your capital.
- Avoid over-optimization. Tuning parameters to fit past data can produce results that fail going forward. Favor robust, sensible settings over curve-fitted ones.
- Monitor costs. Spreads, commissions, and swap fees all erode results, especially for a high-frequency scalping style. Keep them in view.
Risk Warning
Trading foreign exchange, CFDs, and other leveraged financial instruments involves substantial risk of loss and is not suitable for all investors. The strategies and tools discussed on this page are provided for educational purposes only and do not constitute financial advice, investment recommendations, or solicitation to trade. Always consult a qualified financial adviser before making trading decisions. Past backtest performance is not indicative of future results.
Downloads
- Expert Advisor: EngulfingBoundaryHedge.ex5 (61 downloads)
- Source Code: EngulfingBoundaryHedge.mq5 (59 downloads)
- Documentation: EngulfingBoundaryHedge.pdf (66 downloads)