Disclaimer: This article is for educational and informational purposes only. It does not constitute financial or investment advice. Trading forex and CFDs carries significant risk of loss. Past performance of any strategy — including backtests — does not guarantee future results. Never trade with money you cannot afford to lose.
What Is This Strategy?
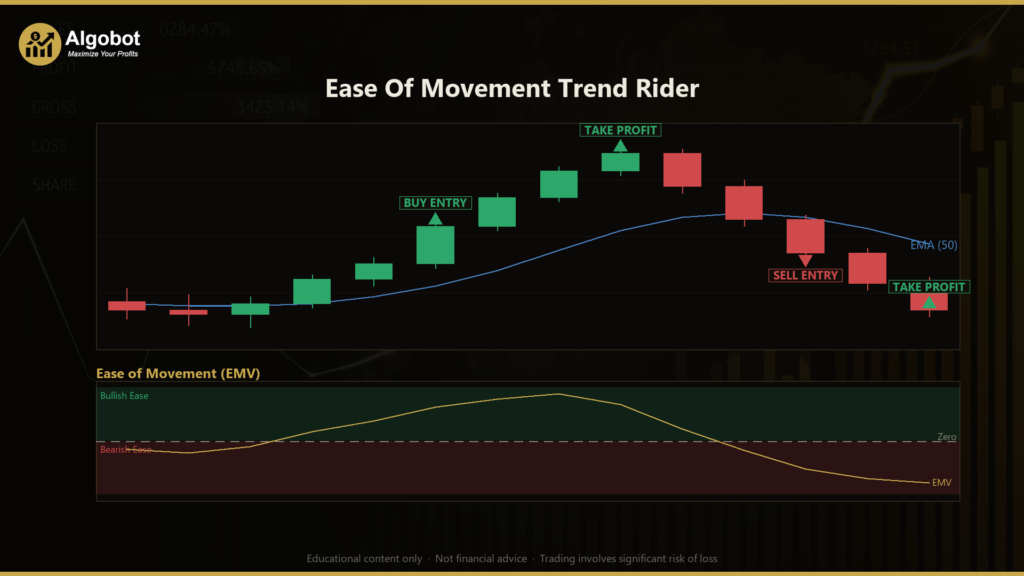
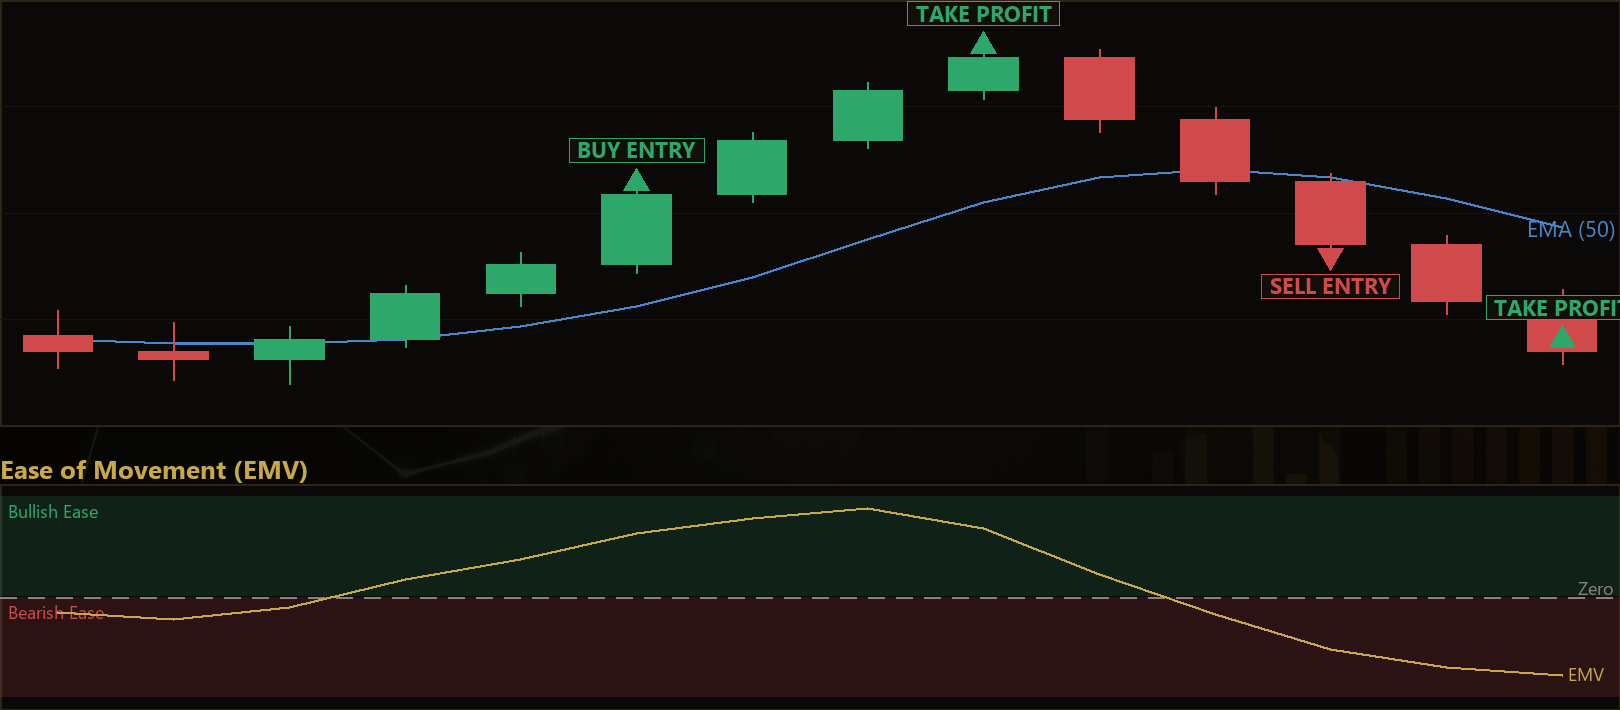
The Ease Of Movement Trend Rider is a volume-aware, trend-continuation trading system built around Richard Arms' classic Ease of Movement (EMV) indicator. EMV is a momentum tool that fuses three pieces of market information — price direction, the trading range of each bar, and volume — into a single reading. The core idea it measures is efficiency: how far price can travel without needing heavy volume to get there. When a market advances a meaningful distance on relatively light volume, it is said to be moving "with ease," and that low-effort push is exactly the condition this strategy is built to detect.
Rather than acting on the EMV reading alone, the Ease Of Movement Trend Rider layers volume-confirmed momentum on top of two additional filters: a moving-average trend filter and a structural breakout confirmation. In plain terms, it waits for a market that is already trending, that is moving efficiently in the direction of that trend, and that has just broken a recent swing high or low. Only when all three ideas agree does it consider a trade. This "three things must line up" design is deliberate — it suppresses the many false signals that a raw EMV zero-cross would otherwise generate in choppy conditions.
As a learning tool, this strategy suits traders who want to understand how volume can be combined with price action and trend structure to build a rules-based entry model. It is a useful case study in confluence — the practice of requiring several independent conditions to align before committing to a trade. Treat it as a framework for study and experimentation, not as a shortcut. The sections below break down exactly how each component works.
How It Works
The strategy evaluates its logic only on closed bars, meaning it never acts on the currently forming candle. This "non-repainting" design ensures that a signal you see in a backtest is a signal that would genuinely have existed in real time. Every decision uses a single timeframe — the chart's primary timeframe.
Entry conditions (a long trade signals when all four agree):
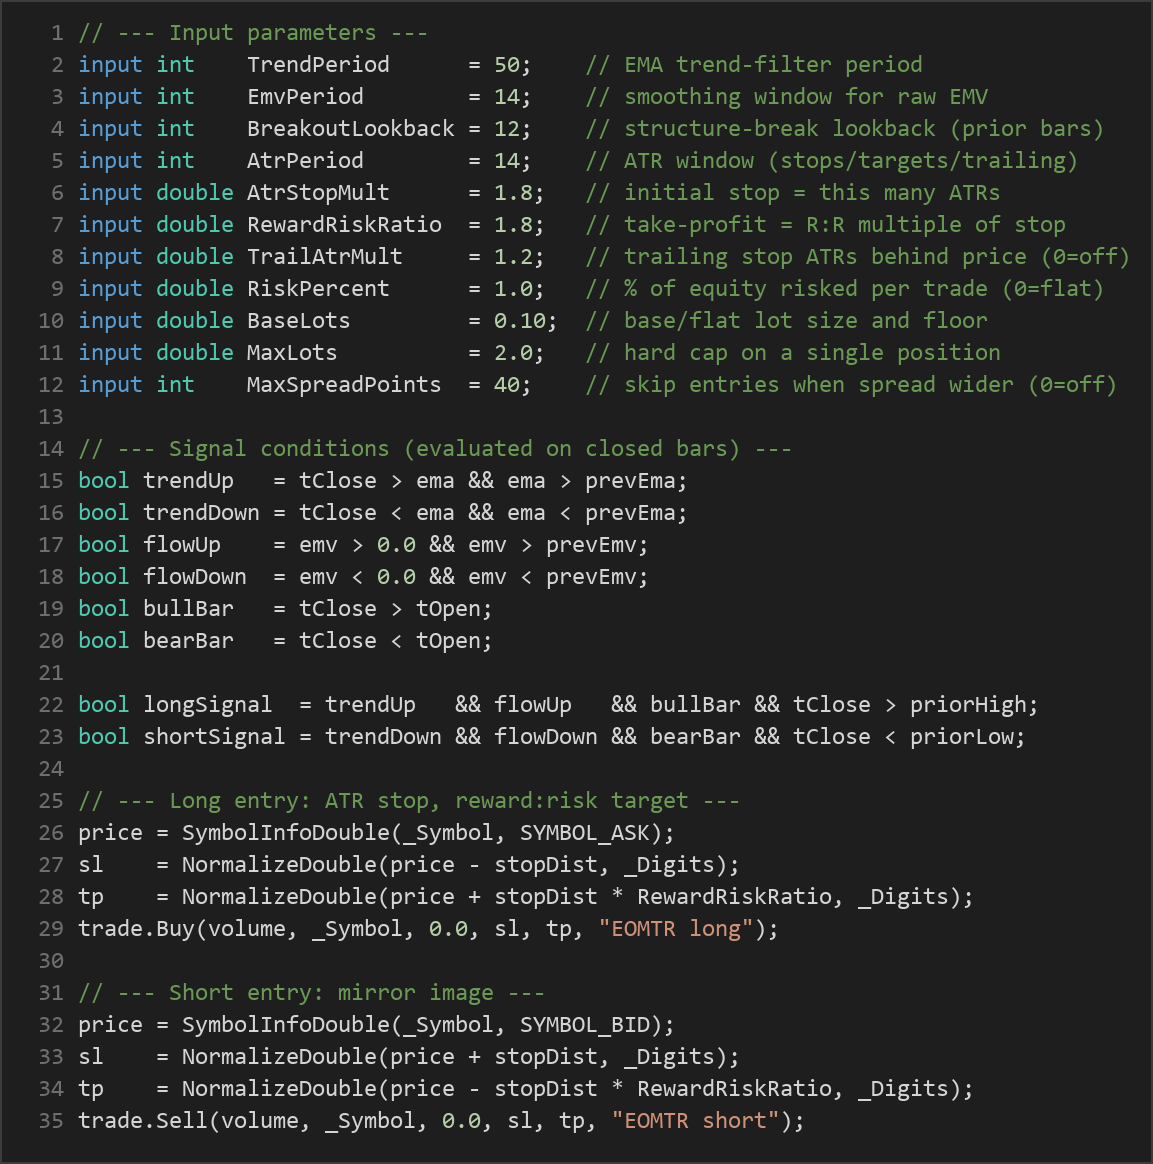
- Trend: The most recent closed bar closes above a rising Exponential Moving Average (EMA) — an average of closing prices that weights recent data more heavily. The EMA must be sloping upward (higher than its prior value) to confirm an established uptrend.
- Ease / Flow: The smoothed Ease of Movement reading is positive and rising. A positive EMV indicates price is advancing efficiently; a rising EMV means that efficient momentum is building rather than fading.
- Structure: The trigger bar closes above the highest high of the prior N bars — a genuine break of recent market structure rather than a brief intrabar spike.
- Candle confirmation: The trigger bar is bullish (it closes above its open), so the breakout is backed by a convincing candle body.
A short trade signals under the mirror-image conditions: price below a falling EMA, EMV negative and falling, a close below the prior N-bar low, and a bearish confirming candle.
Stop-loss logic:
- On entry, the strategy places an initial stop a fixed number of Average True Range (ATR) units away from the fill price. ATR measures recent volatility, so the stop automatically adapts — wider in fast markets, tighter in calm ones.
Take-profit logic:
- A take-profit target is set at a reward-to-risk multiple of the stop distance. For example, with a 1.8 multiple, the target sits 1.8 times further from entry than the stop, meaning a winning trade aims to earn more than a losing trade risks.
Trade management:
- Once a position is open, an ATR chandelier trailing stop may follow price. It trails a set number of ATRs behind the market and only ever ratchets in the trade's favour — it never loosens. This lets a strong trend run while protecting accumulated open gains.
- The strategy holds only one position per magic number at a time, and it skips new entries when the spread is wider than a configurable limit, helping avoid poor fills during illiquid periods.
Position sizing:
- Lot size is calculated using fixed-fractional money management, risking a set percentage of account equity across the stop distance, then clamped between a base floor and a hard cap. If tick metadata is unavailable, it falls back to an equity-scaled base lot.
Strategy Parameters
| Parameter | Default | Min | Max | Description |
|---|---|---|---|---|
| TrendPeriod | 50 | 20 | 200 | EMA period for the trend filter. Price must sit on the correct side and the EMA must slope in that direction. |
| EmvPeriod | 14 | 5 | 40 | Smoothing window (SMA) applied to the raw Ease-of-Movement series. |
| BreakoutLookback | 12 | 3 | 40 | Number of prior bars whose high/low the trigger bar must close beyond for a structure break. |
| AtrPeriod | 14 | 7 | 30 | ATR window used for stop, target, and trailing distances. |
| AtrStopMult | 1.8 | 0.5 | 4.0 | Initial stop distance, expressed as this many ATRs from entry. |
| RewardRiskRatio | 1.8 | 0.8 | 5.0 | Take-profit distance as a reward:risk multiple of the stop distance. |
| TrailAtrMult | 1.2 | 0.0 | 3.0 | Chandelier trailing-stop distance in ATRs behind price (0 disables trailing). |
| RiskPercent | 1.0 | 0.0 | 5.0 | Percent of equity risked per trade (0 uses the flat BaseLots size). |
| BaseLots | 0.10 | 0.01 | 1.0 | Base/flat lot size, and the floor for calculated sizing. |
| MaxLots | 2.0 | 0.01 | 10.0 | Hard cap on any single position's lot size. |
| MaxSpreadPoints | 40 | 0 | 200 | Skip entries when spread (in points) exceeds this value (0 disables the filter). |
Recommended Chart Settings
The Ease Of Movement Trend Rider is designed to run on a single timeframe — the chart it is attached to — and its default parameters (a 50-period EMA, 14-period ATR and EMV) are tuned with liquid instruments and intraday-to-swing timeframes in mind, such as the H1 or H4 charts on major forex pairs. Because EMV relies on volume, it tends to behave most consistently on instruments where tick or real volume is meaningful and reasonably stable.
There is no single "correct" symbol or timeframe. Results will vary considerably across different markets, sessions, and volatility regimes. Before committing to any configuration, study how the strategy behaves on the specific instrument and timeframe you intend to use, and adjust the parameters to match that market's typical range and trend character.
How to Install on MetaTrader 5
- Download the
EaseOfMovementTrendRider.ex5file from the link below - Copy it to your MT5
MQL5\Expertsfolder - Restart MetaTrader 5 or refresh the Navigator panel
- Drag the EA onto a chart matching the recommended symbol and timeframe
- Configure the input parameters and enable Algo Trading
What to Consider Before Using This EA
Strengths of this approach. The strategy's main appeal is its insistence on confluence. By requiring trend, volume-confirmed ease of movement, and a structural break to agree simultaneously, it filters out a large share of the noise that trips up single-indicator systems. Its risk framework is also well-rounded: volatility-adaptive stops, a defined reward-to-risk target, a ratcheting trailing stop, and equity-based position sizing are all sensible building blocks that many discretionary traders apply manually.
Known limitations. Ease of Movement depends on volume quality. In forex, MetaTrader typically reports tick volume rather than true traded volume, which is only a proxy — so the EMV reading may be less reliable on some brokers or instruments. Trend-continuation systems that demand a breakout also tend to enter after a move has begun, which can mean giving up part of the initial thrust and occasionally buying near a short-term exhaustion point.
Where it may underperform. Like most trend-following logic, this approach can struggle in range-bound, sideways, or sharply mean-reverting markets, where breakouts frequently fail and the EMA offers little directional edge. Choppy, low-volatility conditions may produce a string of small losing trades as false breakouts get stopped out. No configuration removes these risks — they are inherent to the style. Historically, trend systems earn their results in a minority of strongly trending periods and endure drawdowns in between.
Risk Management Tips
Sound risk management matters more than any single entry signal. Consider the following educational principles:
- Risk only a small fraction per trade. Many educators suggest risking no more than 1–2% of account equity on any single position, so that a losing streak does not threaten your capital. The
RiskPercentparameter lets you encode this directly. - Test on a demo account first. Run the strategy on a demo or simulated account until you understand its behaviour, its typical trade frequency, and how it responds to different market conditions.
- Understand drawdown. Every strategy experiences losing periods. Study the maximum peak-to-trough decline you might face and ask honestly whether you could tolerate it, both financially and emotionally.
- Size positions deliberately. Use the
MaxLotscap to prevent oversized trades, and never override your sizing rules to "make back" a loss. - Account for costs. Spreads, commissions, and slippage all erode results. The
MaxSpreadPointsfilter helps avoid trading in unusually wide-spread conditions, but real-world costs should always be factored into your expectations.
Risk Warning
Trading foreign exchange, CFDs, and other leveraged financial instruments involves substantial risk of loss and is not suitable for all investors. The strategies and tools discussed on this page are provided for educational purposes only and do not constitute financial advice, investment recommendations, or solicitation to trade. Always consult a qualified financial adviser before making trading decisions. Past backtest performance is not indicative of future results.
Downloads
- Expert Advisor: EaseOfMovementTrendRider.ex5 (59 downloads)
- Source Code: EaseOfMovementTrendRider.mq5 (57 downloads)
- Documentation: EaseOfMovementTrendRider.pdf (66 downloads)