Disclaimer: This article is for educational and informational purposes only. It does not constitute financial or investment advice. Trading forex and CFDs carries significant risk of loss. Past performance of any strategy — including backtests — does not guarantee future results. Never trade with money you cannot afford to lose.
What Is This Strategy?
The Boundary Fade Scalp Hedge is a pure price-action scalping and hedging system for MetaTrader 5 that uses no technical indicators of any kind — no moving averages, no RSI, no ATR, and no pivot points. Every decision is driven by raw bar highs and lows, candle wick sizes, and the floating profit or loss of the open position basket. In other words, it tries to mechanize the way a discretionary trader would manage a mean-reversion book by hand, reading the chart structure directly rather than relying on derived signals.
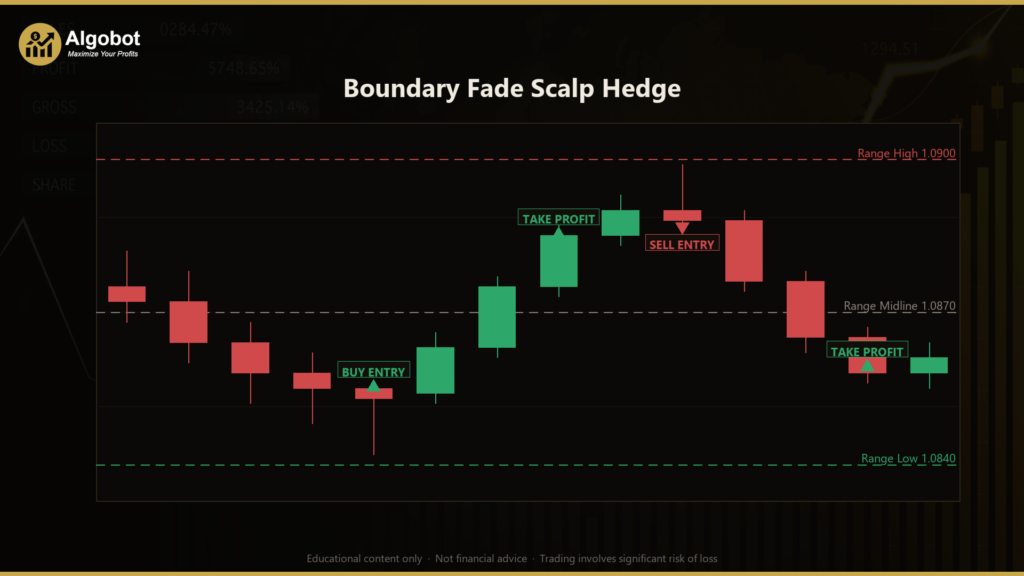
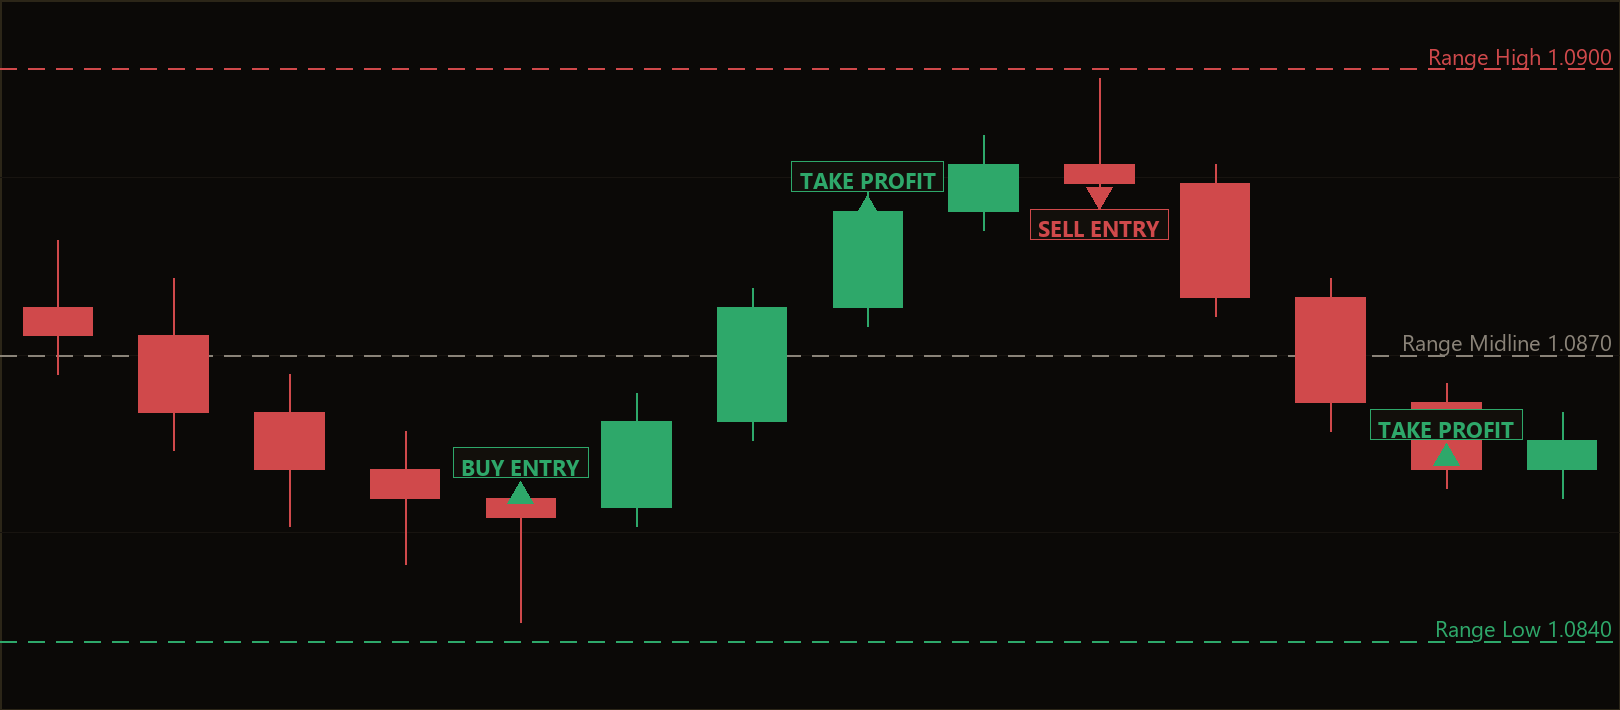
At its core, the strategy is built around a single idea: inside a quiet micro-range, the upper and lower boundaries behave like elastic walls. Price repeatedly pokes at an edge, leaves a rejection wick (a long tail showing the level was tested and refused), and then snaps back toward the middle. "Fading" those rejections — trading against the poke, back toward the mean — is a classic high-hit-rate scalp. A scalp is a short-duration trade aiming for a small, quick gain. The well-known weakness of any edge-fade approach is the moment the range finally breaks: the fade is suddenly on the wrong side of a runaway move. To address that failure mode, this system arms a recovery hedge — a larger opposing position opened in the breakout direction once the original fade has run a defined distance against it.
This is best understood as a strategy-analysis and learning tool, not a profit opportunity. It is suitable for traders who want to study how boundary rejection logic, candle wick filters, basket-level money management, and hedging interact inside a single rules-based system. Because it holds two opposing positions at once, it is also a useful case study in how hedging account mechanics differ from netting accounts.
How It Works
The strategy operates on a single primary timeframe and moves through three states: flat, engaged, and basket-managed. Here is the step-by-step logic in plain English.
Measuring the range (while flat):
- On each newly closed bar, the strategy measures the micro-range over the last
RangeLookbackclosed bars before the signal bar — taking the highest high (rangeHigh) and lowest low (rangeLow). - The midpoint (
mid) is the average of those two, and the width is the distance between them. All distances below scale to this width, so the logic self-adjusts to any symbol or timeframe. - An "edge zone" is defined near each boundary, sized as
EdgeFracof the width.
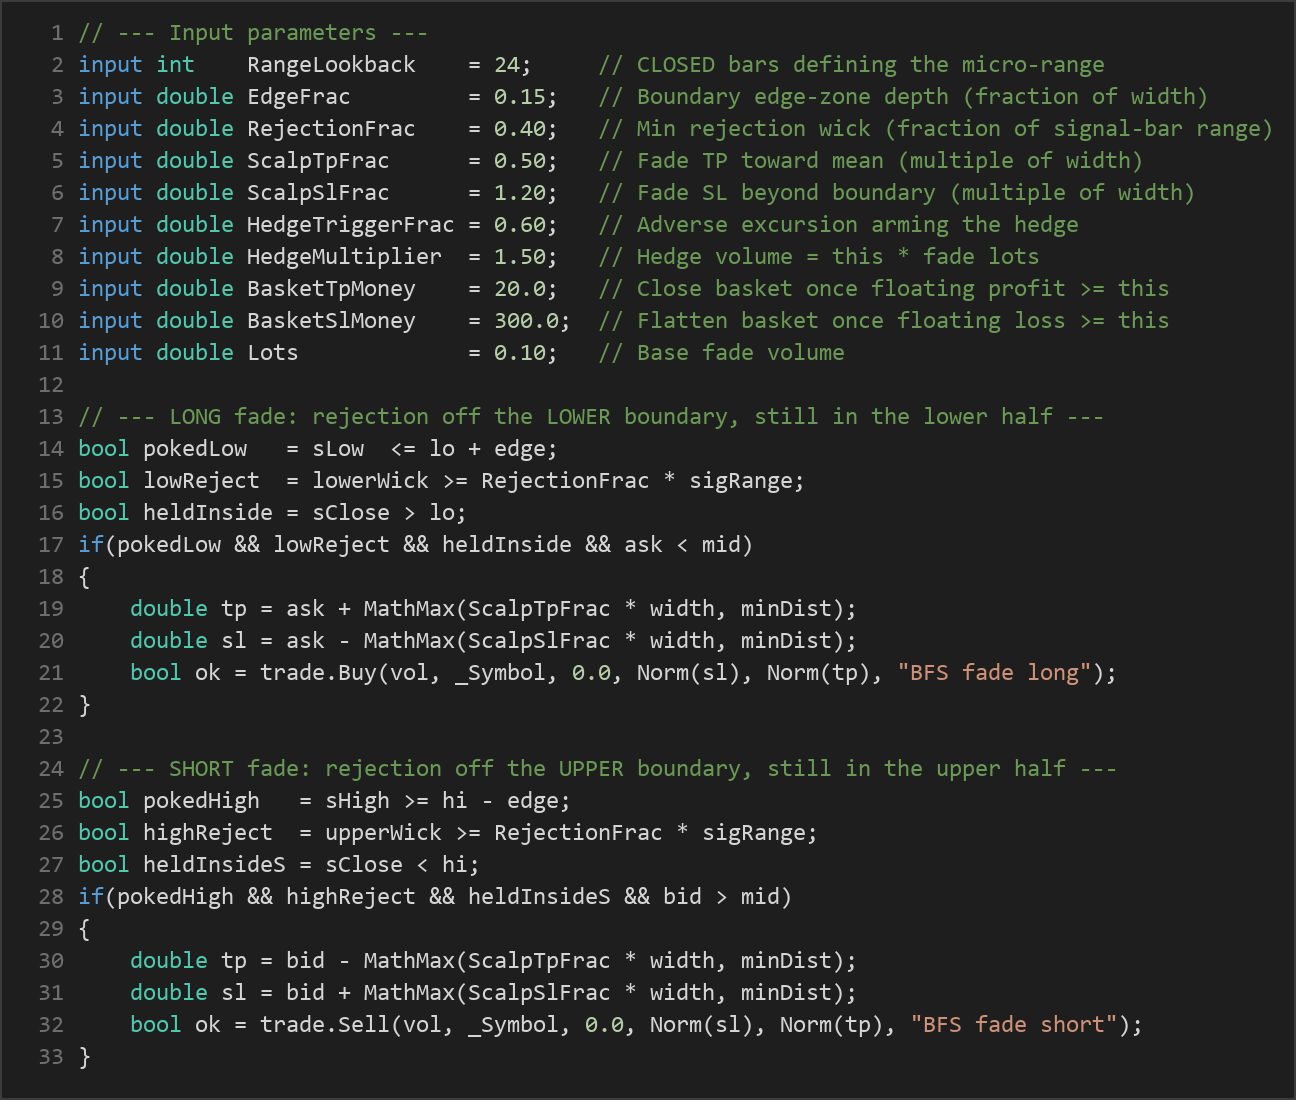
Long fade entry — the strategy signals a buy when:
- The just-closed bar dipped into the lower edge zone (its low reached
rangeLow + EdgeFrac × width). - That bar printed a lower rejection wick at least
RejectionFracof its own total range, indicating the level was tested and refused. - The bar closed back inside the range (above
rangeLow), and current price is still in the lower half (belowmid). - The strategy then sends a market buy, fading the rejection back toward the mean.
Short fade entry — the mirror image: the same conditions at the upper boundary (an upper rejection wick, close back below rangeHigh, price above mid) trigger a market sell.
Per-trade exits on the fade:
- Each fade carries a take-profit toward the mean, sized
ScalpTpFrac × width. - Each fade carries a wide protective stop-loss beyond the boundary, sized
ScalpSlFrac × width. The stop is deliberately wide because the boundary is expected to be retested before any true break.
Arming the recovery hedge (while engaged):
- If a lone fade runs
HedgeTriggerFrac × widthagainst the entry — a sign the range may be genuinely breaking — and no hedge yet exists, the strategy fires a market order in the breakout direction. - This hedge is sized
HedgeMultiplier × the fade lots, so a multiplier above 1 leaves the basket net-long the breakout. The hedge itself carries no individual stop or target; the basket layer governs its exit.
Basket-level exits (the dominant control):
- The strategy closes everything the moment the basket's net floating profit reaches
BasketTpMoney— banking a clean scalp win or a recovered breakout at the book level. - The strategy flattens everything if the basket's floating loss reaches
BasketSlMoney— a hard ceiling on combined risk. - A spread filter (
MaxSpreadPoints) blocks new fades when the spread is too wide, helping avoid poor fills during illiquid conditions.
Strategy Parameters
| Parameter | Default | Min | Max | Description |
|---|---|---|---|---|
| RangeLookback | 24 | 6 | 120 | Number of closed bars whose highest high and lowest low define the micro-range. |
| EdgeFrac | 0.15 | 0.02 | 0.45 | Depth of the boundary "edge zone," as a fraction of the range width. |
| RejectionFrac | 0.40 | 0.00 | 0.90 | Minimum rejection wick at the boundary, as a fraction of the signal bar's range. |
| ScalpTpFrac | 0.50 | 0.10 | 1.50 | Fade take-profit toward the mean, as a multiple of the range width. |
| ScalpSlFrac | 1.20 | 0.30 | 3.00 | Fade protective stop beyond the boundary, as a multiple of the range width. |
| HedgeTriggerFrac | 0.60 | 0.10 | 2.00 | Adverse move that arms the recovery hedge, as a multiple of range width. |
| HedgeMultiplier | 1.50 | 1.00 | 3.00 | Recovery hedge volume as a multiple of the fade lots (above 1 = net-breakout). |
| BasketTpMoney | 20.0 | 2.0 | 2000.0 | Close the whole basket once floating profit reaches this (account currency). |
| BasketSlMoney | 300.0 | 20.0 | 100000.0 | Flatten the whole basket once floating loss reaches this (account currency). |
| MaxSpreadPoints | 25 | 0 | 500 | Skip new fades while the spread (in points) is wider than this (0 = off). |
| Lots | 0.10 | 0.01 | 1.00 | Base fade volume in lots. |
| Magic | 6470 | 0 | 9,999,999 | Unique magic number identifying this EA's positions. |
Recommended Chart Settings
The Boundary Fade Scalp Hedge was designed with a liquid, range-prone FX major in mind — such as EURUSD or AUDUSD — on the M5 or M15 timeframe. These conditions are the natural habitat of repeated boundary rejections that a recovery hedge is intended to backstop. Because all of the strategy's distances are expressed as fractions of the measured range width and as account-currency amounts, it can technically be applied to other symbols and timeframes without recoding the point math.
That flexibility does not imply portability of results. Range behavior, spread, volatility, and breakout frequency vary widely across instruments and sessions, so outcomes will differ — sometimes substantially — across different market conditions. Always study the behavior on your own broker's data before drawing conclusions.
How to Install on MetaTrader 5
- Download the
BoundaryFadeScalpHedge.ex5file from the link below. - Copy it to your MT5
MQL5\Expertsfolder. - Restart MetaTrader 5 or refresh the Navigator panel.
- Drag the EA onto a chart matching the recommended symbol and timeframe.
- Configure the input parameters and enable Algo Trading.
Important: This system holds two opposing legs at once (fade + hedge) and therefore requires a hedging account. On a netting account, the opposite hedge order would net the fade out instead of arming a true protective hedge.
What to Consider Before Using This EA
A balanced assessment matters more than enthusiasm. Here is an educational look at the trade-offs.
Strengths of the approach:
- It is fully transparent. With no indicators, the logic reduces to readable price geometry — boundaries, wicks, and floating P/L — making it a clear teaching example of how discretionary mean-reversion can be expressed in code.
- Distances are self-scaling. Because targets and triggers are fractions of the measured range, the same rules adapt to different volatility regimes rather than relying on fixed pip values.
- The basket take-profit and basket stop-loss provide explicit, account-level risk boundaries that are easy to reason about.
Known limitations:
- Fade strategies historically perform best in quiet, ranging markets and tend to struggle in strong trends or during news-driven expansion. The hedge is designed to address breakouts, but it does not eliminate the underlying risk.
- Hedging introduces its own complications: holding both legs ties up margin, can incur swap on both sides, and the recovery hedge can itself be caught if price whipsaws back through the entry after the hedge is armed.
- The
HedgeMultiplierincreases exposure precisely when the market is moving against the original position. A larger basket can recover faster, but it can also accelerate losses if the move reverses or the basket stop is reached. - Wide stops mean an individual fade can sit in significant unrealized loss before either the basket take-profit, the basket stop, or the per-trade stop resolves it.
This strategy is offered as a structured way to study these dynamics — not as a claim about future outcomes.
Risk Management Tips
Risk management is the core skill that separates durable trading from gambling. Consider these general principles when studying any automated strategy:
- Use a demo account first. Run the EA on a demo or a small test account for an extended period across varied market conditions before committing real capital.
- Size positions conservatively. A common educational guideline is to risk no more than 1–2% of account equity on any single idea. With a basket system, treat
BasketSlMoneyas your real per-cycle risk and size it against your account, not the other way around. - Understand drawdown. Even a strategy with a high hit rate will experience losing streaks. Know the maximum loss you are prepared to tolerate and confirm the basket stop reflects it.
- Respect margin and leverage. Holding two opposing legs consumes margin on both sides; verify your account can absorb the combined exposure of the fade plus a multiplied hedge.
- Test parameter changes deliberately. Altering one input — such as
HedgeMultiplierorScalpSlFrac— can meaningfully change the risk profile. Change one variable at a time and observe the effect.
Risk Warning
Trading foreign exchange, CFDs, and other leveraged financial instruments involves substantial risk of loss and is not suitable for all investors. The strategies and tools discussed on this page are provided for educational purposes only and do not constitute financial advice, investment recommendations, or solicitation to trade. Always consult a qualified financial adviser before making trading decisions. Past backtest performance is not indicative of future results.
Downloads
- Expert Advisor: BoundaryFadeScalpHedge.ex5 (62 downloads)
- Source Code: BoundaryFadeScalpHedge.mq5 (59 downloads)
- Documentation: BoundaryFadeScalpHedge.pdf (64 downloads)