Disclaimer: This article is for educational and informational purposes only. It does not constitute financial or investment advice. Trading forex and CFDs carries significant risk of loss. Past performance of any strategy — including backtests — does not guarantee future results. Never trade with money you cannot afford to lose.
What Is This Strategy?
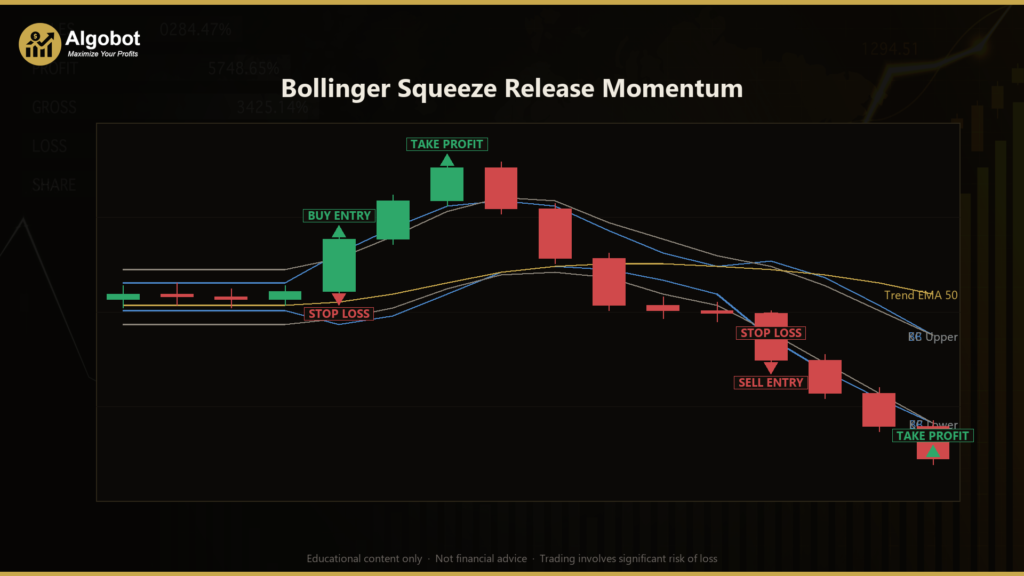
The Bollinger Squeeze Release Momentum strategy is a volatility-compression breakout system built around the classic Bollinger Bands and Keltner Channel "squeeze" — a technical pattern that highlights when a market's price range is coiling tightly before an expansion. It is a momentum-breakout trading style: instead of buying dips or fading extremes, it waits for a period of low volatility to end and then trades in the direction that price begins to expand.
The core idea comes from a well-known observation among technical traders: markets alternate between contraction (quiet, range-bound periods) and expansion (fast directional moves). A Bollinger Band plots a moving average of price with an upper and lower band set a number of standard deviations away, so the bands widen when volatility rises and pinch inward when it falls. A Keltner Channel does something similar but measures width using the Average True Range (ATR), a volatility gauge based on the size of each bar's trading range. When the narrower Bollinger Bands slip entirely inside the wider Keltner Channels, volatility is unusually compressed — the "squeeze is on." When the bands push back outside, that release of energy is treated as the ignition point of a potential move.
As a learning tool, this strategy is well suited to intermediate traders who already understand moving averages and want to study how volatility and momentum filters can be combined into a single rules-based system. Every calculation in the code is derived from completed price bars, which means the signals do not repaint (they will not change after the fact). This makes it a clean example for studying breakout logic, ATR-based risk control, and volatility-scaled position sizing. It is presented here as a strategy analysis — a way to understand how the mechanics fit together — not as a shortcut to guaranteed outcomes.
How It Works
The strategy evaluates its rules once per completed bar and only considers a new trade when no position is already open. Here is the logic in plain English:
- Detecting the squeeze: On each bar, the strategy calculates the Bollinger Bands (a simple moving average of the close plus/minus a multiple of standard deviation) and the Keltner Channels (an EMA of the close plus/minus a multiple of ATR). The squeeze is considered on when both Bollinger Bands sit completely inside both Keltner Channels — a sign of tight, coiled volatility with no clear trend.
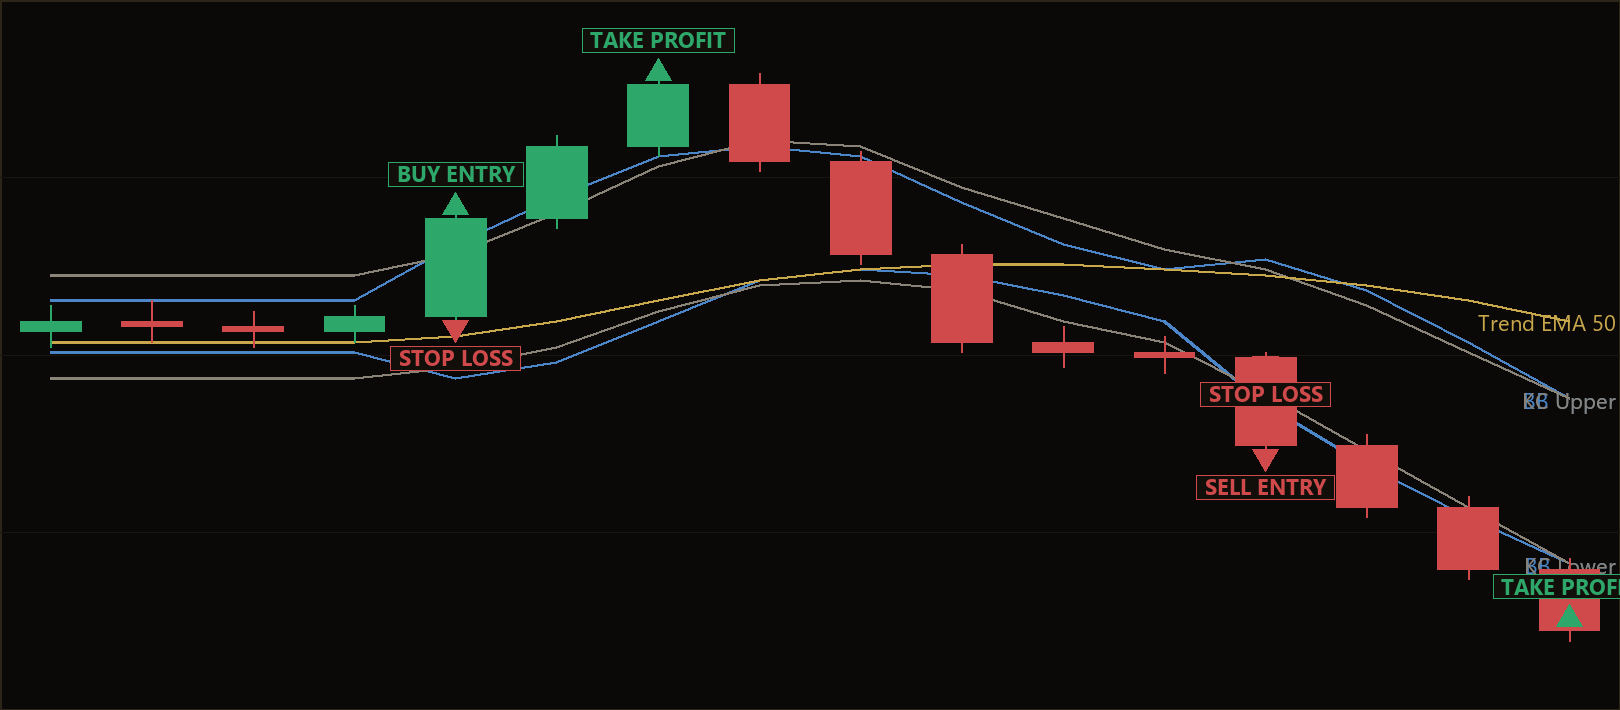
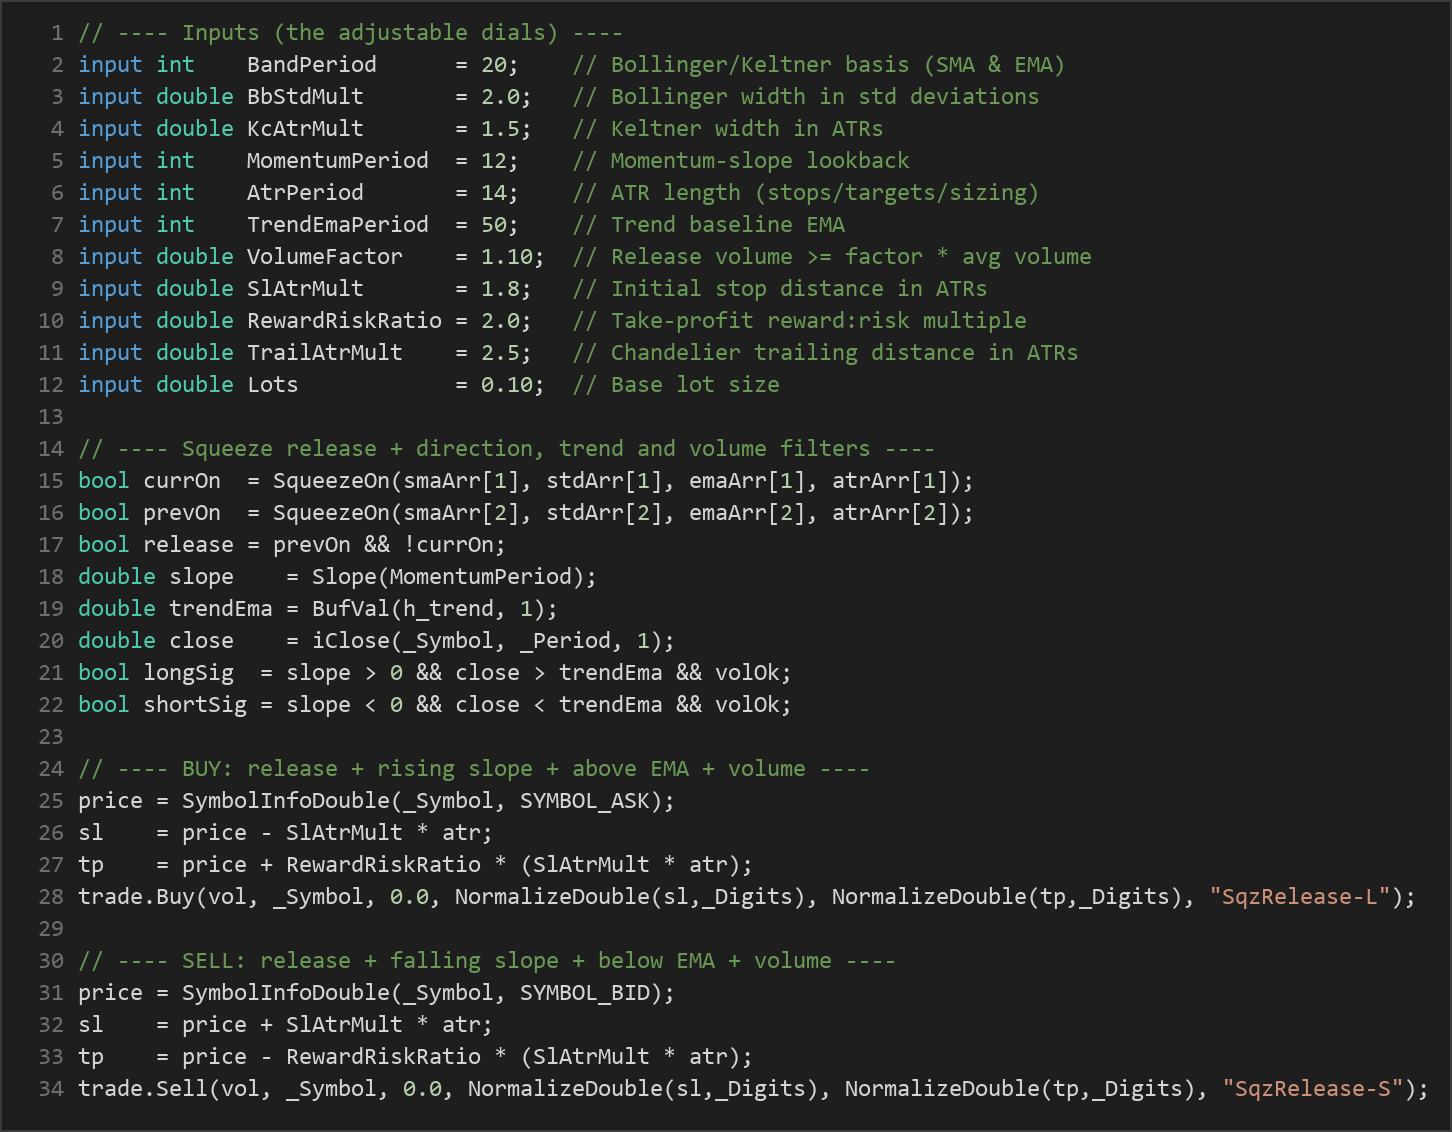
- The release trigger: The strategy signals a potential entry on the exact bar where the squeeze turns off — the squeeze was on one bar ago but is off now, meaning the Bollinger Bands have pushed back outside the Keltner Channels. This expansion of range is the "release."
- Choosing a direction: Direction comes from a least-squares momentum slope — a straight-line fit through recent closing prices. A rising slope points long; a falling slope points short. Because it is measured only from closed bars, the direction reading does not repaint.
- Trend-baseline confirmation: A longer EMA acts as a market-structure filter. The strategy only signals long entries when price is above this trend baseline, and only short entries when price is below it — a way of trading with the broader structure rather than against it.
- Volume confirmation: The release bar must carry participation. Its tick volume must be at least a set factor of the average volume over the band window, filtering out hollow, low-conviction breakouts.
- Stop-loss logic: When a trade opens, a hard stop is placed a multiple of ATR away from the entry price. Because the stop distance scales with ATR, it automatically widens in volatile conditions and tightens in calm ones.
- Take-profit logic: The take-profit is set at a fixed reward-to-risk multiple of that stop distance. With the default 2.0 ratio, the target sits twice as far from entry as the stop.
- Chandelier trailing stop: Once a trade moves 1R in the strategy's favour (a profit equal to the initial stop distance), a chandelier trailing stop begins ratcheting the stop behind price by a multiple of ATR, locking in gains only when the move follows through. Small, trivial adjustments are ignored to reduce churn.
- Volatility-scaled sizing: The lot size is adjusted inversely to volatility. When short-term ATR is stretched relative to a slower ATR baseline, the position is trimmed; when volatility is subdued, it is allowed to grow — within clamped limits — so risk per trade stays roughly steady.
Strategy Parameters
| Parameter | Default | Min | Max | Description |
|---|---|---|---|---|
| BandPeriod | 20 | 10 | 40 | Shared lookback length for the Bollinger basis (SMA) and Keltner mid-line (EMA). |
| BbStdMult | 2.0 | 1.5 | 3.0 | Bollinger Band width, expressed in standard deviations of the close. |
| KcAtrMult | 1.5 | 1.0 | 3.0 | Keltner Channel width in ATRs; wider values make the squeeze trigger more often. |
| MomentumPeriod | 12 | 6 | 30 | Lookback for the least-squares momentum slope that sets trade direction. |
| AtrPeriod | 14 | 7 | 28 | ATR length used for the Keltner Channel, stops, targets and sizing. |
| TrendEmaPeriod | 50 | 20 | 150 | Trend-baseline EMA period; longs only above it, shorts only below it. |
| VolumeFactor | 1.10 | 0.5 | 2.5 | Release-bar volume must be at least this multiple of the average volume. |
| SlAtrMult | 1.8 | 1.0 | 4.0 | Initial stop distance in ATRs; also the 1R threshold that arms the trailing stop. |
| RewardRiskRatio | 2.0 | 1.0 | 4.0 | Take-profit distance as a reward-to-risk multiple of the stop distance. |
| TrailAtrMult | 2.5 | 1.0 | 5.0 | Chandelier trailing-stop distance in ATRs behind price. |
| Lots | 0.10 | 0.01 | 1.0 | Base lot size before volatility scaling is applied. |
Recommended Chart Settings
This strategy was designed with FX majors and index CFDs on the M15 to H1 timeframes in mind, where squeeze-and-release behaviour tends to be frequent and readable. However, it is not locked to any specific instrument or timeframe — every calculation uses the chart's primary symbol and selected timeframe, so you can attach it to whatever chart you are testing. As with any breakout approach, results will vary considerably across different symbols, sessions, and market conditions, so treat the recommended settings as a starting point for study rather than a fixed prescription.
How to Install on MetaTrader 5
- Download the
.ex5file from the link below - Copy it to your MT5
MQL5\Expertsfolder - Restart MetaTrader 5 or refresh the Navigator panel
- Drag the EA onto a chart matching the recommended symbol and timeframe
- Configure the input parameters and enable Algo Trading
What to Consider Before Using This EA
Every trading approach involves trade-offs, and understanding them is part of using any tool responsibly.
Strengths of this approach. The squeeze concept has a clear, well-documented logic: it isolates periods of low volatility that historically tend to precede range expansion. Layering a trend-baseline filter and a volume filter on top of the release signal is a sensible way to reduce weak breakout attempts. The risk framework is disciplined — ATR-based stops adapt to volatility, the reward-to-risk target is defined in advance, and the chandelier trail only engages after a trade has proven itself. Because nothing repaints, the strategy is honest about what it could have known in real time.
Known limitations. Breakout systems are prone to false breakouts — the squeeze can release, trigger an entry, and then reverse, producing a losing trade. In choppy or news-driven markets, a single instrument can produce several failed releases in a row. The strategy also trades one position at a time and waits for a full squeeze-then-release sequence, so signals may be infrequent; long quiet stretches can pass without a qualifying setup. During strongly trending markets that never compress, the squeeze condition may rarely trigger at all.
Where it may underperform. Persistent, low-volatility ranges that never expand, whipsaw conditions around major economic releases, and instruments with thin or erratic volume can all challenge this logic. The volume filter relies on tick volume, which is a proxy for real traded volume in decentralised forex markets and may behave differently across brokers. None of this makes the approach unusable — it simply means the strategy should be studied and tested thoroughly before being relied upon.
Risk Management Tips
Sound risk management matters far more than any single entry signal. As you study this strategy, keep these general principles in mind:
- Risk a small, fixed fraction per trade. Many educators suggest risking no more than 1–2% of account equity on any single position, so that a string of losses does not do lasting damage.
- Size positions deliberately. Understand how the ATR-based stop distance and the volatility-scaled lot interact, and confirm the resulting risk matches your plan before trading.
- Test on a demo account first. Run the EA on a demo or simulated account across varied market conditions to observe its behaviour before committing any real capital.
- Understand drawdown. Even a well-designed strategy will endure losing streaks. Study the depth and duration of drawdowns so their emotional and financial impact does not surprise you.
- Never over-leverage. Leverage amplifies both gains and losses; use it conservatively and only within limits you fully understand.
- Review and adapt. Markets evolve. Periodically review whether the strategy's assumptions still hold for the instruments and timeframes you trade.
Risk Warning
Trading foreign exchange, CFDs, and other leveraged financial instruments involves substantial risk of loss and is not suitable for all investors. The strategies and tools discussed on this page are provided for educational purposes only and do not constitute financial advice, investment recommendations, or solicitation to trade. Always consult a qualified financial adviser before making trading decisions. Past backtest performance is not indicative of future results.
Downloads
- Expert Advisor: BollingerSqueezeReleaseMomentum.ex5 (59 downloads)
- Source Code: BollingerSqueezeReleaseMomentum.mq5 (63 downloads)
- Documentation: BollingerSqueezeReleaseMomentum.pdf (60 downloads)