Disclaimer: This article is for educational and informational purposes only. It does not constitute financial or investment advice. Trading forex and CFDs carries significant risk of loss. Past performance of any strategy — including backtests — does not guarantee future results. Never trade with money you cannot afford to lose.
What Is This Strategy?
The Time Value Area Reversion strategy is a mean-reversion, market-structure approach built on Market Profile theory and its core building block, the TPO (Time Price Opportunity) histogram. Instead of measuring how much volume traded at each price, it measures how much time the market spent at each price. Every closed bar deposits one "time unit" into every price bucket its high-to-low range touches. The result is a time-based distribution of where the auction has been most comfortable — the classic foundation of auction-market analysis pioneered by Peter Steidlmayer at the Chicago Board of Trade.
At the heart of the profile sits the Point of Control (POC) — the single price bucket that accumulated the most time, and therefore the "fairest" or most-agreed-upon price. Around it, the strategy builds a Value Area: the contiguous band of prices (by default holding 70% of all time units) where the market did most of its business. The two edges of that band are the Value Area High (VAH) and Value Area Low (VAL). Auction-market theory holds that price tends to rotate back toward value and toward the POC after it briefly probes outside and fails.
This strategy is designed for balanced, rotating (range-bound) markets rather than strong trends, and it is best understood as a learning tool for studying how failed auctions and value-area rejections behave. It suits traders who want to understand Market Profile concepts — TPO counts, POC, VAH/VAL, and reward-to-risk filtering — inside a fully coded, testable framework. It is not a shortcut and it is not tuned to any particular outcome; it is a transparent example of how auction logic can be turned into rules.
How It Works
The strategy evaluates one signal per newly closed bar. It builds a fresh TPO profile from the bars behind the just-closed "signal" bar, then checks whether that signal bar represents a failed auction outside value.
- Building the profile: Over the most recent
ProfilePeriodclosed bars (before the signal bar), the strategy finds the window high and low, splits that range intoBinsequal price buckets, and adds +1 to every bucket each bar's range spans. This is a pure time count — volume is deliberately ignored. - Finding the POC: The busiest bucket (the most time-visited price) becomes the Point of Control — the magnet the strategy targets.
- Growing the Value Area: Starting at the POC, the band expands outward toward whichever neighbouring bucket holds more time, one bucket at a time, until it captures
ValueAreaPercentof all TPOs. The band's lower edge becomes the VAL and the upper edge the VAH. - Balance gate: Before any trade, the strategy checks that the POC sits near the middle of the window (governed by
CenterTolerance). This filters for balanced, rotating conditions and avoids fading a market whose value is pinned to one extreme — a hallmark of trending.
Once the profile is built, the strategy looks for a rejection:
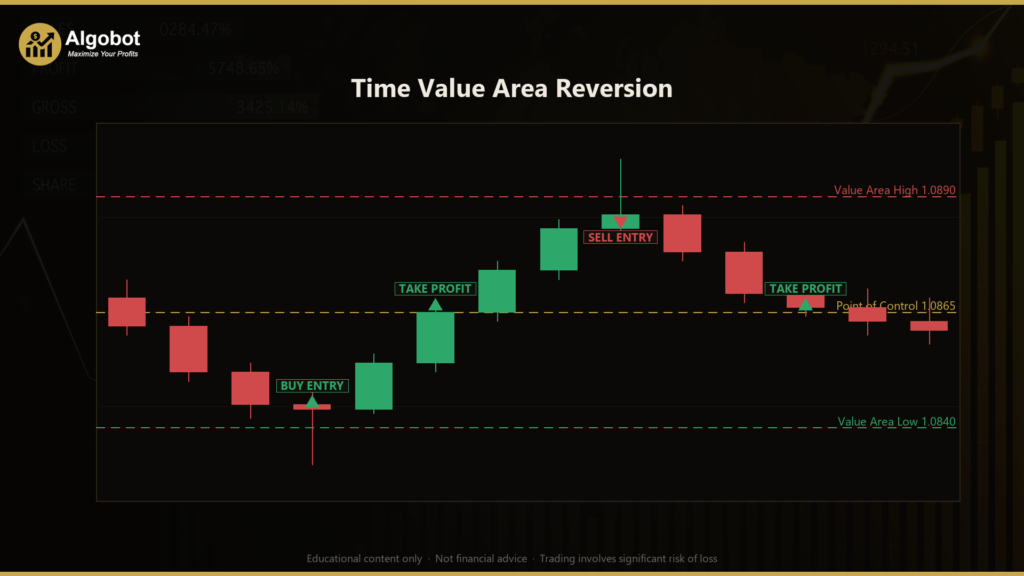
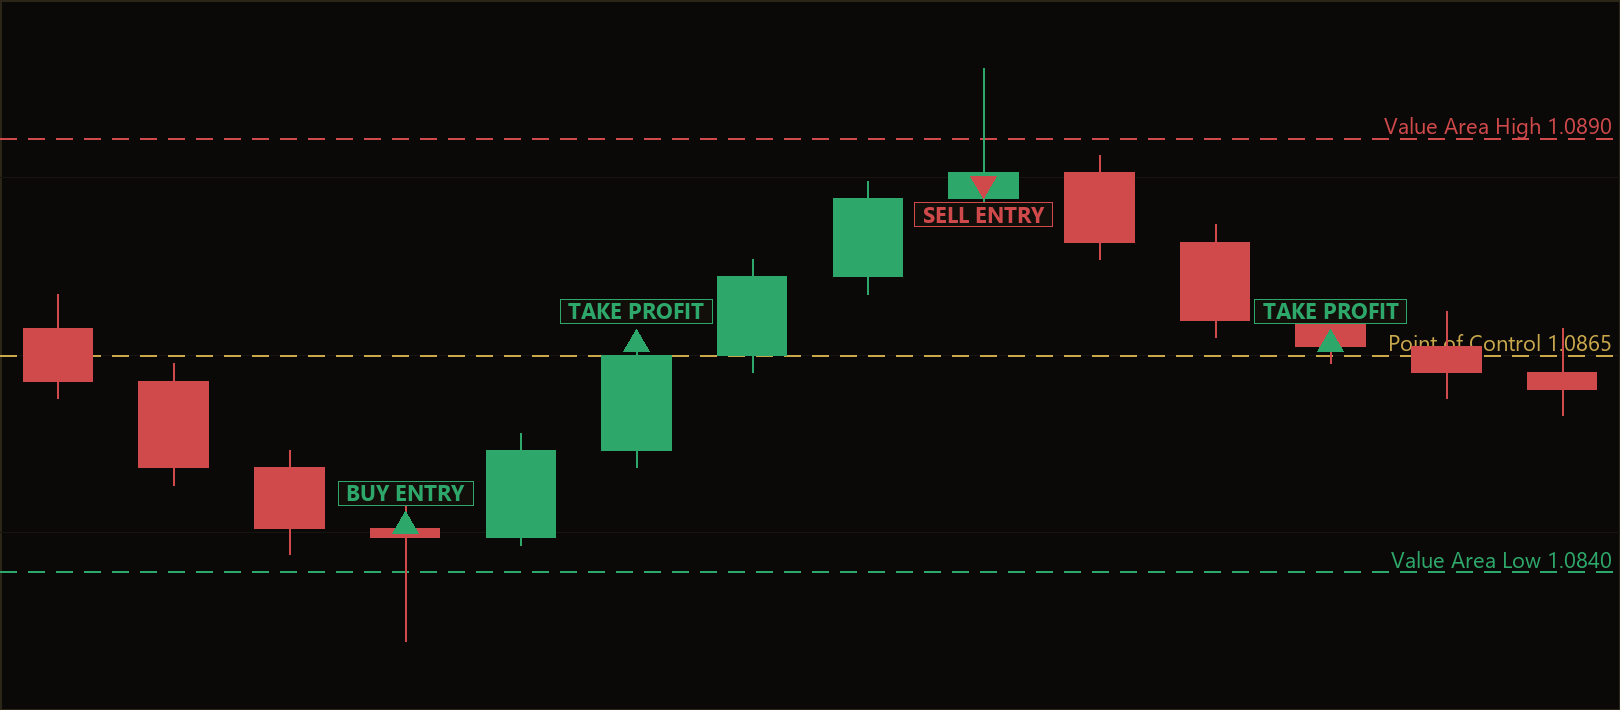
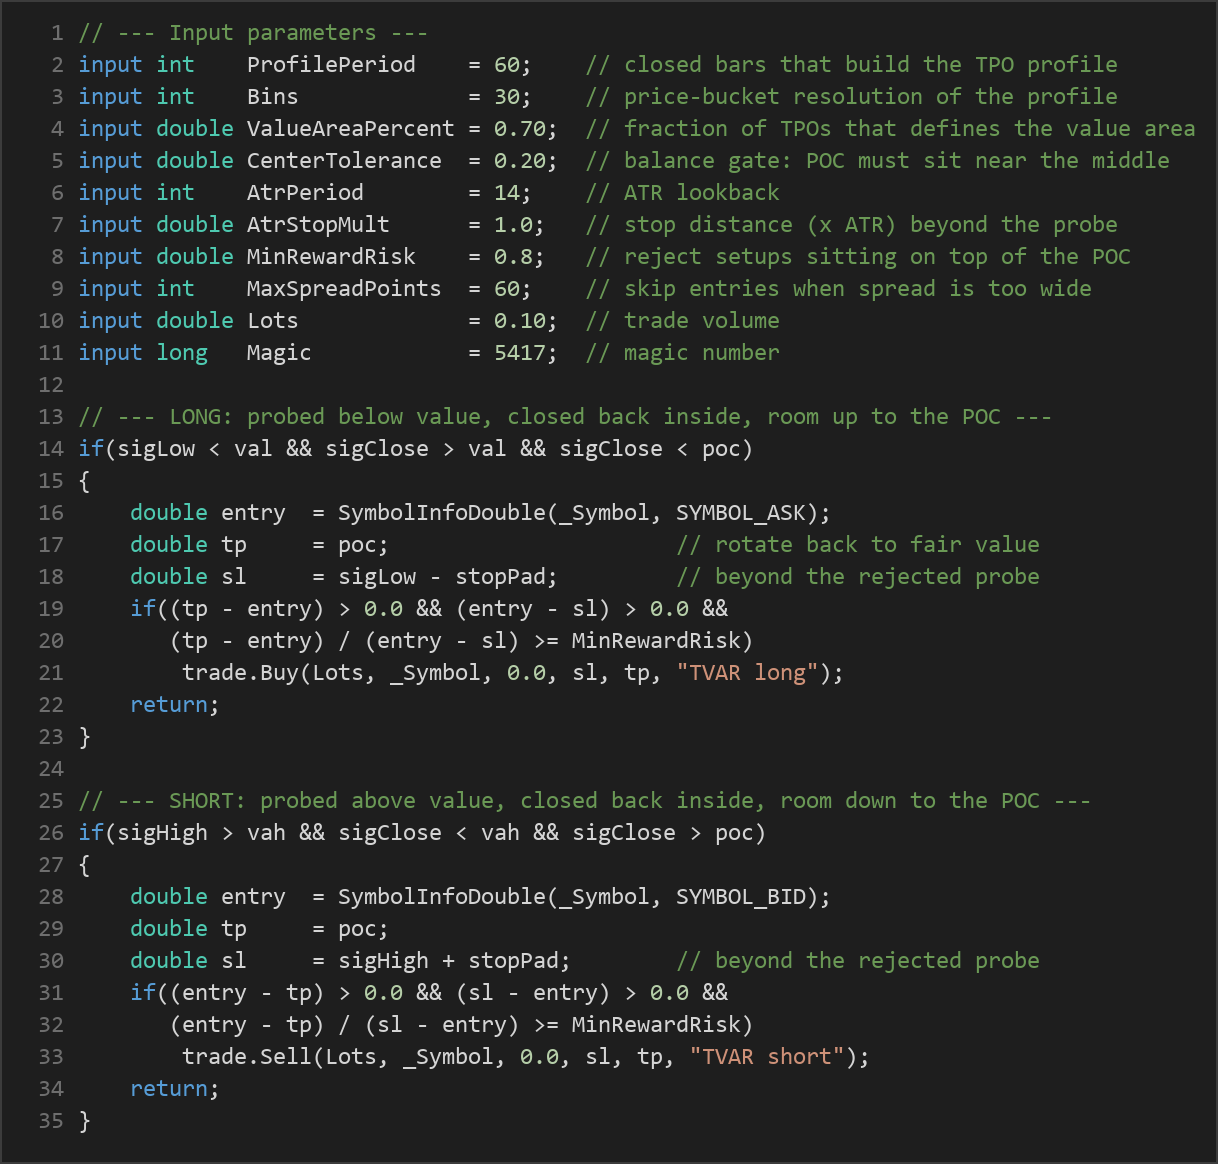
- Long setup — the strategy signals a buy when: the signal bar's low pokes below the VAL but its close returns back inside value (above VAL) and remains below the POC. This describes a below-value auction that was rejected, leaving room to rotate up toward fair value.
- Short setup — the strategy signals a sell when: the signal bar's high pokes above the VAH but its close returns back inside value (below VAH) and remains above the POC. This describes an above-value auction that was rejected, leaving room to rotate down.
Exits are fully defined by the code — there is no discretionary management:
- Take-profit: The POC itself. The trade targets a rotation back to the fairest price.
- Stop-loss: One ATR (Average True Range, a volatility measure) beyond the rejected probe — below the signal bar's low for longs, above the signal bar's high for shorts. The
AtrStopMultcontrols how far. - Reward-to-risk filter: The strategy rejects any setup whose distance to the POC is too small relative to the stop distance, governed by
MinRewardRisk. This screens out entries already sitting on top of the POC where there is little room to rotate. - Trade hygiene: Only one position per magic number is allowed at a time, and new entries are skipped when the current spread is wider than
MaxSpreadPoints.
Strategy Parameters
| Parameter | Default | Min | Max | Description |
|---|---|---|---|---|
| ProfilePeriod | 60 | 20 | 200 | Number of closed bars behind the signal bar used to build the TPO time profile. |
| Bins | 30 | 10 | 60 | Price-bucket resolution of the profile; more bins gives finer price granularity. |
| ValueAreaPercent | 0.70 | 0.50 | 0.90 | Fraction of total TPOs that defines the value area (0.70 is the classic 70%). |
| CenterTolerance | 0.20 | 0.00 | 0.40 | Balance gate — the POC must sit within [tol, 1−tol] of the window range; 0 disables it, larger insists on a more centred profile. |
| AtrPeriod | 14 | 5 | 30 | Lookback length for the ATR used to size the stop. |
| AtrStopMult | 1.0 | 0.3 | 3.0 | Stop distance as a multiple of ATR, placed beyond the rejection probe. |
| MinRewardRisk | 0.8 | 0.3 | 3.0 | Minimum reward-to-risk ratio; rejects setups whose POC target is too close relative to the stop. |
| MaxSpreadPoints | 60 | 5 | 300 | Skip new entries when the current spread (in points) exceeds this value. |
| Lots | 0.10 | 0.01 | 1.0 | Trade volume in lots. |
| Magic | 5417 | 0 | 9,999,999 | Magic number identifying this EA's positions. |
Recommended Chart Settings
The Time Value Area Reversion strategy is timeframe-agnostic in code — it runs on whatever timeframe you attach it to. Its natural home, based on its design, is a liquid FX major (such as EUR/USD or GBP/USD) or a major stock index CFD, on intraday timeframes between M5 and H1. These markets tend to spend meaningful stretches in balance, which is precisely the rotating environment the balance gate is looking for.
Because the profile is rebuilt on every bar from the preceding ProfilePeriod bars, the effective window of history you are studying scales with your timeframe. On M15 with the default 60-bar profile, you are auctioning roughly the last 15 hours of price; on H1, roughly the last two and a half days. Results will vary considerably across symbols, sessions, and market conditions, so treat any chart setting as a starting point for your own testing rather than a fixed recommendation.
How to Install on MetaTrader 5
- Download the .ex5 file from the link below.
- Copy it to your MT5
MQL5\Expertsfolder. - Restart MetaTrader 5 or refresh the Navigator panel.
- Drag the EA onto a chart matching the recommended symbol and timeframe.
- Configure the input parameters and enable Algo Trading.
What to Consider Before Using This EA
Strengths. The strategy is grounded in a well-established body of auction-market theory, and its logic is fully transparent — you can see exactly how the POC, VAH, and VAL are derived and why each trade is taken. The balance gate is a thoughtful addition: it recognises that fading works best in rotation and steps aside when value is pinned to an extreme. The ATR-based stop and reward-to-risk filter give every trade a defined, volatility-aware structure rather than a fixed pip stop.
Known limitations. Mean-reversion approaches share a common vulnerability: they fade moves, so a genuine trend or breakout can produce a run of losing trades as price leaves value and keeps going. The balance gate reduces but does not eliminate this. The profile is also sensitive to its inputs — the number of bins, the profile period, and the value-area percentage all reshape where the POC and value edges fall, which changes both signal frequency and target distance. A profile that is too coarse can misplace the POC; one that is too fine can fragment it.
Where it may underperform. Strongly trending markets, news-driven volatility spikes, illiquid symbols with erratic spreads, and low-activity sessions can all degrade the quality of the signals. Because the take-profit is always the POC, a distant POC can leave trades exposed for a long time, while a nearby one may be filtered out by the reward-to-risk check. Forward-testing on a demo account across several market regimes is essential before drawing any conclusions.
Risk Management Tips
Sound risk management matters far more than any single entry rule. Consider the following general principles as part of your education:
- Risk a small, fixed fraction per trade. Many educational sources suggest risking no more than 1–2% of account equity on any single position, and sizing your lots to respect that limit rather than using a fixed lot blindly.
- Understand your drawdown. Study how consecutive losses would affect your balance, and make sure you can tolerate the worst historical losing streak emotionally and financially.
- Start on a demo account. Test the strategy in a risk-free simulated environment until you understand its behaviour, its trade frequency, and how it reacts to different market conditions.
- Account for costs. Spreads, commissions, slippage, and swap can meaningfully affect a short-target reversion strategy; the
MaxSpreadPointsfilter helps, but real-world costs still deserve attention. - Diversify and avoid over-leverage. Never concentrate excessive risk in one symbol or one idea, and keep leverage conservative so a bad run does not threaten your capital.
Risk Warning
Trading foreign exchange, CFDs, and other leveraged financial instruments involves substantial risk of loss and is not suitable for all investors. The strategies and tools discussed on this page are provided for educational purposes only and do not constitute financial advice, investment recommendations, or solicitation to trade. Always consult a qualified financial adviser before making trading decisions. Past backtest performance is not indicative of future results.
Downloads
- Expert Advisor: TimeValueAreaReversion.ex5 (43 downloads)
- Source Code: TimeValueAreaReversion.mq5 (40 downloads)
- Documentation: TimeValueAreaReversion.pdf (48 downloads)