Disclaimer: This article is for educational and informational purposes only. It does not constitute financial or investment advice. Trading forex and CFDs carries significant risk of loss. Past performance of any strategy — including backtests — does not guarantee future results. Never trade with money you cannot afford to lose.
What Is This Strategy?
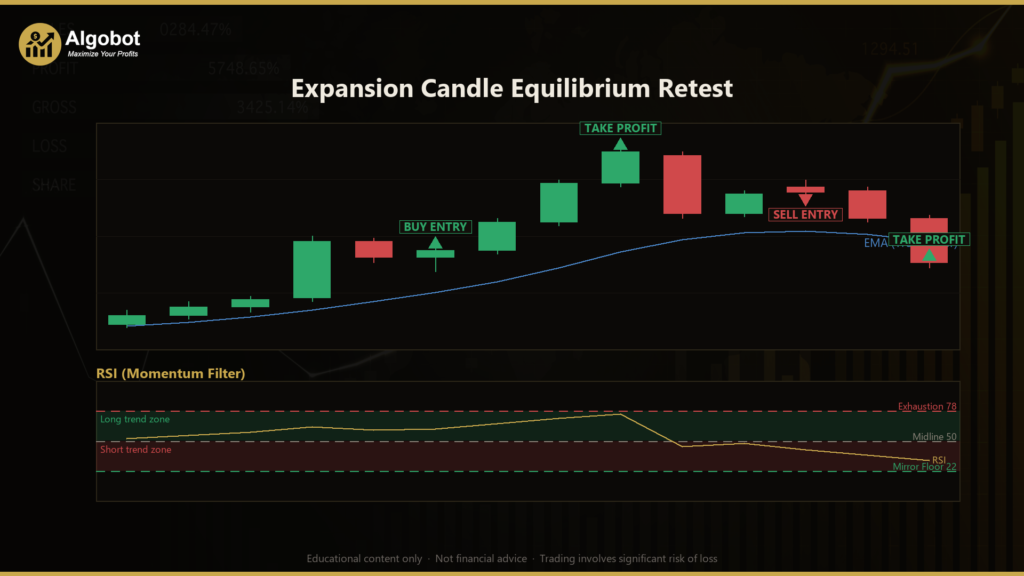
The Expansion Candle Equilibrium Retest is a trend-following continuation strategy built around a single, easily recognizable price-action event: the expansion candle. An expansion candle (sometimes called a displacement or impulse candle) is a bar whose range dwarfs recent volatility and that closes hard in its own direction — a footprint of one-sided order flow that repriced the market in a hurry. Rather than chasing the close of that candle, this strategy waits for price to retrace to the candle's own equilibrium, the 50% midpoint calculated as (High + Low) / 2, and then re-enters in the impulse direction once that level is defended.
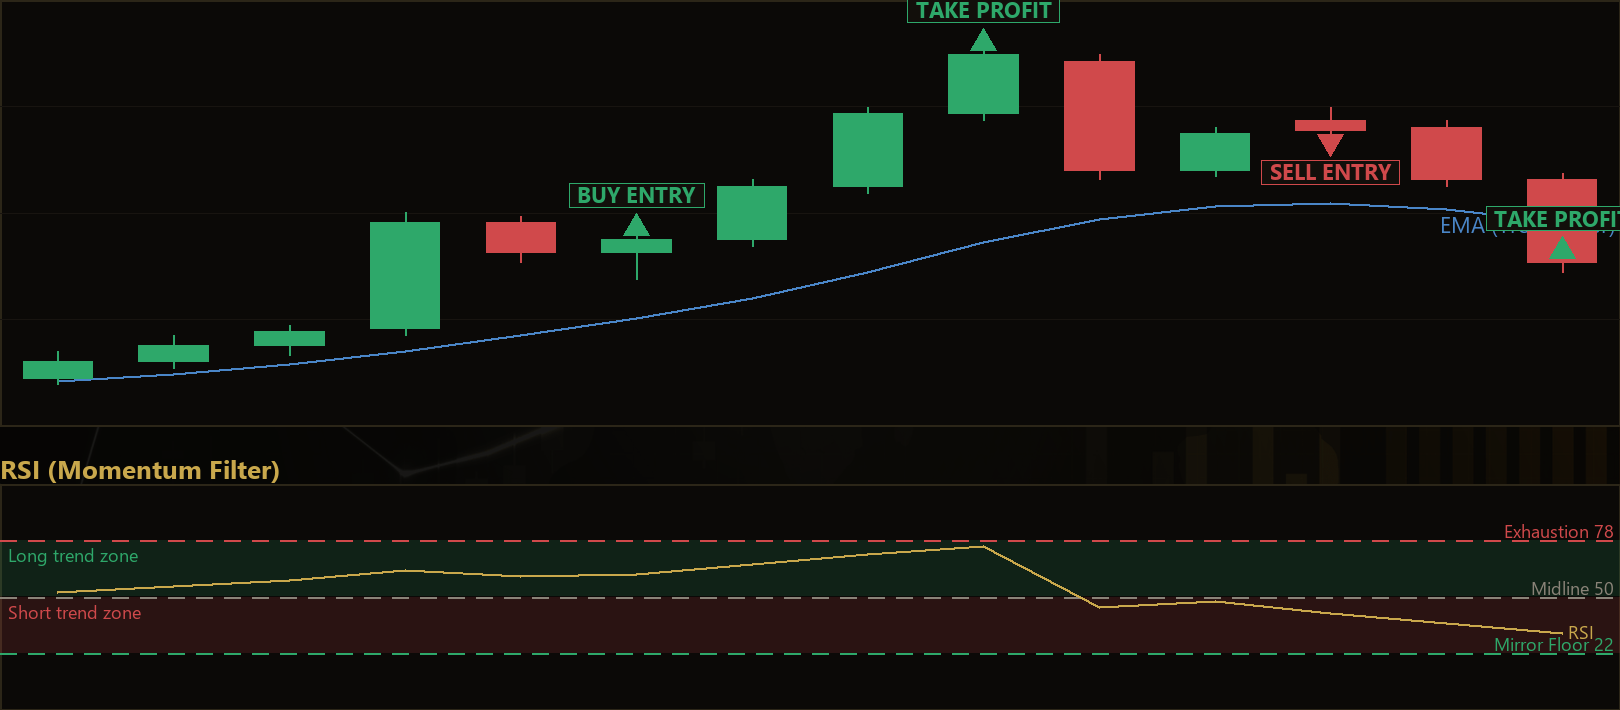
To keep those retests aligned with the broader move, the strategy is indicator-gated by three well-known tools. The Average True Range (ATR) — a measure of typical bar range — defines what "big" means, so the expansion test adapts to each instrument and volatility regime instead of relying on a fixed pip count. An Exponential Moving Average (EMA) — a moving average that weights recent prices more heavily — confirms both the direction and the slope of the prevailing trend. Finally, the Relative Strength Index (RSI) — a 0–100 momentum oscillator — checks that momentum sits in healthy trend territory but is not already exhausted.
This makes the strategy a useful learning tool for anyone studying how discretionary "impulse and pullback" price-action concepts can be encoded into objective, rules-based logic. It is designed for trending market conditions and is best suited to traders who want to understand structural stops, reward-to-risk targeting, and multi-filter confirmation rather than those seeking a black-box signal. Treat it as a study in strategy construction, not a shortcut.
How It Works
The strategy operates in two stages: it first arms on a qualifying impulse candle, then waits for a defended retest of that candle's midpoint before entering. All logic runs on completed candles on a single timeframe, evaluated once per bar close.
Stage 1 — Arming on an expansion candle (long example; shorts mirror it):
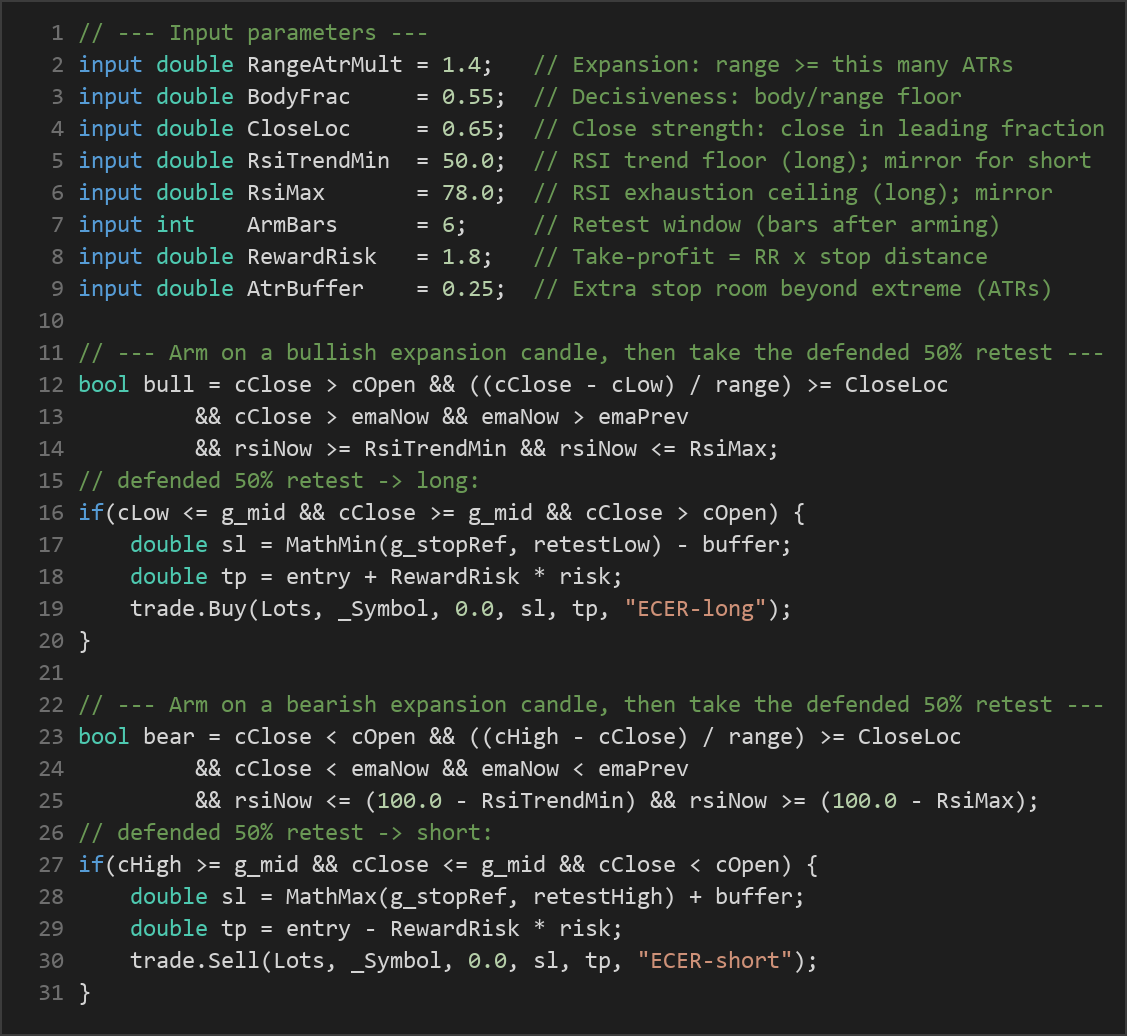
- The just-closed candle's range must be at least
RangeAtrMulttimes the current ATR (the expansion test). - The candle body must fill at least
BodyFracof the total range, confirming a decisive, not indecisive, bar. - The close must land in the leading
CloseLocfraction of the range (near the high for a bullish candle), showing a strong close. - The close must be above the EMA, and the EMA must be rising, confirming an uptrend.
- RSI must be at or above
RsiTrendMinyet at or belowRsiMax, so the strategy joins momentum that is healthy but not blown off.
When all conditions align, the strategy stores the equilibrium (the 50% midpoint), the impulse candle's Low as a stop reference, and opens an expiry window of ArmBars candles.
Stage 2 — Waiting for the defended equilibrium retest:
- Within the window, the strategy signals an entry when a later candle dips to or through the equilibrium (Low ≤ midpoint) yet closes back above it (Close ≥ midpoint) with a bullish body (Close > Open). This is read as buyers defending the midpoint.
- The setup is invalidated early if a candle closes below the impulse Low — the displacement is considered to have failed.
- If no valid retest appears before the window expires, the setup is discarded and the strategy hunts for a fresh impulse.
Stop-loss and take-profit logic:
- The stop-loss is placed at the lower of the impulse Low and the retest candle's Low, minus an
AtrBuffermultiple of ATR for extra room beyond the structural extreme. - The take-profit is set at
RewardRiskmultiplied by the measured stop distance, giving a fixed reward-to-risk target. - Only one position per magic number is held at a time; while a trade is live, its stop and target manage the exit. Entries are also skipped when the spread exceeds
MaxSpread.
Strategy Parameters
| Parameter | Default | Min | Max | Description |
|---|---|---|---|---|
| Lots | 0.10 | 0.01 | 1.00 | Fixed position size in lots for each trade. |
| AtrPeriod | 14 | 5 | 40 | Number of bars used to calculate ATR (the volatility/expansion yardstick). |
| EmaPeriod | 50 | 10 | 200 | Length of the EMA used to define trend direction and slope. |
| RsiPeriod | 14 | 5 | 30 | Number of bars used to calculate the RSI momentum oscillator. |
| RangeAtrMult | 1.4 | 0.8 | 3.0 | Expansion threshold: impulse range must be at least this many ATRs. |
| BodyFrac | 0.55 | 0.30 | 0.90 | Minimum fraction of the candle range that the body must fill (decisiveness). |
| CloseLoc | 0.65 | 0.50 | 0.95 | Close must land in this leading fraction of the range (close strength). |
| RsiTrendMin | 50.0 | 40.0 | 65.0 | RSI floor for a long (mirrored for shorts) — momentum must be in trend territory. |
| RsiMax | 78.0 | 60.0 | 90.0 | RSI ceiling for a long (mirrored for shorts) — avoids exhausted momentum. |
| ArmBars | 6 | 1 | 20 | Number of bars after arming within which the retest must trigger. |
| RewardRisk | 1.8 | 0.5 | 5.0 | Take-profit distance as a multiple of the stop distance. |
| AtrBuffer | 0.25 | 0.00 | 1.50 | Extra stop room beyond the impulse extreme, measured in ATRs. |
| MaxSpread | 250 | 10 | 900 | Maximum spread (in points) allowed at entry to avoid high-cost fills. |
Recommended Chart Settings
The Expansion Candle Equilibrium Retest was designed with EUR/USD, GBP/USD and XAU/USD (gold) in mind, but because every threshold is ATR-relative it is symbol- and timeframe-agnostic and will run on whatever chart it is attached to. A common starting point for study is an intraday-to-swing timeframe such as H1 or H4, where expansion candles are meaningful and pullbacks develop with enough structure to define a clean midpoint. Because the defaults are tuned to typical volatility, remember that behavior will vary considerably across symbols, sessions, and market conditions. Always re-test the parameters on your chosen instrument and timeframe before drawing any conclusions.
How to Install on MetaTrader 5
- Download the .ex5 file from the link below
- Copy it to your MT5
MQL5\Expertsfolder - Restart MetaTrader 5 or refresh the Navigator panel
- Drag the EA onto a chart matching the recommended symbol and timeframe
- Configure the input parameters and enable Algo Trading
What to Consider Before Using This EA
The core strength of this approach is that it combines a visually intuitive price-action pattern with objective, adaptive filters. By measuring "expansion" against ATR rather than a fixed pip count, the strategy stays relevant as volatility changes. Waiting for the 50% retest instead of chasing the impulse close gives a tighter, structurally defined stop, and the EMA and RSI gates are designed to keep entries aligned with a healthy, non-exhausted trend. The fixed reward-to-risk target enforces disciplined trade management.
That said, every design choice carries trade-offs. Continuation strategies like this one historically perform best in clean, trending conditions and may struggle in choppy, range-bound markets where expansion candles form but no durable trend follows — leading to false arms and quick invalidations. Because the setup requires a specific sequence (impulse, then a defended retest within a limited window), it can be selective, and many potential moves will simply not qualify. Strong trends that never pull back to their midpoint will be missed entirely. The ArmBars window, RSI bounds, and expansion multiple all interact, so over-tightening one filter can starve the strategy of trades while loosening them may admit lower-quality setups. Slippage, spread widening around news, and gaps can also affect how closely live behavior tracks a backtest. Treat the strategy as a framework to study and stress-test, not a finished solution.
Risk Management Tips
Sound risk management matters far more than any single entry signal. Consider these general principles as you study this or any strategy:
- Risk a small, fixed percentage per trade. Many educators suggest risking no more than 1–2% of account equity on any single position, so that a string of losses does not threaten your capital.
- Size positions to your stop, not the other way around. Let the structural stop distance determine your lot size rather than forcing a fixed lot onto a variable stop.
- Test on a demo account first. Run the strategy in a risk-free simulated environment until you understand its behavior, trade frequency, and drawdown profile.
- Understand drawdown. Even a well-constructed strategy will experience losing streaks; know the historical drawdown you are prepared to tolerate before committing real capital.
- Account for costs. Spread, commission, and swap all erode results; the
MaxSpreadfilter helps, but real trading costs should be part of your evaluation. - Keep expectations grounded. Backtested behavior reflects the past; markets evolve, and no filter combination removes uncertainty.
Risk Warning
Trading foreign exchange, CFDs, and other leveraged financial instruments involves substantial risk of loss and is not suitable for all investors. The strategies and tools discussed on this page are provided for educational purposes only and do not constitute financial advice, investment recommendations, or solicitation to trade. Always consult a qualified financial adviser before making trading decisions. Past backtest performance is not indicative of future results.
Downloads
- Expert Advisor: ExpansionCandleEquilibriumRetest.ex5 (48 downloads)
- Source Code: ExpansionCandleEquilibriumRetest.mq5 (50 downloads)
- Documentation: ExpansionCandleEquilibriumRetest.pdf (48 downloads)