Disclaimer: This article is for educational and informational purposes only. It does not constitute financial or investment advice. Trading forex and CFDs carries significant risk of loss. Past performance of any strategy — including backtests — does not guarantee future results. Never trade with money you cannot afford to lose.
What Is This Strategy?
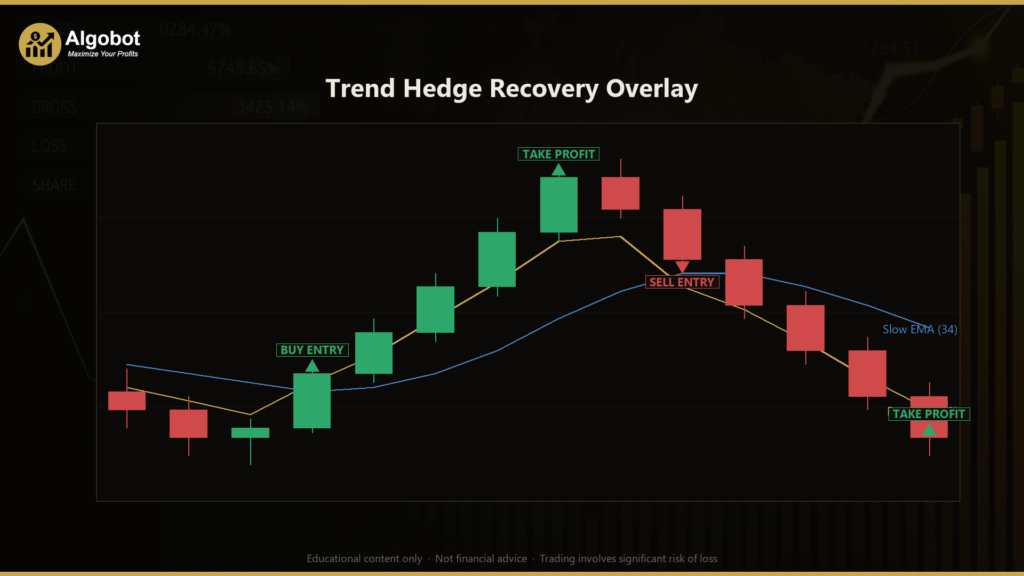
The Trend Hedge Recovery Overlay is an EMA-crossover trend strategy wrapped in a protective hedging layer, built for the MetaTrader 5 platform. At its core, it uses two Exponential Moving Averages (EMAs) — a fast one and a slow one — to identify the direction of a trend, then enters a position in that direction. What makes it distinctive is the "hedge overlay": if that first trade moves against you far enough, the strategy opens an equal and opposite position, so the account temporarily holds both a long and a short at the same time. This is what traders call a true hedge, and it is the reason this belongs to the broader family of hedging trading strategies.
The strategy is designed for trending markets where a moving-average crossover can catch a sustained directional move, but the hedge component is specifically there to manage the situation when the market does not cooperate and reverses after entry. Instead of simply taking a stop-loss, the opposing hedge leg "freezes" the floating drawdown of the basket — the combined long and short roughly cancel each other out in price terms — while a money-based recovery target works the whole group back toward a small net gain before closing everything together.
As a learning tool, the Trend Hedge Recovery Overlay is well suited to intermediate traders who already understand moving averages and stop placement and now want to study how hedging and basket-management logic behave in practice. Because it requires a hedging-enabled MT5 account (so a long and a short can legitimately coexist), it is also a useful case study in the difference between netting and hedging account types. It is best treated as an educational framework for understanding recovery mechanics — not as a shortcut to results.
How It Works
The strategy runs on a single timeframe and makes its trading decisions on closed bars only, while its safety checks run on every incoming tick. Here is the logic in plain English:
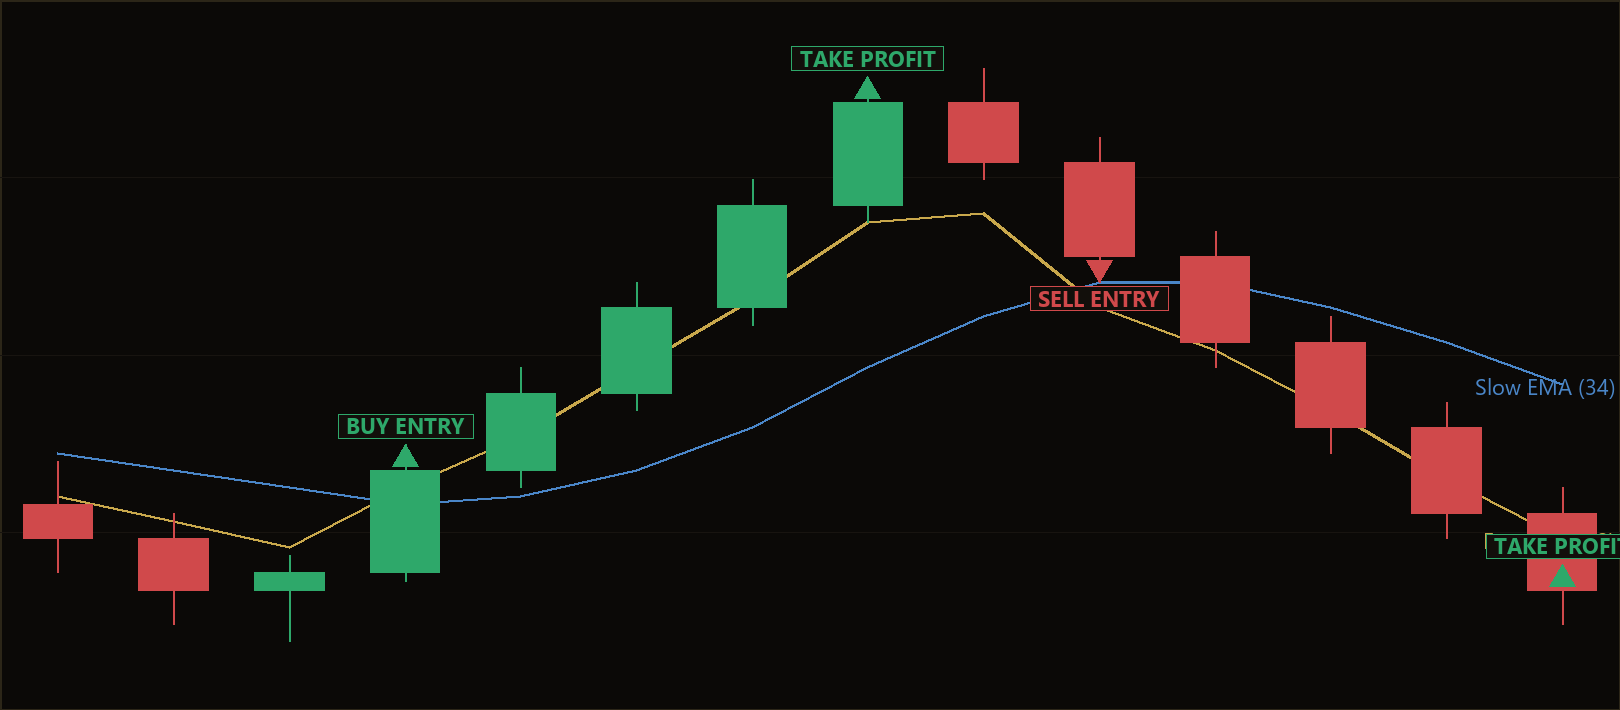
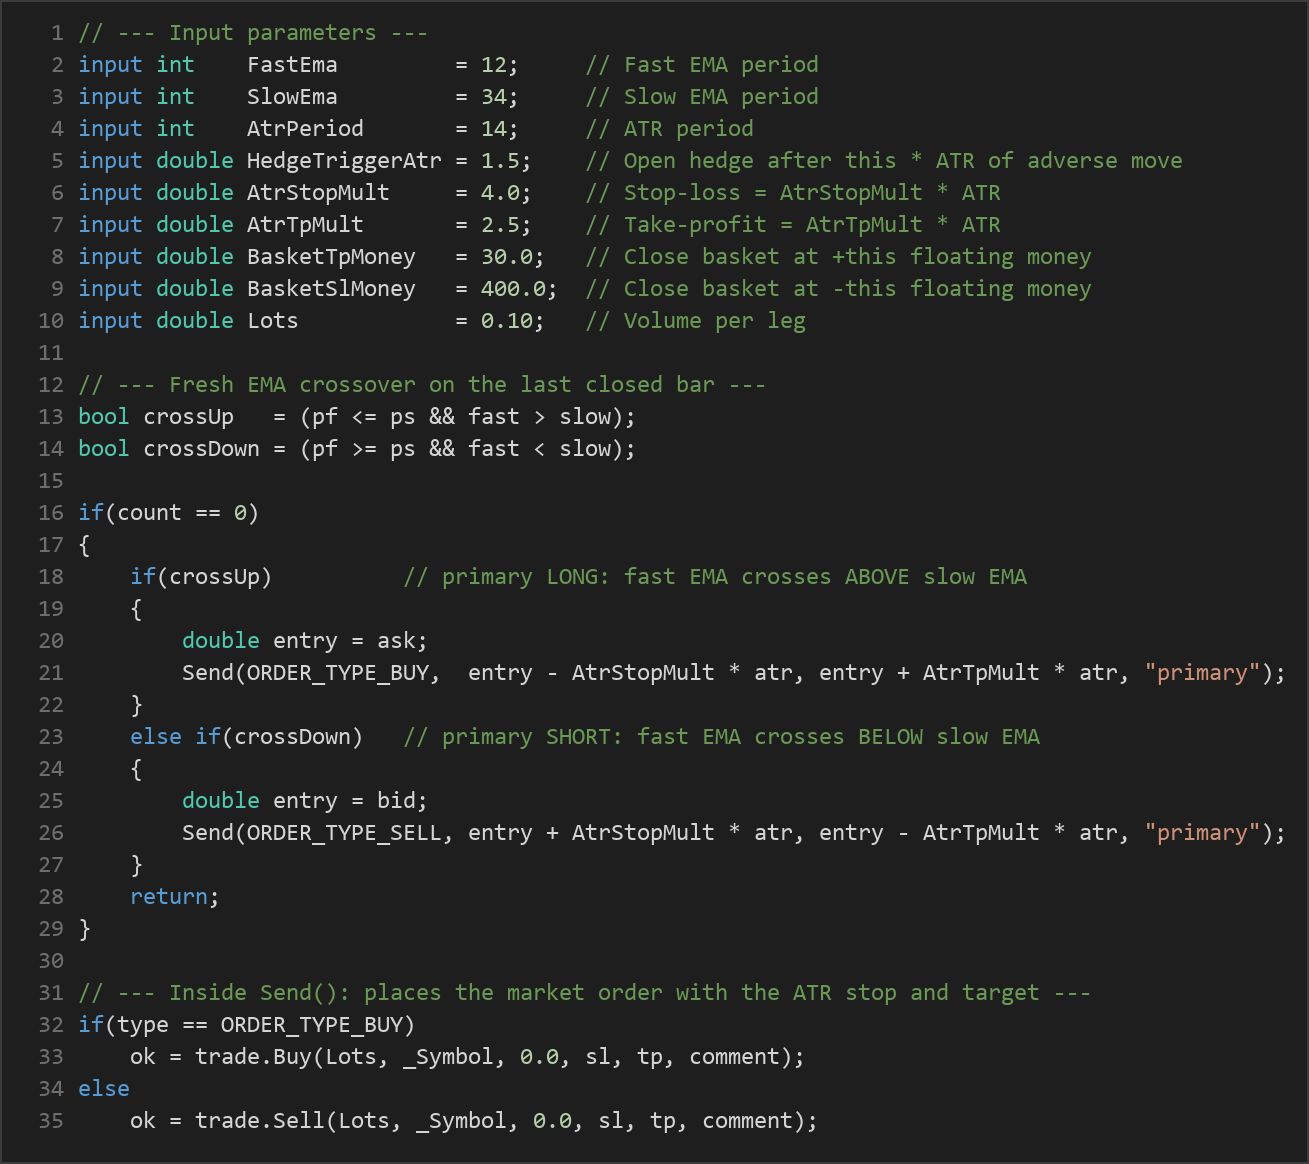
- Primary long entry — the strategy signals a buy when the fast EMA crosses above the slow EMA (a classic bullish crossover) while the account is flat (no open positions for this strategy). This is interpreted as the start of an uptrend.
- Primary short entry — the strategy signals a sell when the fast EMA crosses below the slow EMA (a bearish crossover) while flat. This is interpreted as the start of a downtrend.
- Per-leg stop-loss: every position opened — primary or hedge — is given a stop-loss placed
AtrStopMult × ATRaway from entry. The ATR (Average True Range) is a volatility measure, so the stop automatically widens in fast markets and tightens in quiet ones. - Per-leg take-profit: each position also gets a take-profit placed
AtrTpMult × ATRaway from entry, again scaled to current volatility. - The hedge trigger: if the primary position is under water (moving against you) by
HedgeTriggerAtr × ATRin price terms and no hedge exists yet, the strategy opens an opposing position of equal lot size. A losing long is paired with a new short; a losing short is paired with a new long. From this point the drawdown is largely frozen because gains on one leg offset losses on the other. - Basket take-profit (the recovery bank): on every tick the strategy sums the floating profit and swap of all its positions. When that combined figure reaches
+BasketTpMoney, the strategy closes the entire basket at once and banks the net result. - Basket stop-loss (the hard risk cap): if the combined floating figure instead falls to
−BasketSlMoney, the strategy closes everything immediately. This is the ultimate safety valve that prevents a frozen, hedged basket from bleeding indefinitely.
In short, the strategy tries to ride a trend with the primary trade, deploys the hedge to contain damage when the trend fails, and then relies on the money-based basket exits to decide when the whole position is closed — either at a modest recovery profit or at a capped loss.
Strategy Parameters
| Parameter | Default | Min | Max | Description |
|---|---|---|---|---|
| FastEma | 12 | 3 | 40 | Period of the fast EMA used to detect crossovers. |
| SlowEma | 34 | 15 | 120 | Period of the slow EMA; the fast/slow relationship defines trend direction. |
| AtrPeriod | 14 | 5 | 30 | Number of bars used to calculate the ATR volatility measure. |
| HedgeTriggerAtr | 1.5 | 0.5 | 5.0 | How far (in multiples of ATR) the primary must move against you before the hedge leg opens. |
| AtrStopMult | 4.0 | 1.0 | 10.0 | Stop-loss distance for each leg, expressed as a multiple of ATR. |
| AtrTpMult | 2.5 | 0.5 | 8.0 | Take-profit distance for each leg, expressed as a multiple of ATR. |
| BasketTpMoney | 30.0 | 5.0 | 2000.0 | Floating profit (in account currency) at which the whole basket is closed for a net gain. |
| BasketSlMoney | 400.0 | 50.0 | 100000.0 | Floating loss (in account currency) at which the whole basket is force-closed as a hard risk cap. |
| Lots | 0.10 | 0.01 | 1.0 | Volume traded per leg (primary and hedge use the same size). |
| Magic | 3105 | 0 | 9,999,999 | Unique identifier so the EA only manages its own positions. |
Recommended Chart Settings
The Trend Hedge Recovery Overlay uses a single timeframe for all of its logic, applied to whatever chart you attach it to. EMA-crossover trend systems with ATR-scaled stops are commonly studied on the major forex pairs (such as EUR/USD or GBP/USD) on intraday-to-swing timeframes like H1 or H4, where trends have room to develop and the ATR values are stable enough for sensible stop sizing. Because the hedge and recovery logic is denominated in account currency via BasketTpMoney and BasketSlMoney, you should tune those money levels to match the lot size and instrument you choose.
Remember that no single symbol or timeframe is universally "correct." Results will vary substantially across different market conditions, spreads, and volatility regimes, so treat any starting configuration as a baseline for your own study rather than a fixed recommendation.
How to Install on MetaTrader 5
- Download the .ex5 file from the link below
- Copy it to your MT5
MQL5\Expertsfolder - Restart MetaTrader 5 or refresh the Navigator panel
- Drag the EA onto a chart matching the recommended symbol and timeframe
- Configure the input parameters and enable Algo Trading
Important: This EA must be run on a hedging MetaTrader 5 account (the "Retail Hedging" margin mode). On a netting account, the opposing order would net against the primary position instead of coexisting with it, and the protective hedge logic would not behave as designed.
What to Consider Before Using This EA
Every strategy has trade-offs, and being honest about them is part of learning to use one responsibly.
Strengths of this approach:
- The ATR-scaled stops and targets adapt to market volatility rather than using fixed pip distances, which is a more disciplined way to size risk.
- The hedge overlay offers a structured, rules-based response to an adverse move, so the drawdown of the primary trade is contained rather than left open-ended.
- The basket-level money stop (
BasketSlMoney) provides a clear, hard ceiling on how much the combined position can lose before everything is closed.
Known limitations to understand:
- EMA crossovers lag. Like all moving-average systems, signals arrive after a move has begun, and in ranging or choppy markets crossovers can whipsaw, producing repeated losing entries.
- Hedging is not free protection. Freezing a drawdown with an opposing leg does not erase the loss — it postpones the decision. If the market chops back and forth, both legs can accumulate spread, swap, and commission costs while the basket waits for its recovery target.
- The risk profile can be asymmetric. With a small
BasketTpMoney(default 30) and a much largerBasketSlMoney(default 400), the strategy historically aims for many small recovery wins against the possibility of a larger capped loss. You should understand that pattern before deploying it, because a single basket stop can offset many recovery gains. - Swap and holding costs matter. Because a hedged basket may hold both a long and a short across sessions, overnight swap charges on both legs can add up.
This is a framework for studying trend-following and recovery mechanics, not a guaranteed outcome in any market. It may underperform in prolonged sideways conditions and during sharp reversals that trigger the hedge but never recover.
Risk Management Tips
Sound risk management matters far more than any single set of parameters. Keep these general principles in mind:
- Risk only a small fraction per idea. A widely taught guideline is to risk no more than 1–2% of your account on any single trade or basket. Set your
Lots,BasketSlMoney, and account size so that a full basket stop stays within that limit. - Understand your maximum drawdown. Because this strategy can hold two legs and works a basket back toward profit, study how deep the floating loss can go before the
BasketSlMoneycap triggers, and make sure you are comfortable holding that drawdown. - Practice on a demo account first. Run the EA on a demo (paper) account for an extended period to see how it behaves across trending, ranging, and volatile conditions before committing real capital.
- Mind your leverage and margin. Holding a long and a short simultaneously has margin implications on a hedging account; confirm your broker's requirements so you are not caught short of margin.
- Keep costs in view. Account for spread, commission, and swap, especially since hedged baskets can hold positions overnight.
- Never trade money you cannot afford to lose, and review your results regularly rather than leaving any automated system unattended.
Risk Warning
Trading foreign exchange, CFDs, and other leveraged financial instruments involves substantial risk of loss and is not suitable for all investors. The strategies and tools discussed on this page are provided for educational purposes only and do not constitute financial advice, investment recommendations, or solicitation to trade. Always consult a qualified financial adviser before making trading decisions. Past backtest performance is not indicative of future results.
Downloads
- Expert Advisor: TrendHedgeRecoveryOverlay.ex5 (64 downloads)
- Source Code: TrendHedgeRecoveryOverlay.mq5 (61 downloads)
- Documentation: TrendHedgeRecoveryOverlay.pdf (60 downloads)