Disclaimer: This article is for educational and informational purposes only. It does not constitute financial or investment advice. Trading forex and CFDs carries significant risk of loss. Past performance of any strategy — including backtests — does not guarantee future results. Never trade with money you cannot afford to lose.
What Is This Strategy?
The Mass Index Reversal strategy is a volatility-based, mean-reversion approach that combines Donald Dorsey's Mass Index indicator with a simple price-EMA (exponential moving average) filter to fade exhausted trends. Unlike momentum indicators that measure how far or how fast price has moved, the Mass Index measures something more subtle: how quickly the range of the market — the distance between each bar's high and low — is expanding and contracting. It ignores price direction entirely and instead watches the "envelope" of the market breathe.
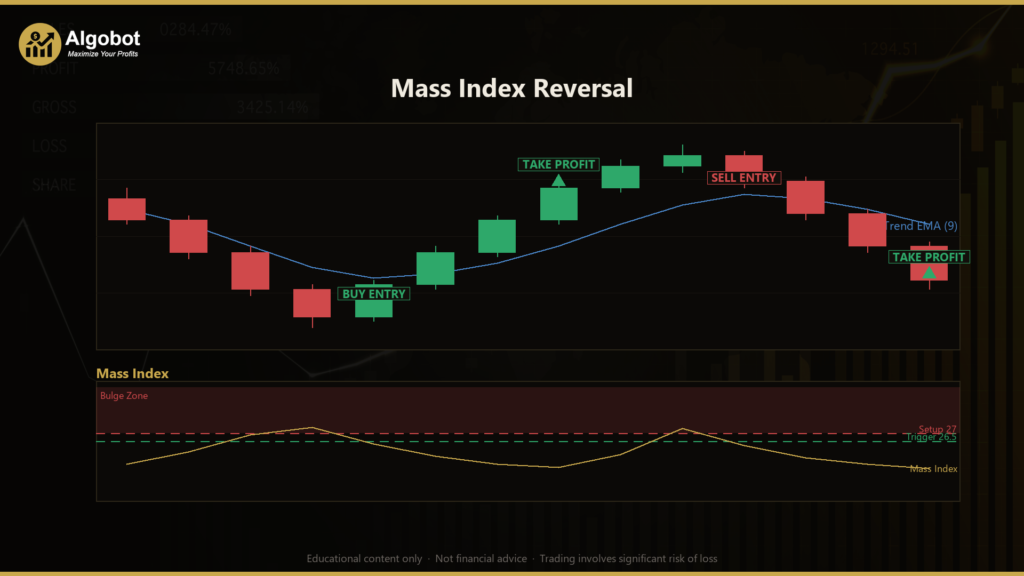
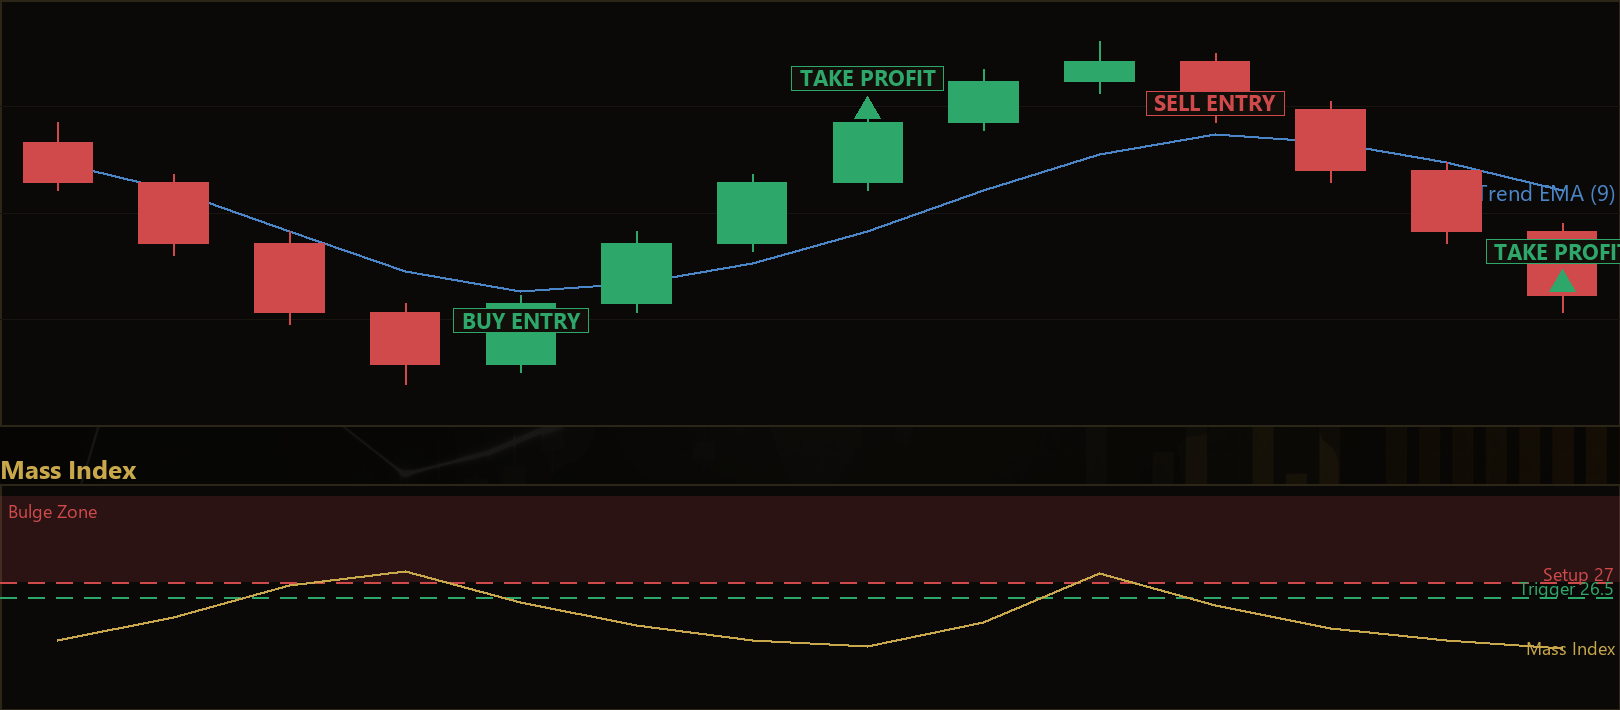
Dorsey's core observation was that markets often signal an upcoming reversal not through price itself, but through a rapid widening of the trading range followed by a sudden contraction. He called this the "reversal bulge." When the Mass Index climbs above a setup threshold and then collapses back below a trigger threshold, it may indicate that the prevailing move is running out of energy. Because the indicator says nothing about which direction the reversal will take, this strategy borrows direction from the slope of a short price EMA and then fades — trades against — the move that was in progress.
This EA (Expert Advisor) is best understood as a learning tool for traders who want to study volatility cycles and counter-trend entries. It is not designed for trending, "buy-and-hold-the-move" conditions; it is built to look for turning points. If you are exploring how volatility indicators differ from price oscillators, or how ATR-based risk sizing works in practice, the Mass Index Reversal offers a clean, well-documented example to dissect and backtest.
How It Works
The strategy evaluates its logic once per closed bar, using recursive indicator state so calculations stay efficient. Here is the sequence of conditions in plain English:
- Building the Mass Index: On each completed bar, the EA calculates the high-low range and smooths it with an EMA (the single EMA). It then smooths that result again (the double EMA). The ratio of single EMA to double EMA describes how fast the range is currently widening. Summing the last
SumPeriodratios produces the Mass Index value. - Arming the bulge: When the Mass Index rises to or above
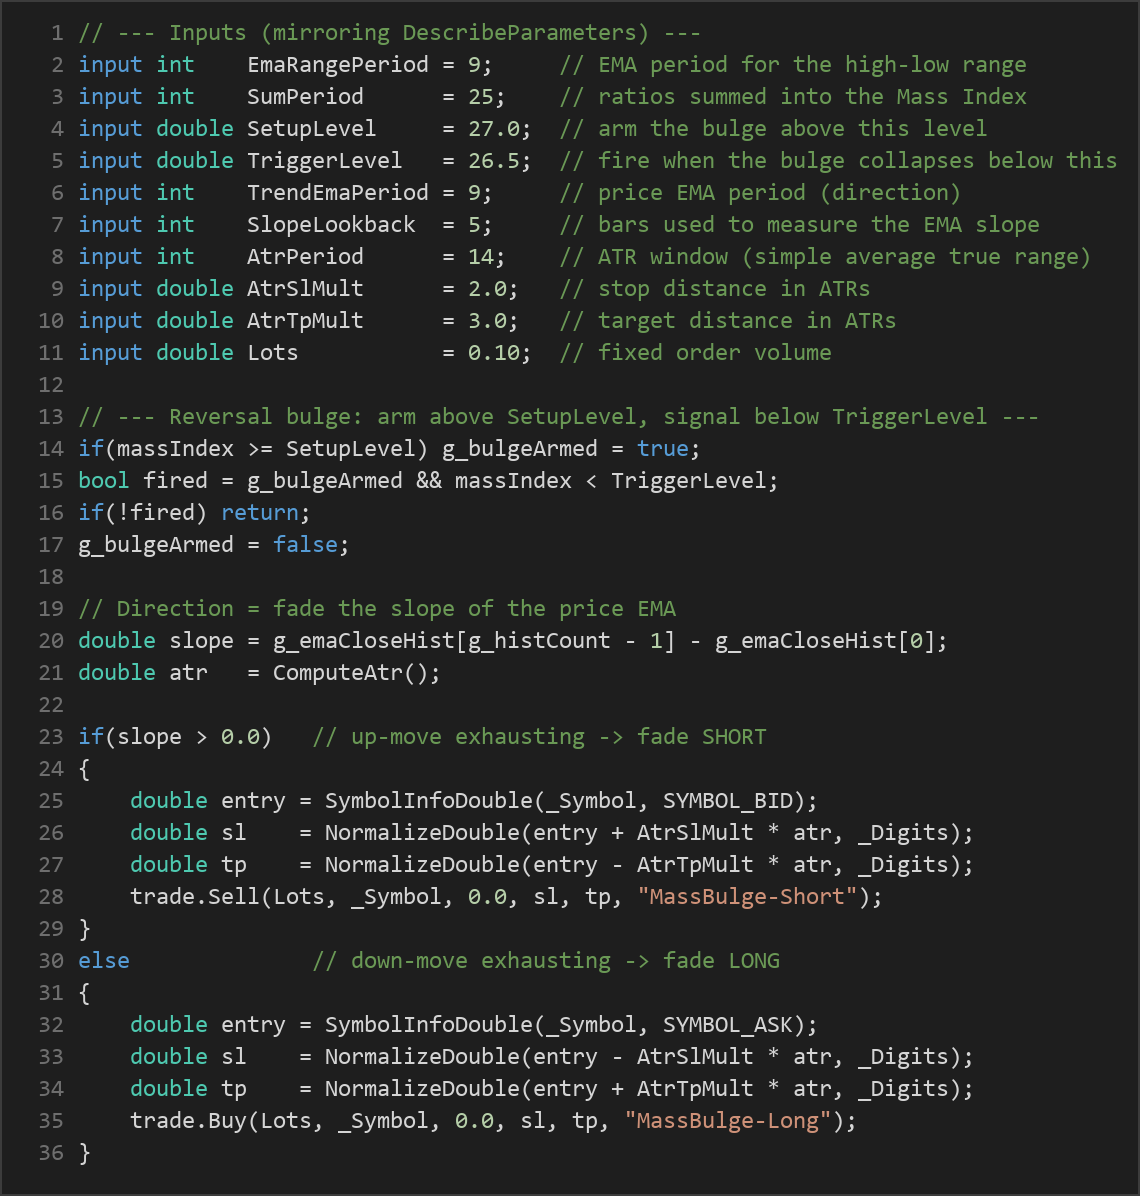
SetupLevel(default 27.0), the strategy becomes "armed." This represents a period of accelerating range expansion — the market stretching before it snaps. - Firing on the collapse: Once armed, the strategy waits. When the Mass Index falls back below
TriggerLevel(default 26.5), the bulge has collapsed and a signal fires. This crossing-back-down is the actual reversal cue. - Choosing direction: The Mass Index does not indicate direction, so the EA measures the slope of a price EMA over the last
SlopeLookbackbars. If the price EMA is rising into the collapse, the strategy reads it as an exhausted up-move and signals a SELL. If the price EMA is falling, it reads an exhausted down-move and signals a BUY. In both cases the strategy fades the prevailing direction. - Trade filters: Only one position per magic number is allowed at a time — the strategy will not stack trades. A spread guard blocks new entries when the current spread exceeds
MaxSpreadpoints, helping avoid entries during illiquid or news-driven conditions. - Stop-loss logic: Risk is measured with the Average True Range (ATR), a volatility gauge. The stop-loss is placed
AtrSlMultATRs beyond the entry price (default 2.0×ATR). Because the stop scales with volatility, it automatically widens in fast markets and tightens in calm ones. - Take-profit logic: The target is placed
AtrTpMultATRs from entry (default 3.0×ATR), giving a default reward-to-risk ratio of roughly 3:2. Once a trade is open, the stop-loss and take-profit levels manage the exit — there is no separate trailing or time-based exit.
Note that the ATR here is a simple average of true range over the closed-bar window, not Wilder's smoothed ATR, and both the MQL5 and C# versions share identical seeding so their signals line up faithfully.
Strategy Parameters
| Parameter | Default | Min | Max | Description |
|---|---|---|---|---|
| EmaRangePeriod | 9 | 5 | 20 | EMA period applied to the high-low range when building the Mass Index. |
| SumPeriod | 25 | 15 | 40 | Number of range-EMA ratios summed together to produce the Mass Index value. |
| SetupLevel | 27.0 | 24.0 | 30.0 | Threshold the Mass Index must reach to "arm" a potential reversal bulge. |
| TriggerLevel | 26.5 | 23.0 | 29.0 | Threshold the Mass Index must fall back below to fire the entry signal. |
| TrendEmaPeriod | 9 | 5 | 30 | Period of the price EMA whose slope determines trade direction. |
| SlopeLookback | 5 | 2 | 20 | Number of bars used to measure the price-EMA slope (up vs. down). |
| AtrPeriod | 14 | 7 | 30 | Lookback window for the Average True Range used in risk sizing. |
| AtrSlMult | 2.0 | 1.0 | 4.0 | Stop-loss distance expressed as a multiple of ATR. |
| AtrTpMult | 3.0 | 1.0 | 6.0 | Take-profit distance expressed as a multiple of ATR. |
| MaxSpread | 30 | 0 | 200 | Maximum allowed spread in points before a new entry is blocked (0 disables the guard). |
| Lots | 0.10 | 0.01 | 1.0 | Fixed order volume in lots per trade. |
Recommended Chart Settings
The Mass Index and its default levels (27.0 setup, 26.5 trigger) follow Dorsey's classic settings, which were originally developed on daily charts. As a starting point for study, apply the EA to a major forex pair such as EUR/USD on an H1 (1-hour) or H4 (4-hour) timeframe, where range expansion cycles are frequent enough to generate signals but noise is more manageable than on very short timeframes. Because the strategy fades trends, it tends to behave very differently depending on whether the instrument is ranging or trending. Results will vary considerably across symbols, timeframes, and market conditions, so treat any single configuration as a hypothesis to test rather than a finished setup.
How to Install on MetaTrader 5
- Download the .ex5 file from the link below
- Copy it to your MT5
MQL5\Expertsfolder - Restart MetaTrader 5 or refresh the Navigator panel
- Drag the EA onto a chart matching the recommended symbol and timeframe
- Configure the input parameters and enable Algo Trading
What to Consider Before Using This EA
Every strategy has a personality, and this one is worth understanding before you commit screen time to it.
Strengths. The Mass Index is genuinely distinct from the crowd of price-based oscillators — it captures volatility dynamics that RSI or MACD cannot see, which can make it a useful complement in a broader toolkit. The reversal-bulge logic is precise and rule-based, leaving little room for discretionary guesswork. ATR-based stops and targets mean risk automatically adapts to the current volatility regime rather than using fixed pip distances that quickly go stale.
Known limitations. Counter-trend, or fading, strategies face a structural challenge: strong trends can persist far longer than a range-based signal expects. A Mass Index bulge may collapse while a trend is merely pausing, not reversing, which can lead to entering against a move that promptly continues. In such conditions the strategy may underperform, and a run of consecutive stop-outs is possible during sustained directional markets. The single-EMA slope filter is also a fairly blunt direction tool — it tells you which way the market was leaning, not whether the reversal has genuinely begun.
Where it may struggle. Low-volatility, choppy ranges can produce Mass Index readings that hover near the thresholds, generating whipsaw signals. Strongly trending markets, news spikes, and thin liquidity sessions are also environments where fading can be punished. The strategy is best studied as one component of understanding volatility, not as a standalone answer to every market.
Risk Management Tips
Sound risk management matters far more than any single indicator setting. Keep these general principles in mind:
- Risk a small, fixed fraction per trade. Many educators suggest risking no more than 1–2% of account equity on any single position. Size your
Lotsso that the ATR-based stop distance corresponds to that fraction, rather than trading a fixed lot blindly. - Test on a demo account first. Run the EA on a demo or paper account for an extended period before considering real capital. This lets you observe how it behaves through different market regimes without financial consequence.
- Understand drawdown. Even a well-designed counter-trend system will experience losing streaks. Study the maximum drawdown in your backtests and ask yourself whether you could tolerate that decline emotionally and financially.
- Backtest and forward-test across conditions. Evaluate the strategy across trending, ranging, and volatile periods and multiple symbols. A configuration that looks good in one regime may behave very differently in another.
- Never over-leverage. Leverage amplifies both gains and losses. Keep position sizes conservative and avoid risking capital you cannot afford to lose.
Risk Warning
Trading foreign exchange, CFDs, and other leveraged financial instruments involves substantial risk of loss and is not suitable for all investors. The strategies and tools discussed on this page are provided for educational purposes only and do not constitute financial advice, investment recommendations, or solicitation to trade. Always consult a qualified financial adviser before making trading decisions. Past backtest performance is not indicative of future results.
Downloads
- Expert Advisor: MassIndexReversal.ex5 (59 downloads)
- Source Code: MassIndexReversal.mq5 (62 downloads)
- Documentation: MassIndexReversal.pdf (63 downloads)