Disclaimer: This article is for educational and informational purposes only. It does not constitute financial or investment advice. Trading forex and CFDs carries significant risk of loss. Past performance of any strategy — including backtests — does not guarantee future results. Never trade with money you cannot afford to lose.
What Is This Strategy?
Basis Convergence Arbitrage is a single-instrument statistical arbitrage system built around an Exponential Moving Average (EMA) fair-value anchor and a z-score mean-reversion filter. Traditional arbitrage trades the spread between two related prices and collects the difference when that spread snaps back to fair value. Because this strategy runs on one symbol and one timeframe, it cannot compare two separate instruments — so instead it arbitrages a temporal spread: the gap between the current price and its own synthetic equilibrium.
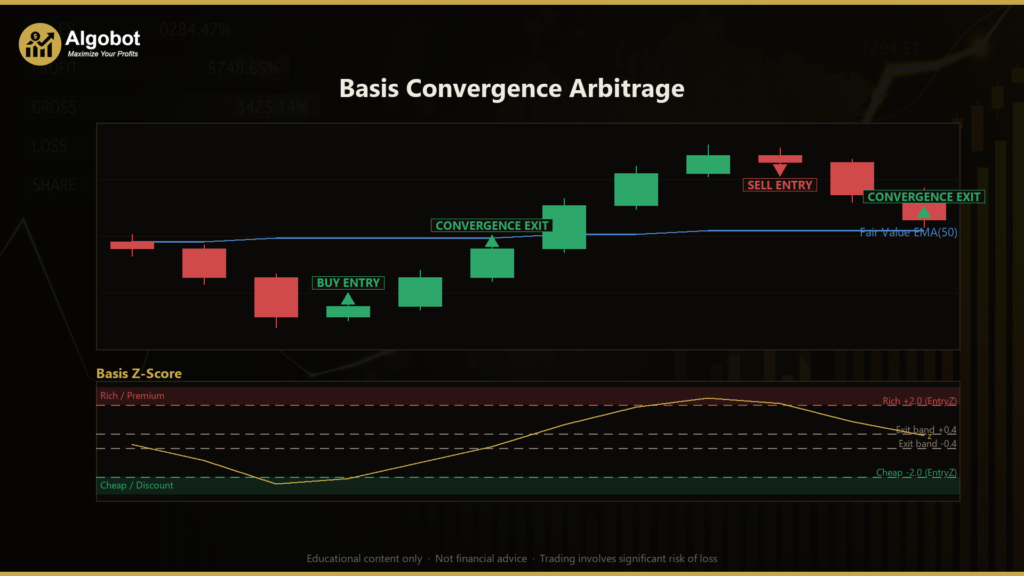
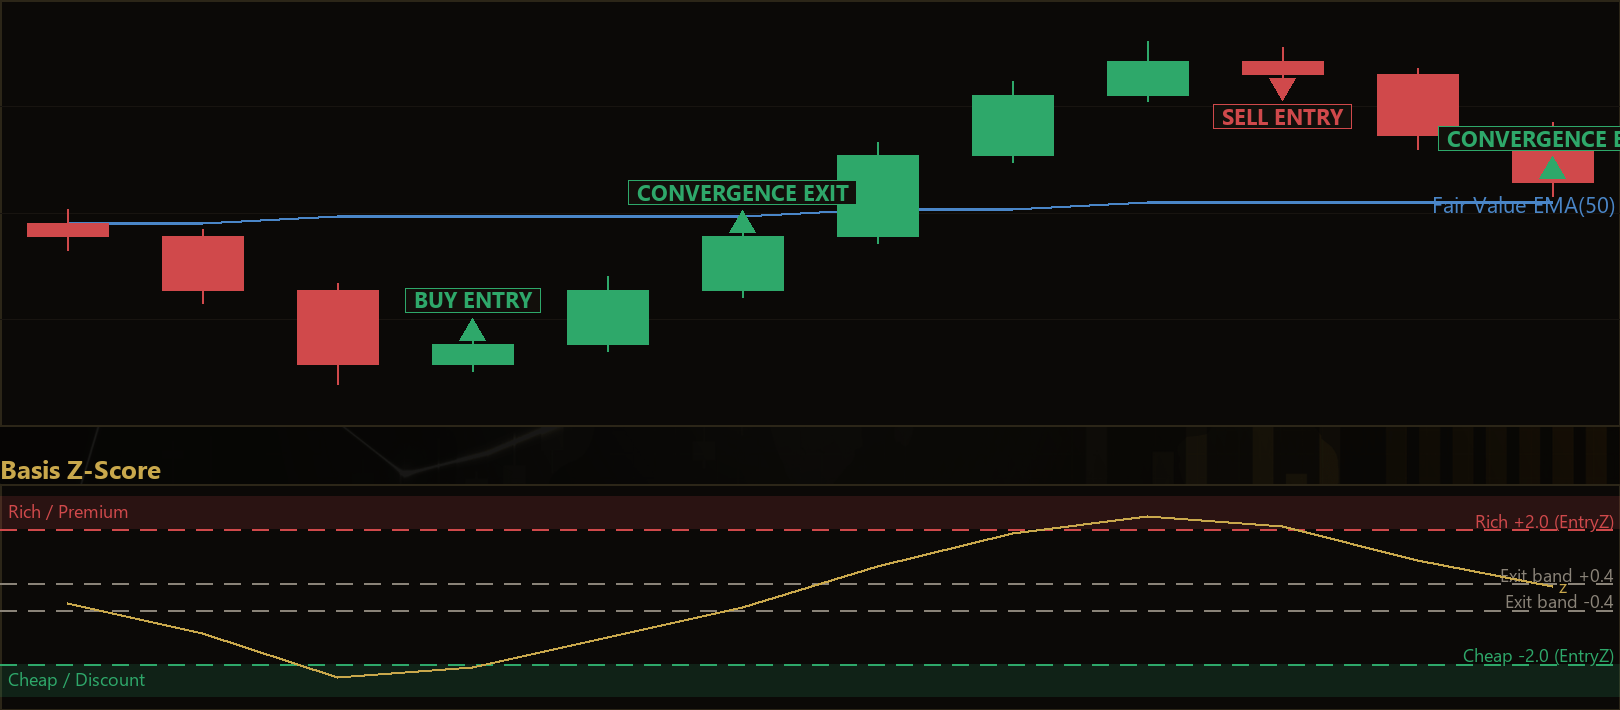
The core idea is straightforward. The strategy calculates a fair-value line as an EMA of the closing price (a moving average that weights recent prices more heavily than older ones). It then measures the basis — the distance between the latest close and that fair-value line. This basis behaves much like an arbitrage spread: it drifts away from zero, then tends to be pulled back toward it. To make that drift comparable across calm and volatile markets, the basis is standardised into a z-score, which expresses how many standard deviations the current basis sits from its recent average.
This is a mean-reversion trading style, so it is best suited as a learning tool for studying range-bound, oscillating markets rather than strong, one-directional trends. It is designed for traders who want to understand how stationarity, standardisation, and regime filtering combine in a disciplined statistical-arbitrage framework. The natural home is a liquid, range-prone FX major such as EUR/USD on intraday charts, though it can be tested on any symbol and timeframe. Treat it as a study of convergence behaviour, not as a shortcut to returns.
How It Works
The strategy evaluates its rules only once per freshly closed bar, so signals are based on completed price action rather than a flickering, still-forming candle. Here is what happens on each closed bar:
- Build the fair value: An EMA of the closing price over
AnchorPeriodbars defines the equilibrium anchor. - Measure the basis: The basis is simply
Close − FairValue— the "spread" the strategy tries to arbitrage. - Standardise into a z-score: Over a rolling
BasisWindow, the strategy computes the mean and standard deviation of the basis, then converts the current basis into a z-score. This makes the entry threshold volatility-invariant.
Two robustness gates decide whether a dislocation is genuinely tradable — this is what keeps the approach disciplined:
- Flat-regime gate: A spread is only expected to converge if the equilibrium itself is roughly stationary. The strategy measures the anchor's per-bar slope over
SlopeLookbackbars. If the anchor is drifting hard (a strong trend or structural break), the basis may simply ride the trend instead of reverting, so no trade is taken. It only proceeds when the absolute slope is small relative to the Average True Range (ATR) — a common measure of recent volatility. - Turn confirmation: The strategy avoids grabbing a spread that is still widening. The basis must already be curling back toward zero on the signal bar (this bar's basis closer to zero than the previous bar's), so entries happen as convergence begins.
Entry conditions the strategy signals:
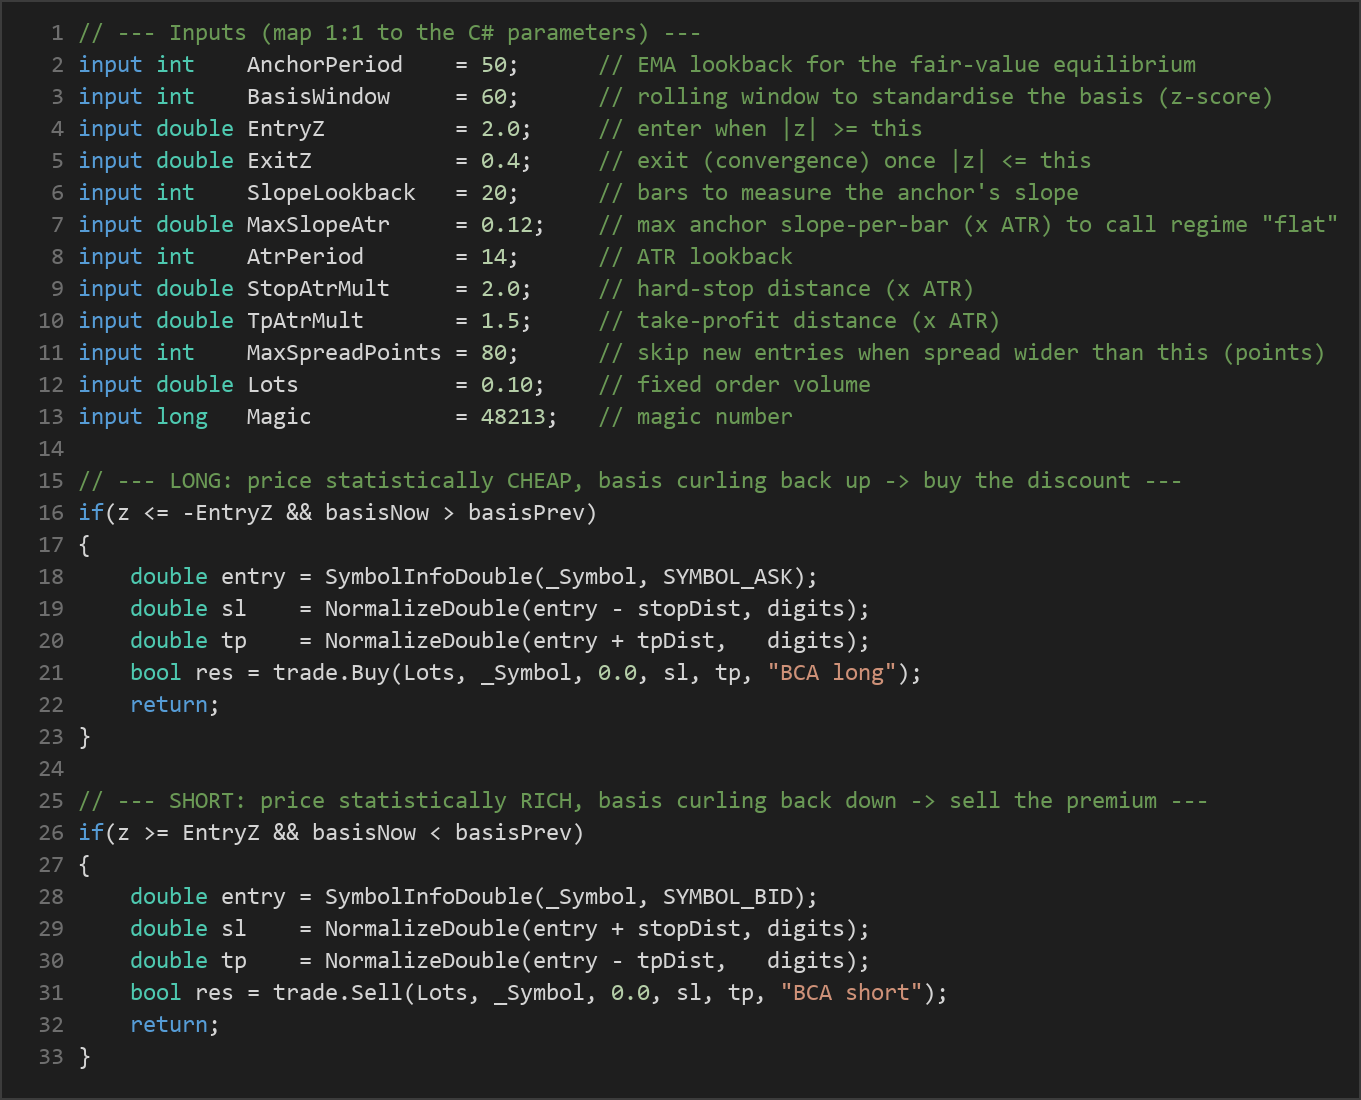
- Long: The z-score is at or below
−EntryZ(price is statistically cheap versus fair value) and the basis is turning up and the regime is flat. The strategy buys the discount, anticipating convergence upward. - Short: The z-score is at or above
+EntryZ(price is statistically rich versus fair value) and the basis is turning down and the regime is flat. The strategy sells the premium, anticipating convergence downward.
Exit logic:
- Convergence exit: When the absolute z-score falls to
ExitZor below, the dislocation is considered resolved, so the position is flattened to bank the mean reversion. - Stop-loss: A hard stop is attached at
StopAtrMult × ATRfrom entry. If the relationship breaks and the basis keeps widening against the position, this rail limits the damage. - Take-profit: A hard target is placed at
TpAtrMult × ATRfrom entry, giving a defined exit even if the z-score exit has not yet triggered.
Only one position per magic number is held at a time, and a spread filter (MaxSpreadPoints) blocks new entries when transaction costs are unusually wide.
Strategy Parameters
| Parameter | Default | Min | Max | Description |
|---|---|---|---|---|
| AnchorPeriod | 50 | 20 | 150 | EMA lookback used to build the fair-value equilibrium the basis is measured against. |
| BasisWindow | 60 | 20 | 150 | Rolling window for the mean and standard deviation that standardise the basis into a z-score. |
| EntryZ | 2.0 | 1.0 | 3.5 | Enter when the standardised basis is at least this many standard deviations from its mean. |
| ExitZ | 0.4 | 0.0 | 1.5 | Exit (convergence realised) once the basis pulls back inside this z-band. |
| SlopeLookback | 20 | 5 | 60 | Number of bars used to measure the anchor's slope for the flat-regime gate. |
| MaxSlopeAtr | 0.12 | 0.02 | 0.60 | Maximum anchor slope-per-bar (× ATR) still allowed to call the regime "flat/reverting". |
| AtrPeriod | 14 | 5 | 30 | ATR lookback used for the regime gate and the hard stops. |
| StopAtrMult | 2.0 | 0.8 | 5.0 | Hard stop-loss distance as a multiple of ATR. |
| TpAtrMult | 1.5 | 0.5 | 4.0 | Take-profit distance as a multiple of ATR. |
| MaxSpreadPoints | 80 | 5 | 300 | Skip new entries when the current spread (in points) is wider than this. |
| Lots | 0.10 | 0.01 | 1.0 | Fixed order volume per trade. |
| Magic | 48213 | 0 | 9,999,999 | Magic number used to identify and manage this EA's positions. |
Recommended Chart Settings
This strategy was designed with a liquid, range-prone FX major such as EUR/USD in mind, on intraday timeframes roughly in the M5 to M30 range, where mean-reversion behaviour tends to be more pronounced than on higher timeframes. Because every component self-scales — the z-score adapts to volatility, and the regime gate and stops adapt via ATR — the logic will technically run on whatever symbol and timeframe you attach it to. That flexibility is not a promise of consistency: results will vary considerably across instruments, sessions, and market conditions, so always test on your specific chart before drawing conclusions.
How to Install on MetaTrader 5
- Download the .ex5 file from the link below
- Copy it to your MT5
MQL5\Expertsfolder - Restart MetaTrader 5 or refresh the Navigator panel
- Drag the EA onto a chart matching the recommended symbol and timeframe
- Configure the input parameters and enable Algo Trading
What to Consider Before Using This EA
The main strength of this approach is discipline. Mean-reversion systems are notorious for entering too early and holding through relentless one-way moves; the flat-regime gate and turn confirmation are explicit attempts to avoid exactly that, and the z-score standardisation keeps the entry threshold consistent whether the market is quiet or wild. The ATR-based stop and take-profit add hard safety rails so that a broken relationship does not turn into an open-ended loss.
The known limitations are equally important to understand. Mean-reversion strategies structurally struggle in trending or breakout regimes — the very conditions where a spread refuses to converge. The flat-regime gate reduces but cannot eliminate this risk, because a range can transition into a trend after a position is already open. Statistical relationships also drift over time, so parameters that fit one period may not fit the next. And because entries wait for convergence to begin, the strategy will inevitably miss dislocations that reverse sharply without a confirming turn. This is a framework for studying convergence dynamics, not a set-and-forget solution. Test it thoroughly, and judge it by how well you understand its behaviour, not by any single run.
Risk Management Tips
Sound risk management matters far more than any single indicator setting. Consider these general principles as you study this strategy:
- Size positions modestly. A widely cited guideline is to risk no more than 1–2% of account equity on any single trade. The default
Lotsvalue should be adjusted to your account size and the instrument's volatility. - Practise on a demo account first. Use a demo environment to observe how the strategy behaves across different market conditions before considering any live capital.
- Understand drawdown. Even a well-designed mean-reversion system can string together losing trades during a trending phase. Know the maximum drawdown you are willing to tolerate in advance.
- Respect the stops. The ATR-based stop-loss exists to cap the cost of a broken relationship — resist the temptation to widen or remove it.
- Diversify your study. Never concentrate everything into one strategy or one instrument, and only ever trade with money you can afford to lose.
Risk Warning
Trading foreign exchange, CFDs, and other leveraged financial instruments involves substantial risk of loss and is not suitable for all investors. The strategies and tools discussed on this page are provided for educational purposes only and do not constitute financial advice, investment recommendations, or solicitation to trade. Always consult a qualified financial adviser before making trading decisions. Past backtest performance is not indicative of future results.
Downloads
- Expert Advisor: BasisConvergenceArbitrage.ex5 (43 downloads)
- Source Code: BasisConvergenceArbitrage.mq5 (41 downloads)
- Documentation: BasisConvergenceArbitrage.pdf (47 downloads)