Disclaimer: This article is for educational and informational purposes only. It does not constitute financial or investment advice. Trading forex and CFDs carries significant risk of loss. Past performance of any strategy — including backtests — does not guarantee future results. Never trade with money you cannot afford to lose.
What Is This Strategy?
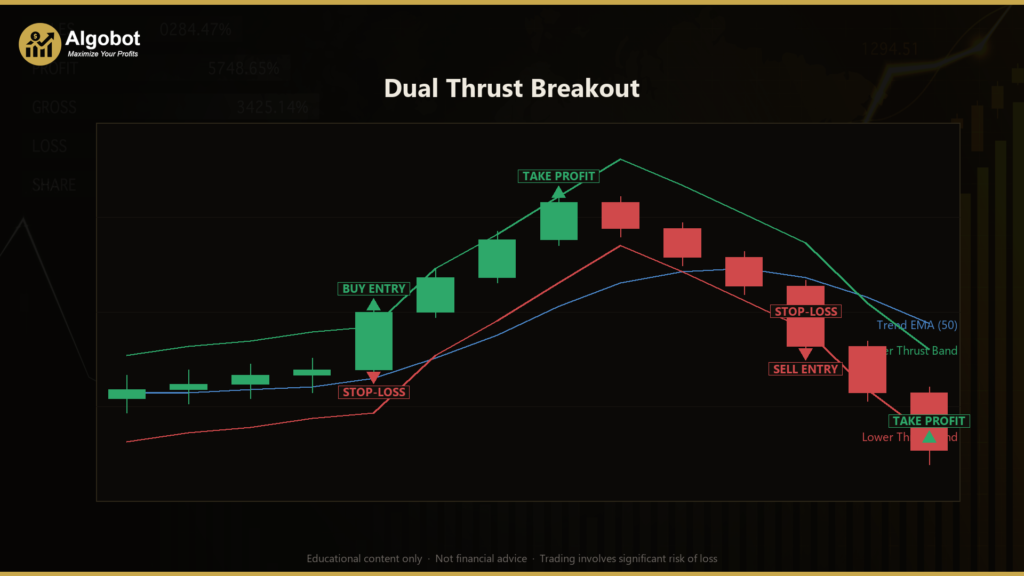
The Dual Thrust Breakout is a volatility-range breakout strategy filtered by an Exponential Moving Average (EMA) trend indicator and sized with the Average True Range (ATR). It draws on the logic of Michael Chargin's classic "Dual Thrust" system, but adapts that idea to a single timeframe and adds a directional filter so that breakouts are only taken in the direction of the prevailing market drift. A breakout strategy is one that waits for price to push beyond a defined boundary before committing to a trade, on the assumption that a decisive move through that boundary may signal the start of a sustained directional swing.
What makes this approach distinct is that its breakout boundary is not a fixed number of pips or a static swing high. Instead, the strategy builds a volatility "band" around the current bar's opening price. The width of that band is a fraction (the K coefficient) of a robust range measured over a lookback window of recent bars. Because the band expands when markets get wild and contracts when markets go quiet, the same settings stay meaningful across changing conditions — that adaptability is the core idea behind Dual Thrust.
As a learning tool, the Dual Thrust Breakout is well suited to traders who want to understand how volatility-adaptive thresholds work and how a trend filter can reduce the "chop" that pure breakout systems suffer in sideways markets. It is designed for trending or expanding-volatility environments rather than tight ranges. This article is a strategy analysis intended to help you study the mechanics — not a promise of any particular outcome.
How It Works
The strategy evaluates each bar only after it has fully closed, then compares that bar against a volatility band and a trend filter. Here is how the logic unfolds:
- Measuring the range: Over the last
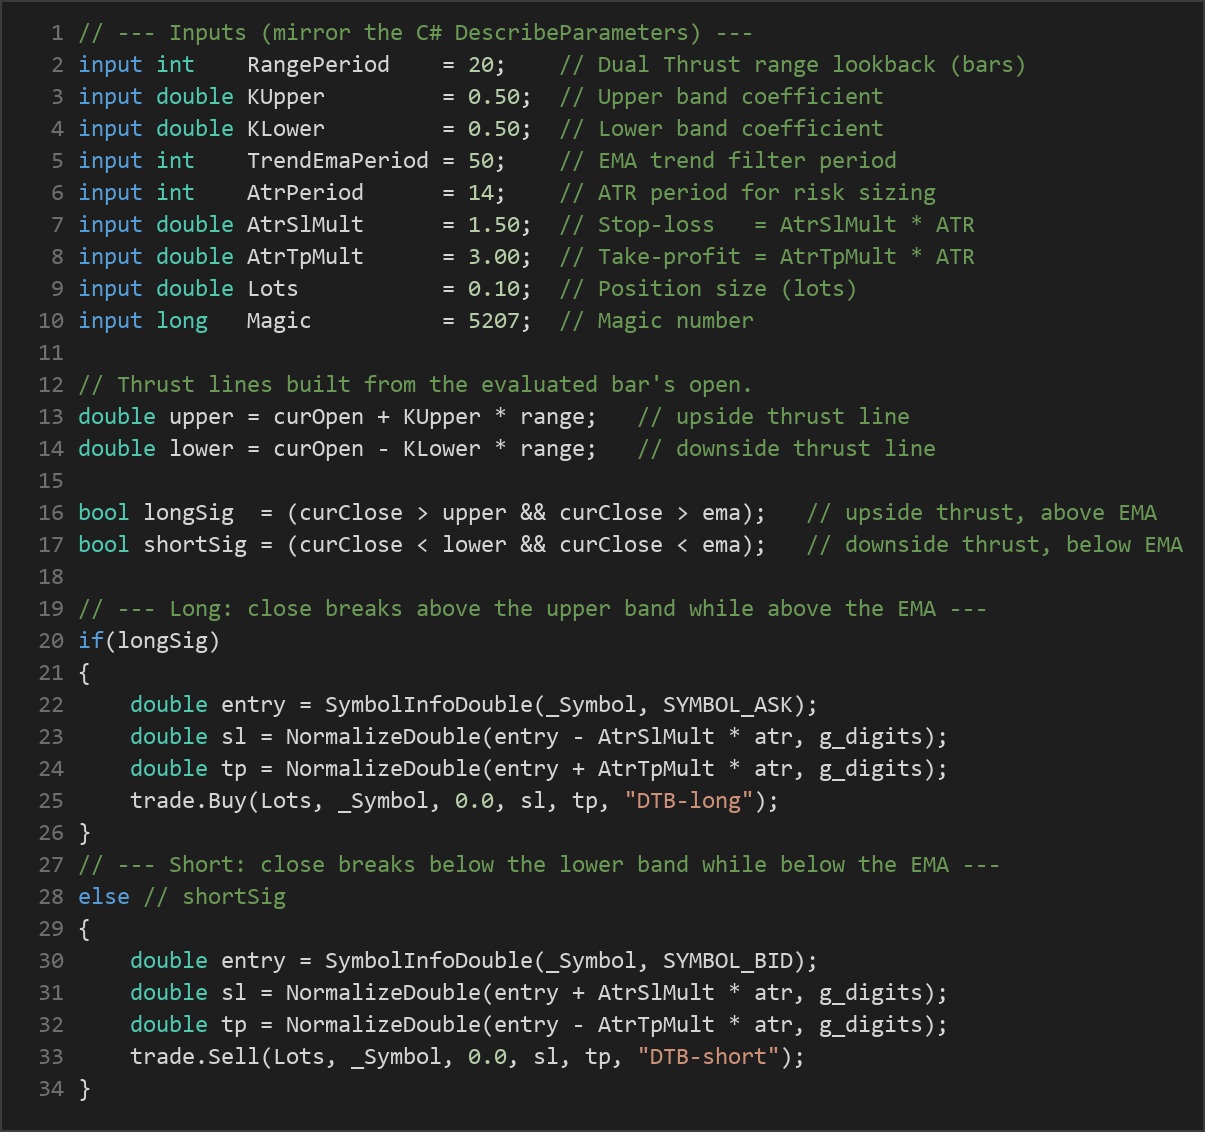
RangePeriodbars behind the just-closed bar, the strategy records the highest high, lowest low, highest close, and lowest close. The Dual Thrust range is defined asmax(HighestHigh − LowestClose, HighestClose − LowestLow). Using closes as well as extremes makes the measurement more robust to single-bar spikes. - Building the bands: Two thrust lines are drawn around the evaluated bar's open. The upside thrust line sits at
Open + KUpper × Range, and the downside thrust line sits atOpen − KLower × Range. - The trend filter: An EMA of the closing prices (an average that weights recent bars more heavily) defines the prevailing drift. The strategy only considers longs when price is above the EMA and only considers shorts when price is below it.
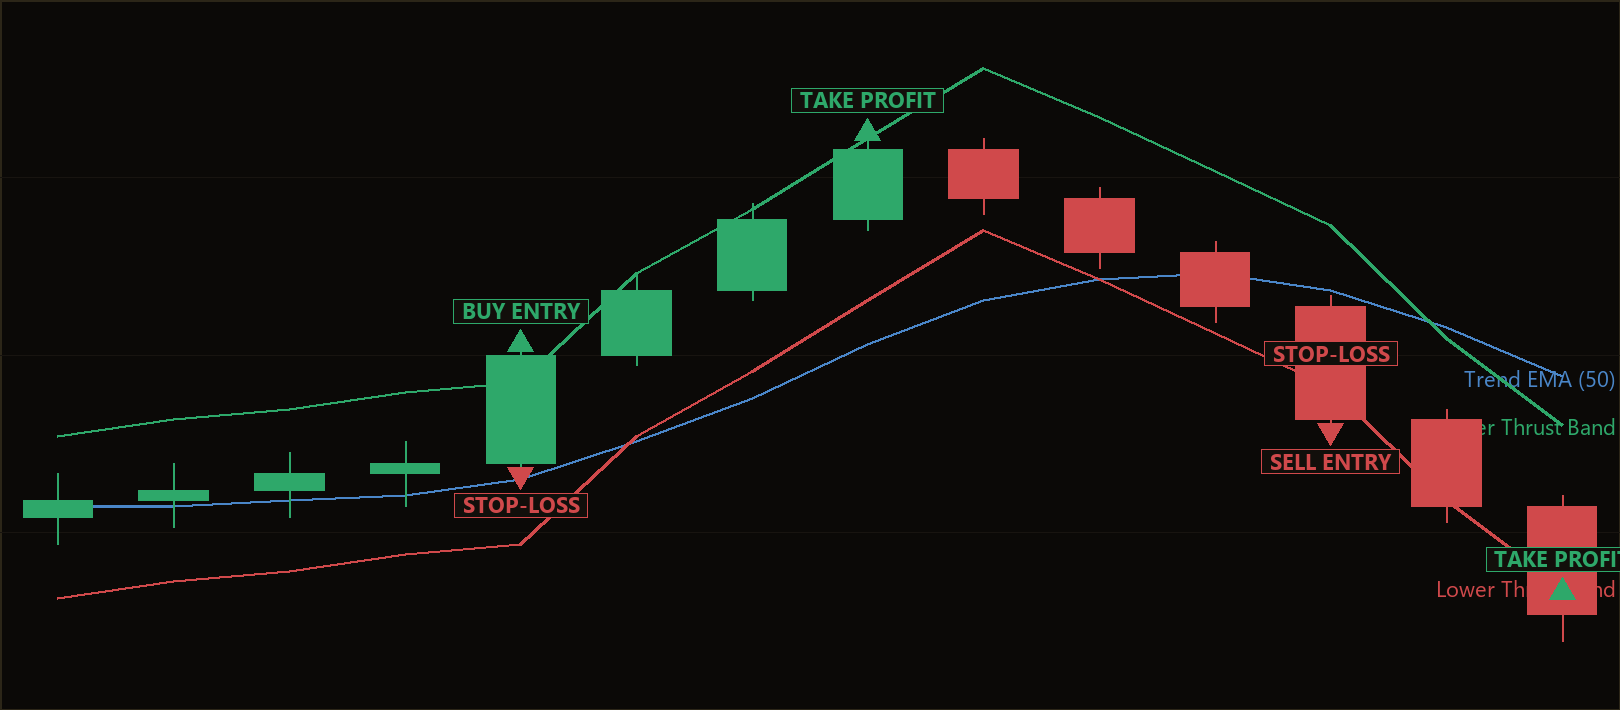
- Long entry signal: The strategy signals a long when the evaluated bar's close is above the upper thrust line and above the EMA — an upside breakout aligned with the uptrend.
- Short entry signal: The strategy signals a short when the evaluated bar's close is below the lower thrust line and below the EMA — a downside breakout aligned with the downtrend.
- Position reversal: The system aims to always be positioned with the dominant thrust. If a long signal appears while a short is open, the short is closed first and vice versa, so an opposite thrust reverses exposure rather than simply stacking trades.
- Stop-loss logic: Risk is defined objectively using ATR, a measure of average bar-to-bar volatility. For a long, the stop-loss is placed at
entry − (AtrSlMult × ATR); for a short, atentry + (AtrSlMult × ATR). When markets are more volatile, the stop is automatically given more room. - Take-profit logic: The take-profit is set symmetrically at
entry + (AtrTpMult × ATR)for longs andentry − (AtrTpMult × ATR)for shorts. With the default multipliers, the target distance is larger than the stop distance, reflecting a reward-to-risk structure greater than 1:1.
Because both the entry boundaries and the exit distances scale with realized volatility, the strategy attempts to keep its behavior consistent whether the instrument is calm or turbulent.
Strategy Parameters
| Parameter | Default | Min | Max | Description |
|---|---|---|---|---|
| RangePeriod | 20 | 5 | 60 | Number of bars used to measure the Dual Thrust volatility range. |
| KUpper | 0.50 | 0.20 | 1.50 | Upper band coefficient; the upside thrust line is Open + KUpper × Range. |
| KLower | 0.50 | 0.20 | 1.50 | Lower band coefficient; the downside thrust line is Open − KLower × Range. |
| TrendEmaPeriod | 50 | 20 | 200 | EMA period for the trend filter; only trades aligned with this EMA are taken. |
| AtrPeriod | 14 | 7 | 30 | ATR period used to size stop-loss and take-profit distances. |
| AtrSlMult | 1.50 | 0.50 | 4.00 | Stop-loss distance as a multiple of ATR. |
| AtrTpMult | 3.00 | 1.00 | 6.00 | Take-profit distance as a multiple of ATR. |
| Lots | 0.10 | 0.01 | 1.00 | Position size, in lots, for each trade. |
A smaller KUpper/KLower produces tighter bands and more frequent signals; larger values demand a stronger push before a breakout is recognized. A shorter TrendEmaPeriod reacts faster to trend changes but can whipsaw, while a longer one is smoother but slower. Adjusting AtrSlMult and AtrTpMult reshapes the reward-to-risk profile of every trade.
Recommended Chart Settings
This strategy was designed as a single-timeframe breakout system and is commonly studied on major forex pairs such as EUR/USD on the H1 (1-hour) timeframe, where volatility and liquidity are reasonably stable. The volatility-adaptive design means it can be explored on other pairs and timeframes as well, but the default parameters were framed with a mid-frequency, intraday-to-swing rhythm in mind. Keep in mind that results will vary across different symbols, brokers, spreads, and market conditions, so any timeframe you choose should be tested on that specific instrument before drawing conclusions.
How to Install on MetaTrader 5
- Download the .ex5 file from the link below
- Copy it to your MT5
MQL5\Expertsfolder - Restart MetaTrader 5 or refresh the Navigator panel
- Drag the EA onto a chart matching the recommended symbol and timeframe
- Configure the input parameters and enable Algo Trading
What to Consider Before Using This EA
The main strength of the Dual Thrust Breakout is its volatility-adaptive boundary. Because the breakout band scales with recent range, the strategy does not need constant manual re-tuning as an instrument's volatility shifts, and the EMA trend filter helps it avoid the most obvious counter-trend traps. The ATR-based stops and targets also give it a disciplined, rules-based exit framework rather than arbitrary fixed distances.
That said, breakout systems have well-known limitations. In range-bound or choppy markets, price can repeatedly poke above and below the thrust lines without following through, producing a string of small losses — a phenomenon known as whipsaw. The trend filter reduces this but does not eliminate it, especially when the EMA itself is flat. Breakout entries also tend to enter after a move has begun, so slippage and spread can eat into the edge, particularly on fast bars or during news events. Finally, because the system reverses on opposite signals, a volatile sideways period can trigger repeated flips that accumulate transaction costs.
The strategy tends to perform best when a market is trending or its volatility is genuinely expanding, and to underperform when the market is directionless. Understanding which environment you are in is a large part of using any breakout approach thoughtfully. Treat this EA as a framework for study rather than a finished solution, and expect that no single parameter set will suit every instrument.
Risk Management Tips
Sound risk management matters more than any single strategy setting. Consider the following general principles:
- Position sizing: Size each trade so that a stop-out costs only a small, pre-decided fraction of your account. A common educational guideline is to risk no more than 1–2% of account equity on any single trade.
- Respect drawdown: Every strategy experiences losing streaks. Understand the potential drawdown — the peak-to-trough decline in your balance — and make sure it is one you can tolerate emotionally and financially.
- Test on a demo account first: Run the EA on a demo or simulated account to observe its behavior across different conditions before considering any live capital.
- Account for costs: Spreads, commissions, and slippage all affect real results, so factor them into any evaluation rather than assuming frictionless fills.
- Keep leverage modest: Higher leverage magnifies both gains and losses. Conservative leverage gives your strategy room to breathe through normal volatility.
Risk management is not about eliminating losses — it is about keeping them survivable so you can keep learning.
Risk Warning
Trading foreign exchange, CFDs, and other leveraged financial instruments involves substantial risk of loss and is not suitable for all investors. The strategies and tools discussed on this page are provided for educational purposes only and do not constitute financial advice, investment recommendations, or solicitation to trade. Always consult a qualified financial adviser before making trading decisions. Past backtest performance is not indicative of future results.
Downloads
- Expert Advisor: DualThrustBreakout.ex5 (48 downloads)
- Source Code: DualThrustBreakout.mq5 (44 downloads)
- Documentation: DualThrustBreakout.pdf (48 downloads)