Disclaimer: This article is for educational and informational purposes only. It does not constitute financial or investment advice. Trading forex and CFDs carries significant risk of loss. Past performance of any strategy — including backtests — does not guarantee future results. Never trade with money you cannot afford to lose.
What Is This Strategy?
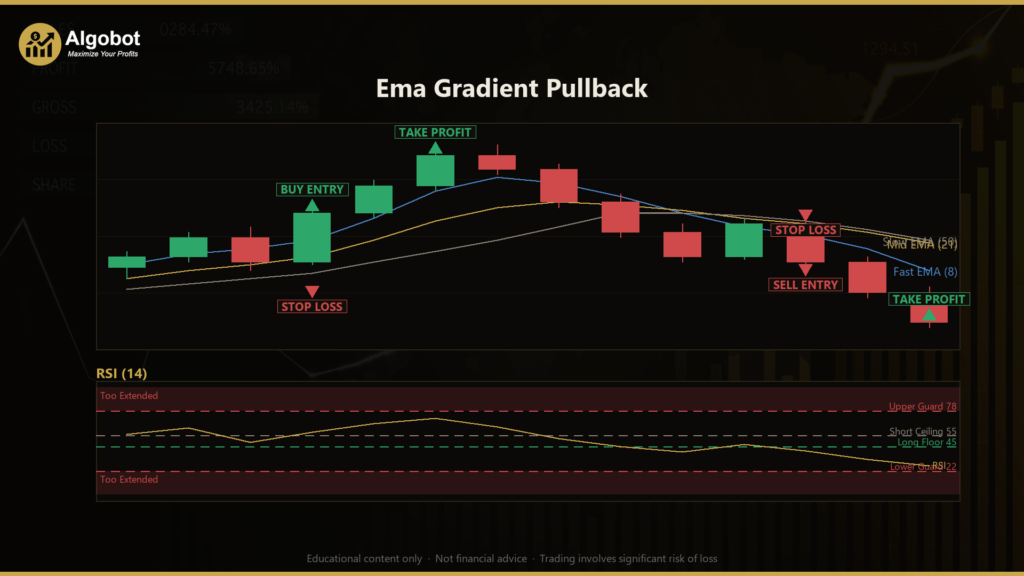
The Ema Gradient Pullback strategy is a trend-following pullback-continuation system built around a three-EMA "gradient stack" — an exponential moving average (EMA) is a moving average that weights recent prices more heavily, so it reacts faster to fresh price action than a simple average. This strategy layers three of them (a fast, a mid, and a slow EMA) and only looks for trades when all three line up in a clean, ordered "ribbon" that is sloping in one direction. In short, it is designed to buy shallow dips inside an established uptrend and sell shallow rallies inside an established downtrend.
The core idea is that strong trends rarely move in a straight line. Price tends to push forward, pause or retrace slightly, and then continue. The Ema Gradient Pullback strategy tries to identify that brief pause — the pullback — and enter only once momentum has visibly returned in the trend's direction. To avoid the two most common traps for dip-buying systems, it adds a regime filter (the sloping EMA stack, which stays quiet in sideways markets) and a momentum filter using the Relative Strength Index, or RSI, a 0–100 oscillator that measures the speed and size of recent price moves.
As an educational tool, this strategy is well suited to traders who want to study how trend, pullback, and momentum filters can be combined into a single rule set. It is a strategy analysis framework, not a shortcut — the value here is in understanding why each condition exists and how the pieces interact. It suits intermediate learners comfortable with moving averages, RSI, and Average True Range (ATR)-based risk models.
How It Works
The strategy evaluates its rules once per newly-closed bar (candle), never mid-bar, which keeps signals stable and repeatable. Everything runs on a single, backtest-selected timeframe.
The trend gate — the gradient stack
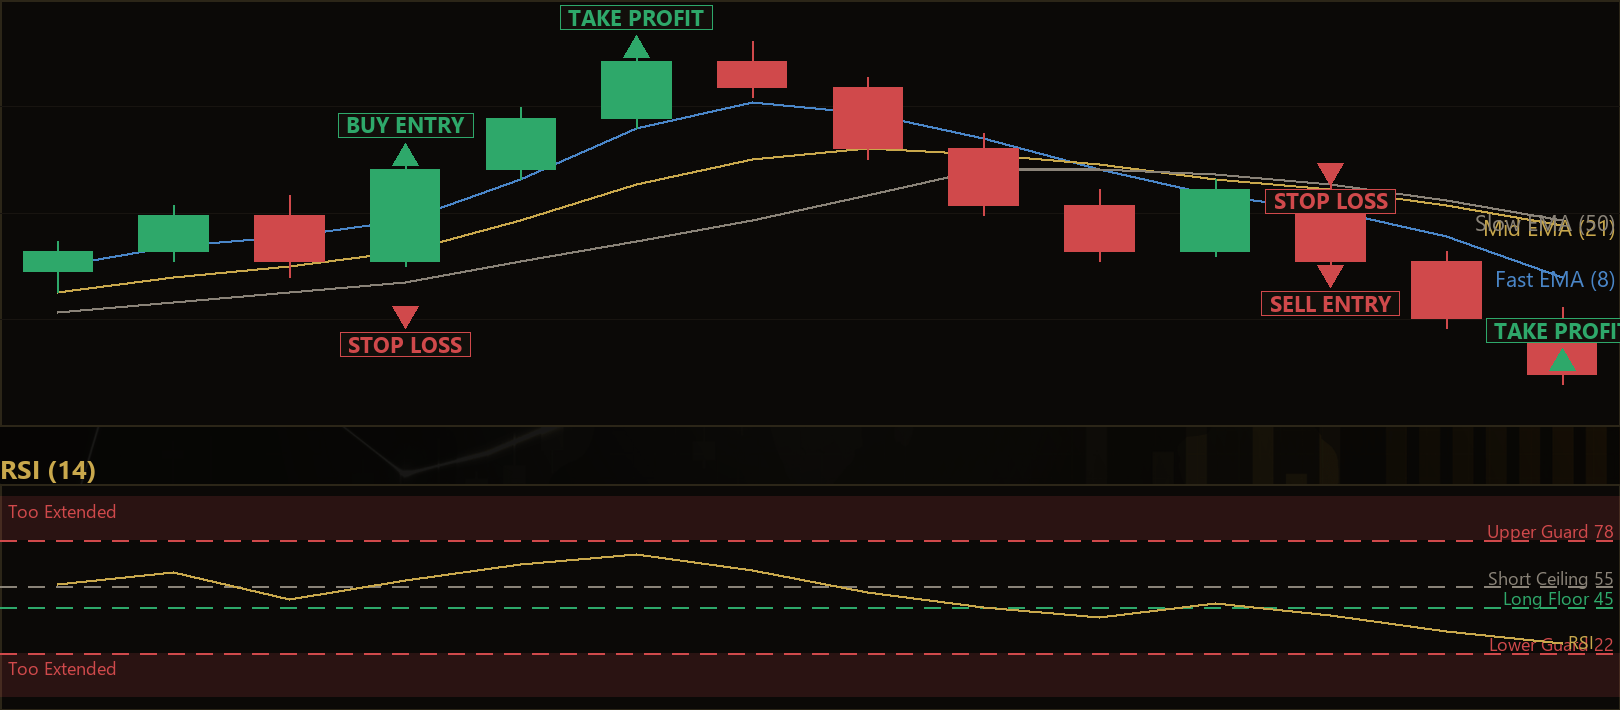
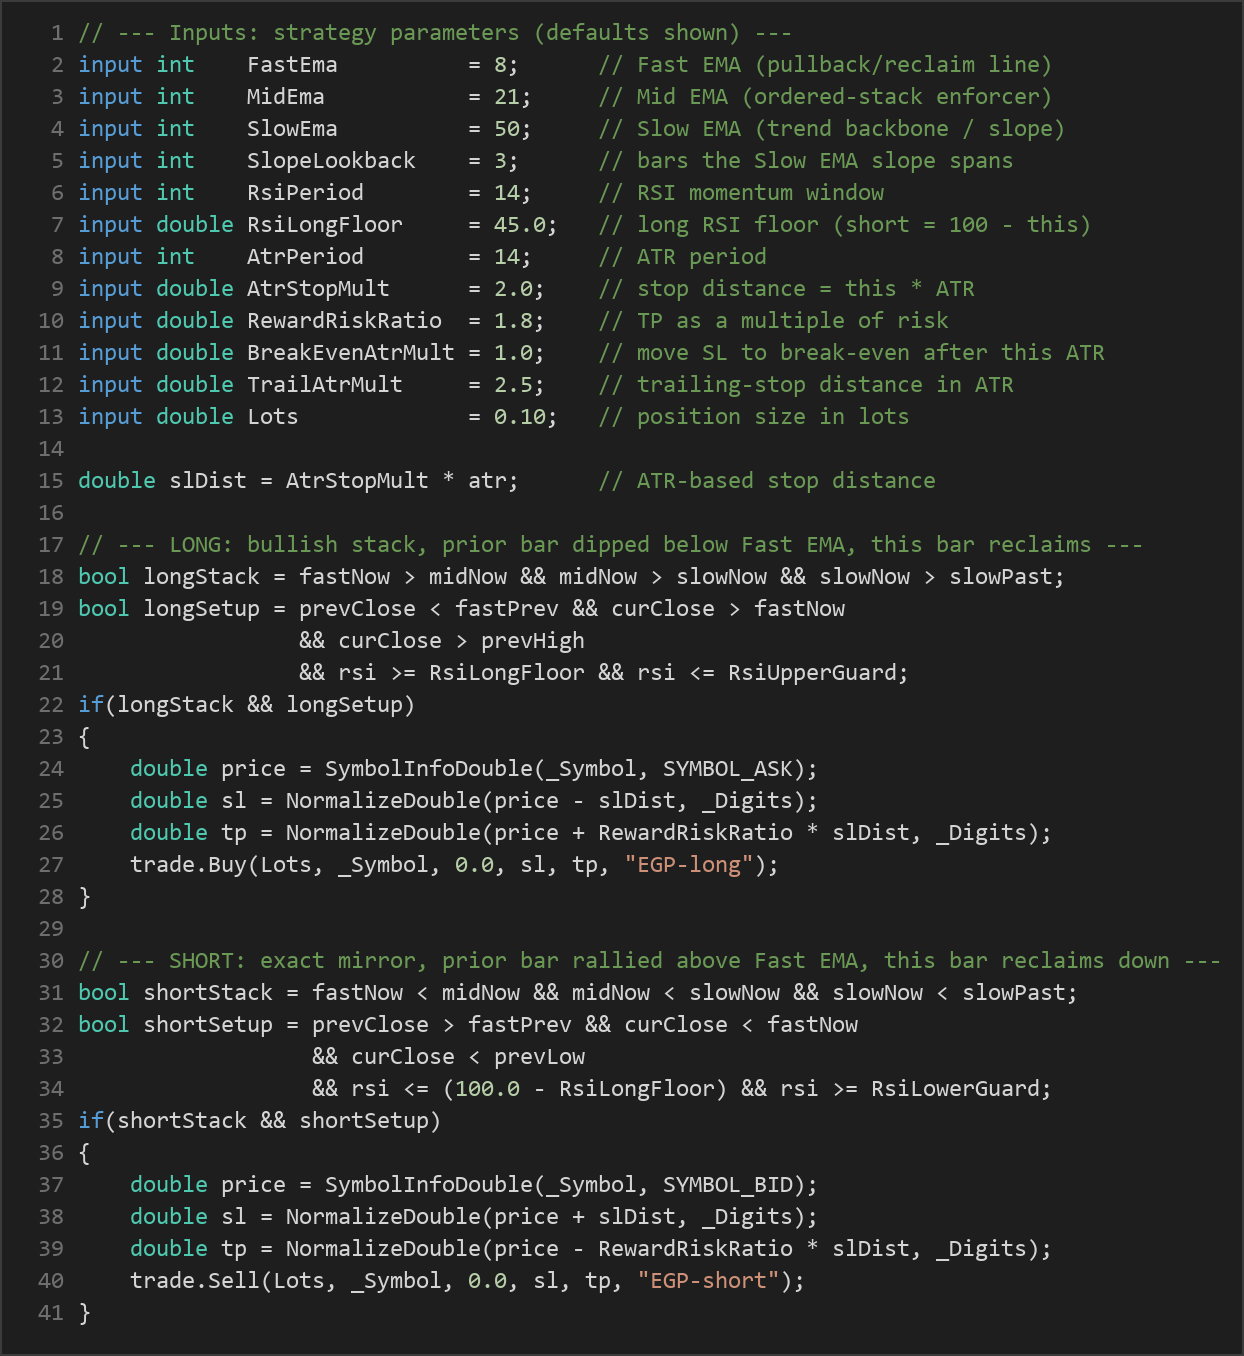
- For a long setup, the strategy signals a valid uptrend only when the Fast EMA is above the Mid EMA, the Mid EMA is above the Slow EMA, and the Slow EMA is higher than it was a set number of bars ago (a rising slope).
- For a short setup, the mirror is required: Fast below Mid, Mid below Slow, and the Slow EMA falling.
- Because a cleanly stacked, sloping ribbon only forms in a directional market, this gate stays naturally silent during ranges and chop.
The entry trigger — pullback → reclaim → momentum
For a long entry, all of the following must hold on the just-closed bars:
- Pullback: the previous closed bar dipped, closing below its Fast EMA — a genuine retracement into the ribbon.
- Reclaim: the current closed bar closed back above the Fast EMA, showing the dip has resolved in the trend's favour.
- Momentum confirmation: that reclaim bar closed above the previous bar's high, signalling the pullback is decisively over rather than just drifting.
- RSI health check: RSI sits at or above the long floor (default 45) and at or below a fixed overbought guard of 78 — filtering out both exhausted, over-extended pushes and momentum that has already rolled over.
A short entry is the exact mirror: the prior bar closed above the Fast EMA, the current bar closes below it and below the prior bar's low, with RSI at or below the mirror ceiling (100 − floor) and at or above the fixed lower guard of 22.
Stop-loss and take-profit logic
- The stop-loss is placed at a distance of
AtrStopMult × ATRfrom entry — a volatility-scaled buffer so the stop widens in fast markets and tightens in calm ones. - The take-profit is set at
RewardRiskRatio × risk, meaning the profit target is a fixed multiple of the initial stop distance.
Trade management
- Break-even: once price runs
BreakEvenAtrMult × ATRin the trade's favour, the stop is pulled to the entry price, removing the initial risk. - ATR trailing stop: the stop then trails
TrailAtrMult × ATRbehind price, only ever ratcheting in the profitable direction — designed to let winners run while locking in gains. - One position at a time: only a single position per magic number is ever open, so there is no pyramiding or stacking of trades.
Strategy Parameters
| Parameter | Default | Min | Max | Description |
|---|---|---|---|---|
| FastEma | 8 | 4 | 20 | Fast EMA period — the pullback/reclaim line price must dip below then close back above. |
| MidEma | 21 | 10 | 60 | Mid EMA period — the middle of the ribbon; enforces a clean, ordered stack. |
| SlowEma | 50 | 30 | 150 | Slow EMA period — the trend backbone whose slope acts as the regime filter. |
| SlopeLookback | 3 | 1 | 10 | Number of bars back the Slow EMA slope is measured over. |
| RsiPeriod | 14 | 7 | 28 | RSI momentum confirmation window. |
| RsiLongFloor | 45.0 | 35.0 | 52.0 | Long RSI floor (short mirror = 100 − this); keeps entries in healthy momentum. |
| AtrPeriod | 14 | 7 | 28 | ATR period used to size the stop, break-even, and trail. |
| AtrStopMult | 2.0 | 1.0 | 4.0 | Stop-loss distance as a multiple of ATR. |
| RewardRiskRatio | 1.8 | 1.0 | 3.5 | Take-profit distance as a multiple of the initial risk. |
| BreakEvenAtrMult | 1.0 | 0.3 | 3.0 | Move the stop to break-even once price runs this many ATR in favour. |
| TrailAtrMult | 2.5 | 1.0 | 5.0 | ATR distance the trailing stop follows behind price once in profit. |
| Lots | 0.10 | 0.01 | 1.0 | Position size in lots. |
Recommended Chart Settings
The Ema Gradient Pullback strategy was designed with trending FX pairs, metals, and index CFDs in mind, on timeframes in the M15–H4 range. Importantly, the timeframe is not hardcoded — the strategy runs on whatever timeframe the chart or backtest selects, so you can study its behaviour across several timeframes to see where the trend-and-pullback logic reads price most cleanly.
As a starting point for study, a liquid major pair such as EUR/USD on the H1 chart offers a reasonable balance of signal frequency and trend clarity. Keep in mind that results will vary considerably across different instruments, timeframes, and market conditions. What behaves well on a strongly trending metal chart may generate few or unhelpful signals on a range-bound pair, so treat the recommended settings as a study baseline rather than a fixed prescription.
How to Install on MetaTrader 5
- Download the .ex5 file from the link below.
- Copy it to your MT5
MQL5\Expertsfolder. - Restart MetaTrader 5 or refresh the Navigator panel.
- Drag the EA onto a chart matching the recommended symbol and timeframe.
- Configure the input parameters and enable Algo Trading.
What to Consider Before Using This EA
Strengths of the approach. The layered filtering is the standout feature. By requiring a stacked, sloping EMA ribbon and a pullback-reclaim-momentum sequence and an RSI health check, the strategy is deliberately selective. This design historically helps trend-continuation systems sidestep the two classic failure modes: trading inside a range, and mistaking the start of a reversal for a routine dip. The objective, ATR-based risk model — with a defined stop, a reward-to-risk target, a break-even move, and a trailing stop — brings consistency and removes discretionary guesswork from exits.
Known limitations. Every filter that improves signal quality also reduces signal quantity. In quiet or choppy markets, the gradient stack may rarely align, so the strategy can go long stretches without trading — which requires patience. Like all moving-average systems, the EMAs lag price, so entries arrive after a move is already underway rather than at the exact turn. Whipsaw conditions — where a trend stalls and the ribbon repeatedly forms and breaks — can produce a cluster of small losing trades. And because pullback entries occur mid-trend, a trade can be stopped out if the trend exhausts shortly after entry.
Where it may underperform. Range-bound, low-volatility, or news-driven erratic markets are the least favourable environment for this style. Sudden gaps or spikes can also push price past the ATR-based stop before the trailing logic can react. No filter set eliminates losing trades; the goal here is to skew the balance toward higher-quality setups, not to be right every time.
Risk Management Tips
Risk management is what separates disciplined study from gambling. Consider these general principles:
- Position sizing: size trades so that a single loss is small relative to your account. A widely taught guideline is to risk no more than 1–2% of account equity per trade. The
LotsandAtrStopMultinputs together determine your real monetary risk, so adjust them to your account size rather than using defaults blindly. - Test on a demo account first: run the EA on a demo or paper account across varied market conditions before ever considering live capital. This is how you learn its behaviour without financial consequence.
- Understand drawdown: even a well-designed system experiences losing streaks. Know the largest peak-to-trough equity decline you could tolerate emotionally and financially, and confirm the strategy's behaviour fits within it.
- Never over-leverage: leverage magnifies both gains and losses. Keep total exposure conservative, especially while learning.
- Keep a trading journal: record why each trade triggered and how it resolved. Reviewing this is one of the most effective ways to genuinely understand a strategy.
Risk Warning
Trading foreign exchange, CFDs, and other leveraged financial instruments involves substantial risk of loss and is not suitable for all investors. The strategies and tools discussed on this page are provided for educational purposes only and do not constitute financial advice, investment recommendations, or solicitation to trade. Always consult a qualified financial adviser before making trading decisions. Past backtest performance is not indicative of future results.
Downloads
- Expert Advisor: EmaGradientPullback.ex5 (60 downloads)
- Source Code: EmaGradientPullback.mq5 (60 downloads)
- Documentation: EmaGradientPullback.pdf (64 downloads)