Disclaimer: This article is for educational and informational purposes only. It does not constitute financial or investment advice. Trading forex and CFDs carries significant risk of loss. Past performance of any strategy — including backtests — does not guarantee future results. Never trade with money you cannot afford to lose.
What Is This Strategy?
The Perimeter Rejection Hedge is a pure price-action support and resistance strategy that trades by fading rejections at recently established price boundaries, with a built-in protective breakout hedge. It uses no technical indicators of any kind — no moving averages, no RSI, no ATR, no Bollinger Bands, and no formula-based pivots. Instead, every level and threshold is read directly from raw price bars, making it a clean case study in how to build a system from market structure alone.
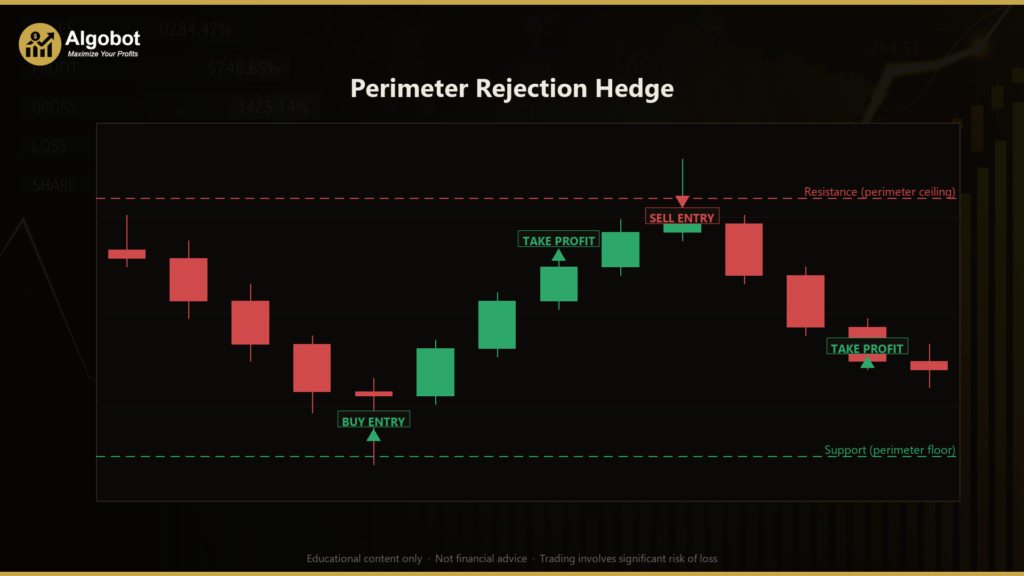
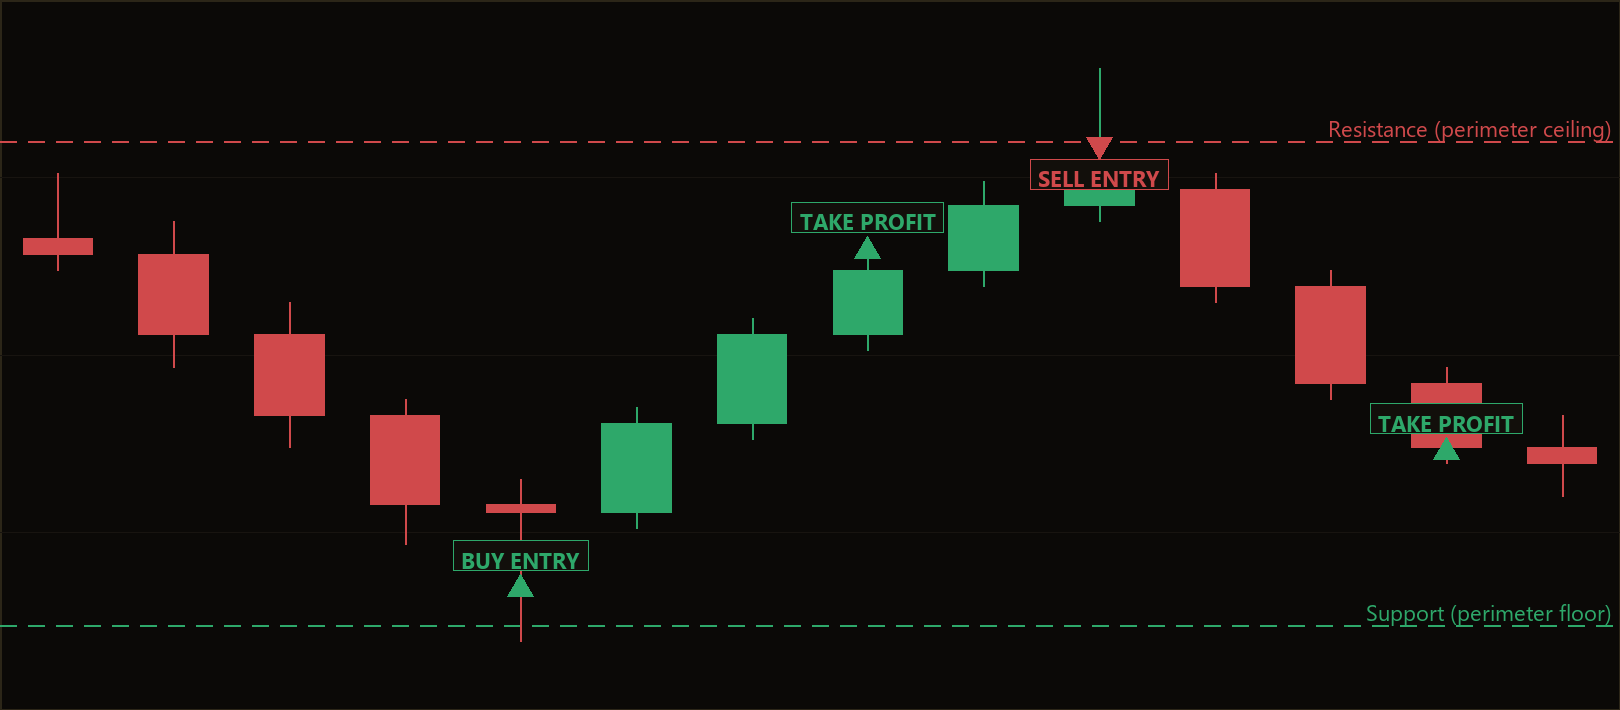
The strategy is designed for range-bound or consolidating markets, where price repeatedly tests a ceiling and a floor that the market has recently respected. It identifies these boundaries — together called the "perimeter" — as the highest high and lowest low over a rolling window of closed bars. When price pokes into one of those boundaries and then closes back inside the range with a clear rejection wick, the strategy signals a counter-trend (mean-reversion) trade back toward the middle of the range.
This makes it most suitable as a learning tool for traders who want to understand support/resistance trading, rejection candle patterns, and the concept of hedging a failed setup. The protective hedge component, which activates only when the boundary breaks, illustrates a risk-recovery idea that goes beyond a plain support/resistance fade. It is a strategy worth studying rather than a shortcut, and it rewards a careful reading of how each rule connects to the next.
How It Works
The strategy reads only closed bars to avoid acting on incomplete information. It treats the last fully formed bar (shift 1) as the "signal bar" and builds its levels from the bars before it, so a touch is judged against pre-existing structure rather than against the signal bar itself.
Building the perimeter and the range unit:
- Resistance is the highest high of the last
Lookbackclosed bars — the ceiling. - Support is the lowest low of the same window — the floor.
- Range is the average bar size (High minus Low) over the window. This is a pure price-action measure of volatility used to size every buffer, stop, and target. There is no ATR call anywhere.
Entry conditions (fading a rejection at the perimeter):
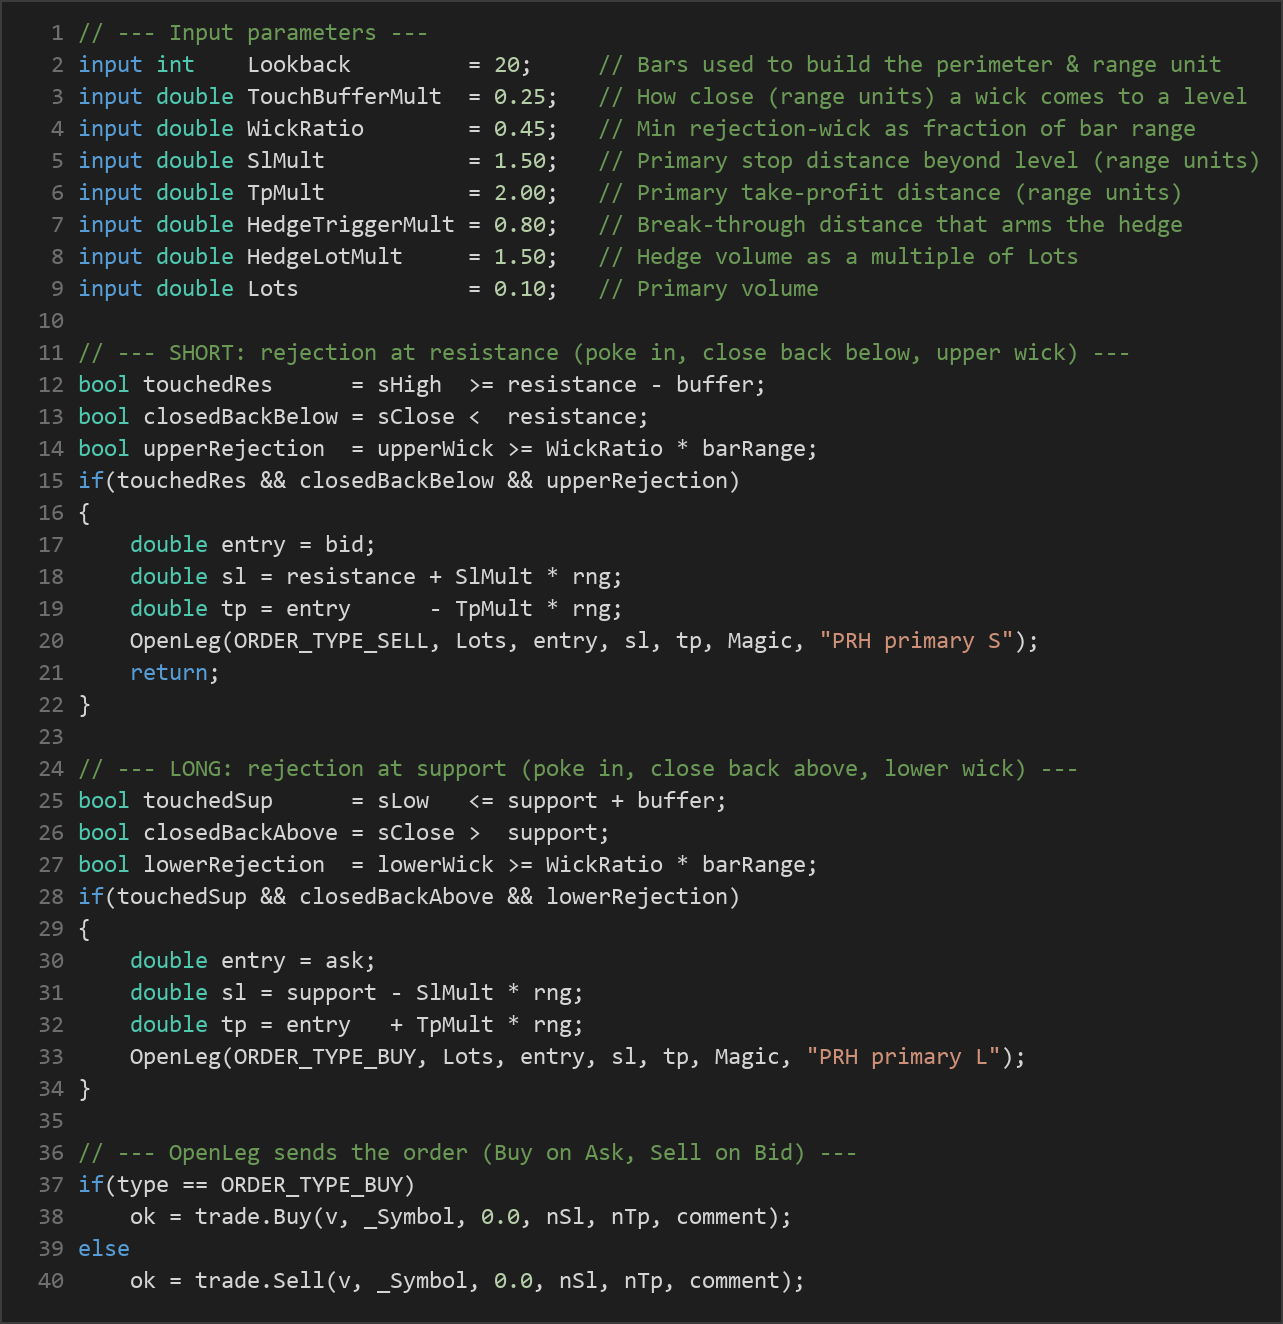
- The strategy signals a short when the signal bar's high reaches into resistance (within a buffer), the bar closes back below resistance, and it prints a dominant upper wick (the wick is at least
WickRatioof the bar's full range). This may indicate that sellers rejected the ceiling. - The strategy signals a long as the mirror image: the bar pokes into support, closes back above it, and prints a dominant lower wick, suggesting buyers rejected the floor.
- Only one fresh setup is taken at a time, and a new trade is only opened when the account is fully flat across both of the strategy's magic numbers.
Stop-loss and take-profit (price-action sized, fixed at entry):
- For a short, the stop-loss is placed at resistance plus
SlMult× Range (just beyond the rejected ceiling), and the take-profit is the entry minusTpMult× Range (back toward the middle of the range). - For a long, the logic mirrors this. A minimum broker stop distance is always respected so orders remain valid.
The hedge (recovery on a failed level):
- A rejection trade is wrong precisely when the level breaks. So if, while a primary fade is live, price punches through the perimeter by
HedgeTriggerMult× Range, the strategy opens one opposing position in the breakout direction, sized atHedgeLotMult× Lots. - Both legs are then live at once. The primary's stop caps the fade loss, while the hedge rides the breakout that beat the fade — historically a way to recover and sometimes net positive on a setup that failed.
- Only one hedge per primary is allowed, and both legs carry their own fixed stop-loss and take-profit. Hedge management runs on every tick so a breakout is caught intrabar, while fresh entries are only evaluated once per newly formed bar.
Strategy Parameters
| Parameter | Default | Min | Max | Description |
|---|---|---|---|---|
| Lookback | 20 | 10 | 60 | Number of closed bars used to build the rolling support/resistance perimeter and the average-range volatility unit. |
| TouchBufferMult | 0.25 | 0.05 | 1.00 | How close (in Range units) a wick must come to a level to count as a touch. |
| WickRatio | 0.45 | 0.25 | 0.75 | Minimum rejection-wick size as a fraction of the signal bar's full range. |
| SlMult | 1.50 | 0.50 | 4.00 | Primary stop-loss distance beyond the rejected level, in Range units. |
| TpMult | 2.00 | 0.50 | 6.00 | Primary take-profit distance back toward the middle of the range, in Range units. |
| HedgeTriggerMult | 0.80 | 0.20 | 3.00 | Break-through distance past the level that arms the breakout hedge, in Range units. |
| HedgeLotMult | 1.50 | 0.50 | 3.00 | Hedge volume as a multiple of the primary Lots. |
| MaxSpreadPoints | 40 | 0 | 500 | Skip new setups while the spread (in points) exceeds this value (0 = off). |
| Lots | 0.10 | 0.01 | 1.00 | Primary trade volume in lots. |
| Magic | 7301 | 0 | 9,999,999 | Unique identifier for the strategy's orders (hedge legs use Magic + 1). |
Recommended Chart Settings
This strategy was designed with a liquid FX major such as EURUSD in mind, on the M15 or H1 timeframe, where clean ranges tend to form and breakouts tend to run. That said, the code reads only the timeframe the chart or backtest selects, so it will run on whatever timeframe you apply it to.
Because the perimeter and range unit are derived entirely from recent price action, the strategy adapts its level spacing to current volatility. Even so, results will vary across different market conditions, symbols, and brokers — spread, stop-level requirements, and the character of each market all influence how the rules behave. Always test on the specific symbol and timeframe you intend to study.
How to Install on MetaTrader 5
- Download the
.ex5file from the link below. - Copy it to your MT5
MQL5\Expertsfolder. - Restart MetaTrader 5 or refresh the Navigator panel.
- Drag the EA onto a chart matching the recommended symbol and timeframe.
- Configure the input parameters and enable Algo Trading.
What to Consider Before Using This EA
Strengths of this approach. The Perimeter Rejection Hedge is conceptually transparent: because it uses no indicators, you can see exactly why every trade triggers by looking at the chart. Its levels and distances scale with current volatility, so it does not rely on fixed pip values that go stale. The rejection-wick filter adds a confirmation requirement that helps screen out shallow touches, and the hedge introduces a structured response to the single most common failure mode of a support/resistance fade — the level simply breaking.
Known limitations. Mean-reversion systems like this one perform best in ranging conditions and tend to struggle in strong, sustained trends, where the perimeter breaks repeatedly. While the hedge is designed to recover from a clean breakout, a market that breaks, reverses, and breaks again (a "whipsaw") can stop out both legs. Holding two opposing positions also means two sets of spread and commission costs, and on some account types hedging may not be permitted at all. Finally, the strategy takes only one setup at a time, so it can sit idle through long stretches and may miss opportunities outside its narrow definition of a rejection.
The honest takeaway is that this is a tool for understanding range trading and hedging mechanics — not a finished system to deploy unexamined. Study how it behaves before drawing any conclusions.
Risk Management Tips
Sound risk management matters far more than any single strategy. Consider these general principles as you study this EA:
- Position sizing: Keep trade size proportional to your account. Many educational sources suggest risking no more than 1–2% of your account on any single trade, and remember that a live hedge means two positions are exposed at once.
- Use a demo account first: Test the strategy on a demo or simulated account until you fully understand its behavior across different market conditions.
- Understand drawdown: Every strategy experiences losing streaks. Know the maximum drawdown you are willing to tolerate before you begin, and stop if it is exceeded.
- Account for costs: Spread, commission, and swap (overnight) fees all reduce results, and a hedging approach doubles some of those costs while both legs are open.
- Never over-leverage: Leverage magnifies losses as much as gains. Use it conservatively and never trade with money you cannot afford to lose.
Risk Warning
Trading foreign exchange, CFDs, and other leveraged financial instruments involves substantial risk of loss and is not suitable for all investors. The strategies and tools discussed on this page are provided for educational purposes only and do not constitute financial advice, investment recommendations, or solicitation to trade. Always consult a qualified financial adviser before making trading decisions. Past backtest performance is not indicative of future results.
Downloads
- Expert Advisor: PerimeterRejectionHedge.ex5 (62 downloads)
- Source Code: PerimeterRejectionHedge.mq5 (55 downloads)
- Documentation: PerimeterRejectionHedge.pdf (66 downloads)