Disclaimer: This article is for educational and informational purposes only. It does not constitute financial or investment advice. Trading forex and CFDs carries significant risk of loss. Past performance of any strategy — including backtests — does not guarantee future results. Never trade with money you cannot afford to lose.
What Is This Strategy?
The Momentum Acceleration Breakout is a pure price-action momentum strategy for MetaTrader 5 that uses no traditional indicators at all — no moving averages, no RSI, no ATR. Instead, it reads raw candlestick geometry (the open, high, low, and close of each bar) to measure not just whether momentum is present, but whether momentum is getting stronger. In mathematical terms, most breakout systems look at the first derivative of price (speed); this one looks closer to the second derivative (acceleration), which is what gives the strategy its name.
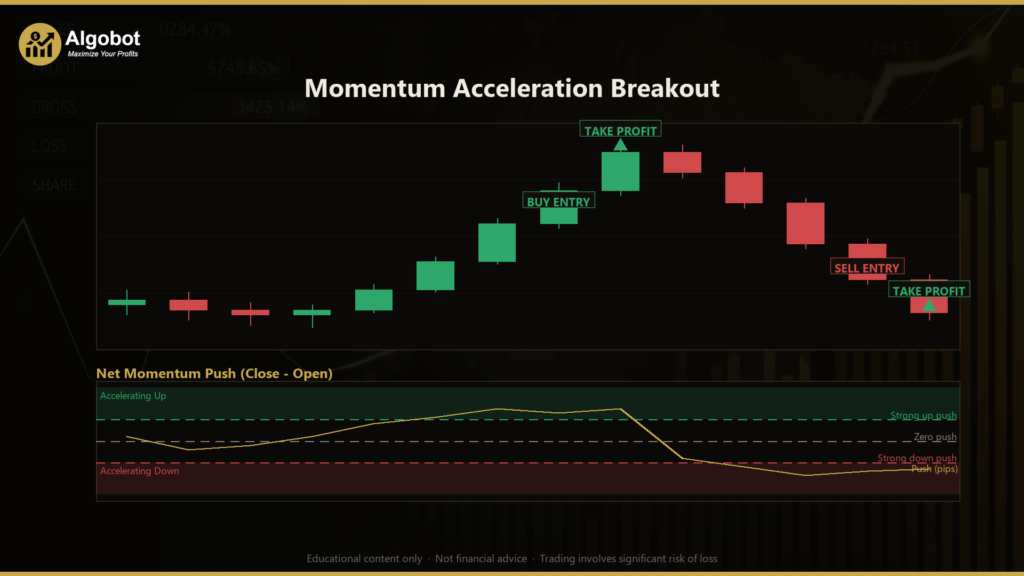
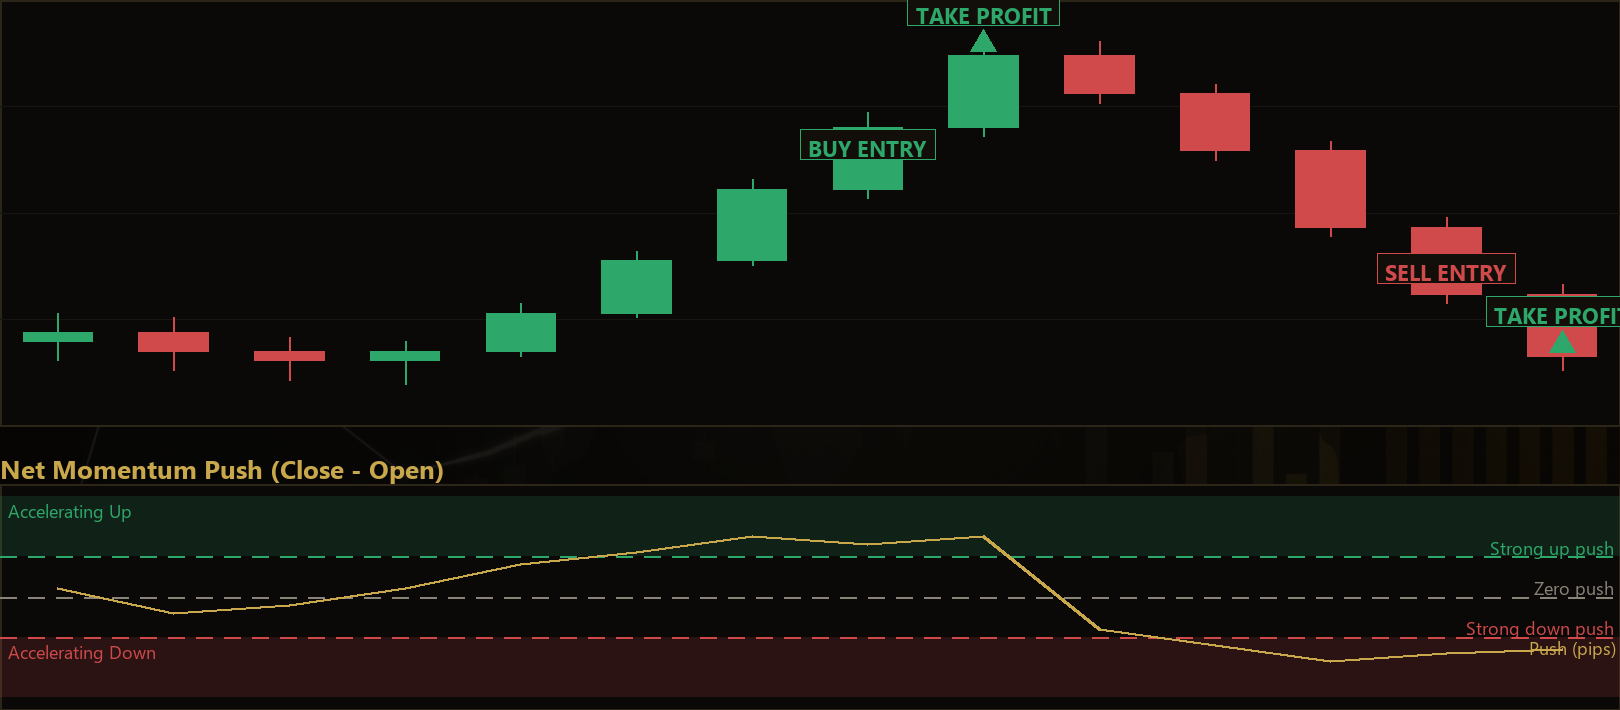
The core idea is intuitive once you see it. Each bar produces a "directional push" equal to its signed body — the close minus the open. A strongly bullish candle has a large positive push; a strongly bearish candle has a large negative one. The strategy sums this push across two back-to-back windows of bars and asks a simple question: is the most recent burst of pushing meaningfully stronger than the burst that came just before it? When the answer is yes, and the move also breaks structure with conviction, the strategy signals a potential entry in the direction of that acceleration.
As a learning tool, this approach suits traders who want to understand momentum and breakout logic without the lag and visual clutter of indicators. Because every condition is derived from candle shapes you can see on the chart, it is a clear way to study how impulse, conviction, and structural breaks combine into a trade idea. It is designed for trending or impulsive market conditions, where price tends to expand in one direction, and it is best treated as an educational case study rather than a turnkey system.
How It Works
The strategy evaluates conditions only once per freshly closed bar — it ignores the still-forming candle (shift 0) and acts on the just-closed "trigger" bar (shift 1). It needs at least 2 × MomentumPeriod + 2 bars of history before it will consider any trade, and it holds only one position at a time per magic number, letting the stop-loss and take-profit manage the exit.
Here is what the strategy checks, in order:
- Spread filter (realistic fills): If
MaxSpreadPointsis greater than zero and the current spread exceeds it, the bar is skipped. This avoids signalling during illiquid, high-cost conditions. - Conviction gate: The trigger bar's body must be at least
MinBodyPct% of its full high-to-low range. This confirms the close was driven by genuine pressure rather than a "doji" that drifted sideways and closed near where it opened. - Two momentum windows: The strategy sums the signed body (close − open) over the recent window (the most recent
MomentumPeriodbars, shifts 1 to n) and the prior window (theMomentumPeriodbars before that, shifts n+1 to 2n). These two sums arerecentNetandpriorNet. - Acceleration test: For a long,
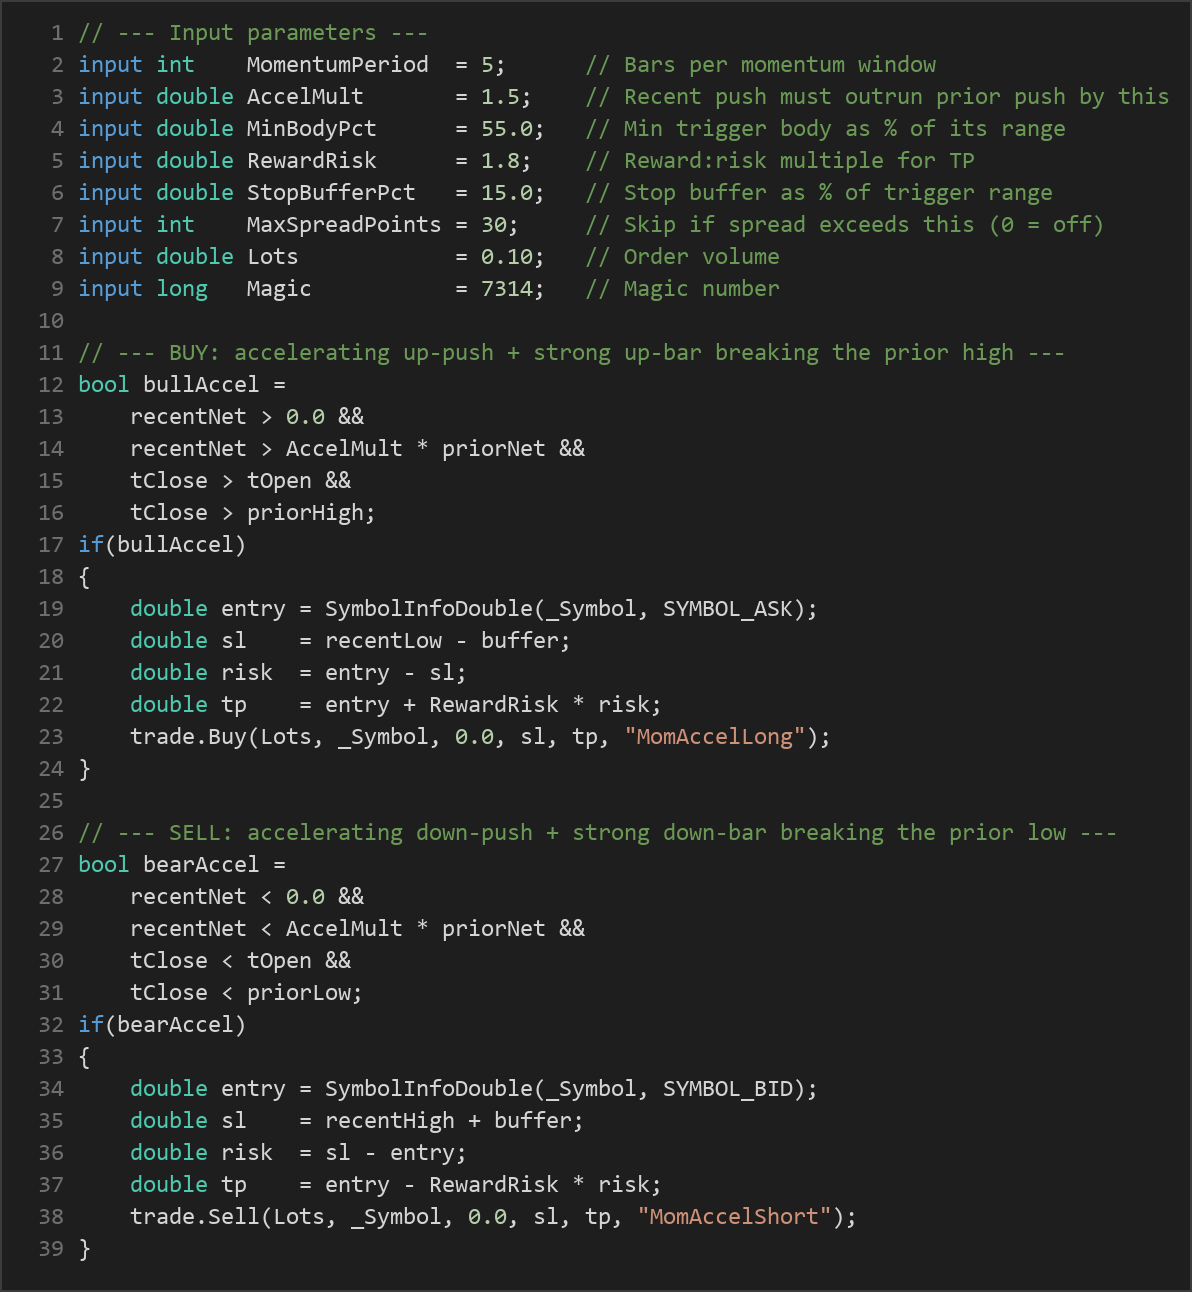
recentNetmust be positive and greater thanAccelMult × priorNet. This means the recent push outruns the prior push in the same direction. Importantly, if the prior window was flat or pushing the other way, a strongly positive recent push still qualifies — this is the "ignition through zero" case, where momentum accelerates up from nothing, which is exactly the impulse the strategy is hunting for. The short side is fully symmetric. - Structural breakout: For a long, the trigger bar must be an up bar (close above open) and its close must clear the highest high of the prior window. This proves the accelerating push actually printed a fresh local extreme instead of churning inside old range. For a short, the close must break below the prior window's lowest low.
When all of these align for the bullish case — accelerating up-push, a strong up-bar, and a fresh local high — the strategy signals a BUY. When they align for the bearish case — accelerating down-push, a strong down-bar, and a fresh local low — it signals a SELL.
Stop-loss logic: The stop is structural and entirely price-derived. For a long, it is placed just below the lowest low of the recent (impulse) window, minus a buffer equal to StopBufferPct% of the trigger bar's range. For a short, it sits just above the recent window's highest high, plus the same buffer. There is no ATR or fixed-pip stop — the market's own structure defines the risk.
Take-profit logic: The distance from entry to stop defines one unit of risk. The take-profit is placed at RewardRisk times that distance in the direction of the trade. With the default of 1.8, the strategy targets 1.8 units of reward for every 1 unit of risk.
Strategy Parameters
| Parameter | Default | Min | Max | Description |
|---|---|---|---|---|
| MomentumPeriod | 5 | 3 | 20 | Number of bars in each momentum window. The strategy compares two back-to-back windows of this size. |
| AccelMult | 1.5 | 1.0 | 4.0 | How much the recent push must outrun the prior push to count as acceleration. Higher values demand stronger ignition. |
| MinBodyPct | 55.0 | 30.0 | 90.0 | Minimum trigger-bar body as a percentage of its high-to-low range. Filters out indecisive doji candles. |
| RewardRisk | 1.8 | 0.5 | 5.0 | Reward-to-risk multiple used to set the take-profit relative to the stop distance. |
| StopBufferPct | 15.0 | 0.0 | 100.0 | Extra stop buffer, expressed as a percentage of the trigger bar's range, beyond the impulse extreme. |
| MaxSpreadPoints | 30 | 0 | 200 | Maximum allowed spread in points before a signal is skipped (0 disables the filter). |
| Lots | 0.10 | 0.01 | 1.0 | Fixed order volume in lots for each trade. |
The expert advisor also exposes a Magic number (default 7314), which tags its trades so it can manage only its own positions on the chart.
Recommended Chart Settings
This strategy is built around generic candle geometry, so it is not locked to a single market. As a starting point for study, many price-action momentum systems of this type are explored on major forex pairs such as EUR/USD or GBP/USD on intraday timeframes like M15, M30, or H1, where impulsive breakouts are common and spreads are typically tight enough to satisfy the spread filter. Higher timeframes such as H4 produce fewer but structurally cleaner signals.
Because the logic depends on window sizes (MomentumPeriod) and body proportions (MinBodyPct), the same defaults will behave very differently across instruments and timeframes. Volatile or thinly traded symbols can produce wide stops and erratic signals. Always remember that results will vary across different market conditions, and what looks reasonable on one chart may not hold on another.
How to Install on MetaTrader 5
- Download the
MomentumAccelerationBreakout.ex5file from the link below. - Copy it to your MT5
MQL5\Expertsfolder. - Restart MetaTrader 5 or refresh the Navigator panel.
- Drag the EA onto a chart matching the recommended symbol and timeframe.
- Configure the input parameters and enable Algo Trading.
What to Consider Before Using This EA
This strategy has some genuine strengths as a learning model. Because it uses no indicators, there is no indicator lag — every decision is based on bars that have already closed, and you can verify each condition by eye. The structural stop ties risk directly to the market's own impulse base rather than an arbitrary distance, and the symmetric long/short logic means it treats both directions identically. The acceleration concept also filters out flat, low-energy conditions where many simple breakout systems generate false signals.
The limitations are equally important to understand. Momentum and breakout strategies are, by nature, prone to "false breakouts" — moves that clear a local extreme with conviction and then immediately reverse. In ranging or choppy markets, the strategy may repeatedly signal into noise and get stopped out, a pattern sometimes called whipsaw. The fixed reward-to-risk target does not adapt to changing volatility, so a target that is realistic in a trending session may be too far away in a quiet one. Finally, because position size is a fixed lot value, risk per trade changes as the structural stop distance changes from setup to setup.
This EA is best viewed as an educational framework for studying how acceleration, conviction, and structural breaks interact — not as a finished, hands-off system. Thoughtful testing and parameter study are essential before drawing any conclusions.
Risk Management Tips
Sound risk management matters far more than any single entry rule. Consider these general principles as you study this or any strategy:
- Risk a small fraction per trade. A common educational guideline is to risk no more than 1–2% of account equity on any single position. Because this strategy's stop distance varies with market structure, you may need to adjust lot size per trade to keep that percentage consistent.
- Test on a demo account first. Run the EA on a demo or simulation account for an extended period across different market conditions before considering anything else.
- Understand drawdown. Even a well-designed system experiences losing streaks. Know the maximum peak-to-trough decline you could tolerate emotionally and financially.
- Diversify and avoid over-leverage. Concentrating heavily into one symbol or using excessive leverage magnifies both gains and losses, and can amplify the impact of a single bad streak.
- Keep a trading journal. Recording why each trade triggered and how it resolved turns the EA into a genuine learning tool rather than a black box.
Risk Warning
Trading foreign exchange, CFDs, and other leveraged financial instruments involves substantial risk of loss and is not suitable for all investors. The strategies and tools discussed on this page are provided for educational purposes only and do not constitute financial advice, investment recommendations, or solicitation to trade. Always consult a qualified financial adviser before making trading decisions. Past backtest performance is not indicative of future results.
Downloads
- Expert Advisor: MomentumAccelerationBreakout.ex5 (76 downloads)
- Source Code: MomentumAccelerationBreakout.mq5 (71 downloads)
- Documentation: MomentumAccelerationBreakout.pdf (71 downloads)