Disclaimer: This article is for educational and informational purposes only. It does not constitute financial or investment advice. Trading forex and CFDs carries significant risk of loss. Past performance of any strategy — including backtests — does not guarantee future results. Never trade with money you cannot afford to lose.
What Is This Strategy?
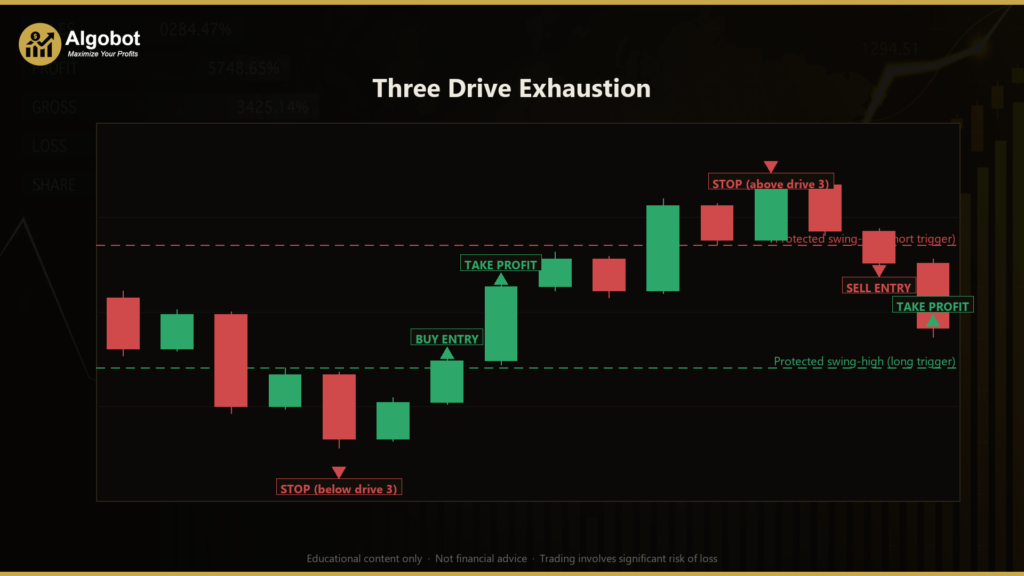
Three Drive Exhaustion is a pure price-action reversal strategy built around the classic "three drives" (also called "three pushes") chart pattern — a sequence in which the market makes three increasingly extreme swing pivots while its underlying momentum quietly fades. It uses no indicators, no moving averages, no oscillators, and no volume data. Every decision is derived only from raw OHLC (open, high, low, close) candle data, fractal swing pivots, and horizontal price levels. This makes it a clean teaching example of how structure-based, counter-trend logic can be expressed without a single lagging indicator.
The strategy is designed for a mature, extended trend that is starting to run out of steam. A swing pivot is simply a candle whose high (or low) stands above (or below) the bars on either side of it — a confirmed local turning point. When three of these pivots stack up in the same direction but each new push covers less ground than the one before, the move may be exhausted. Rather than blindly fading the trend, the strategy waits for the market to confirm the turn by breaking structure — closing through the last protected swing level between the second and third drives.
As a learning tool, Three Drive Exhaustion is well suited to traders who want to study counter-trend entries, market structure, and break-of-structure confirmation. It demonstrates how to combine a pattern (the three decelerating drives) with a trigger (the structural break) and an objective, self-scaling risk model. It is an analysis framework for understanding exhaustion, not a shortcut to returns — and like all reversal approaches, it can struggle in markets that simply keep trending.
How It Works
The Expert Advisor (EA) evaluates the chart once per newly-closed candle and holds at most one position at a time per magic number. It looks for two mirror-image setups. For a short (three drives up, then a break down), the strategy signals when:
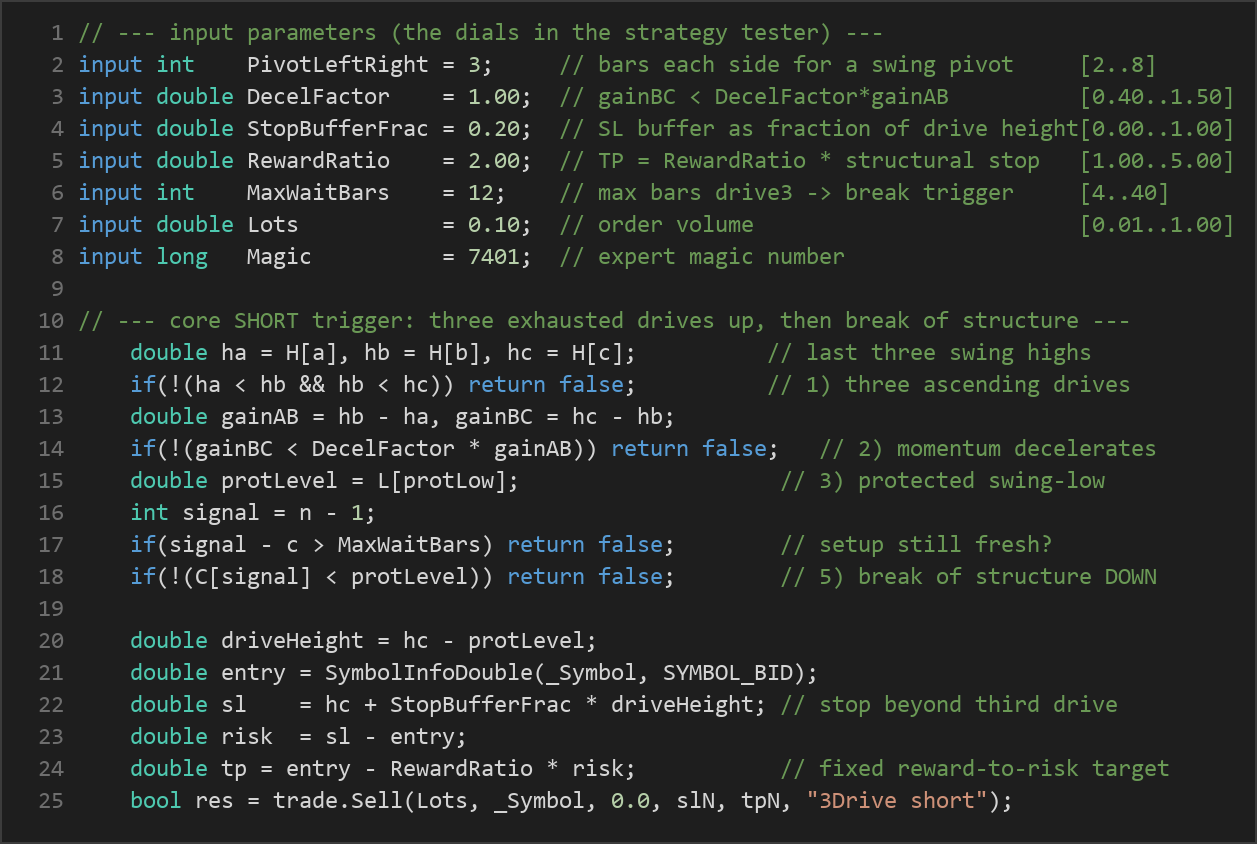
- Three ascending drives form. The last three confirmed swing highs must rise in order: H1 < H2 < H3. This is the "three pushes to a top."
- Momentum decelerates into the third drive. The advance from the second to the third high must be smaller than the advance from the first to the second (gainBC < DecelFactor × gainAB). A shrinking final push is the core sign of exhaustion.
- Trend context confirms. When available, the higher-lows between the drives must also be ascending, consistent with a genuine up-trend that is now tiring.
- The third drive is still the high. No later candle may have exceeded H3, so the structure remains intact and unbroken to the upside.
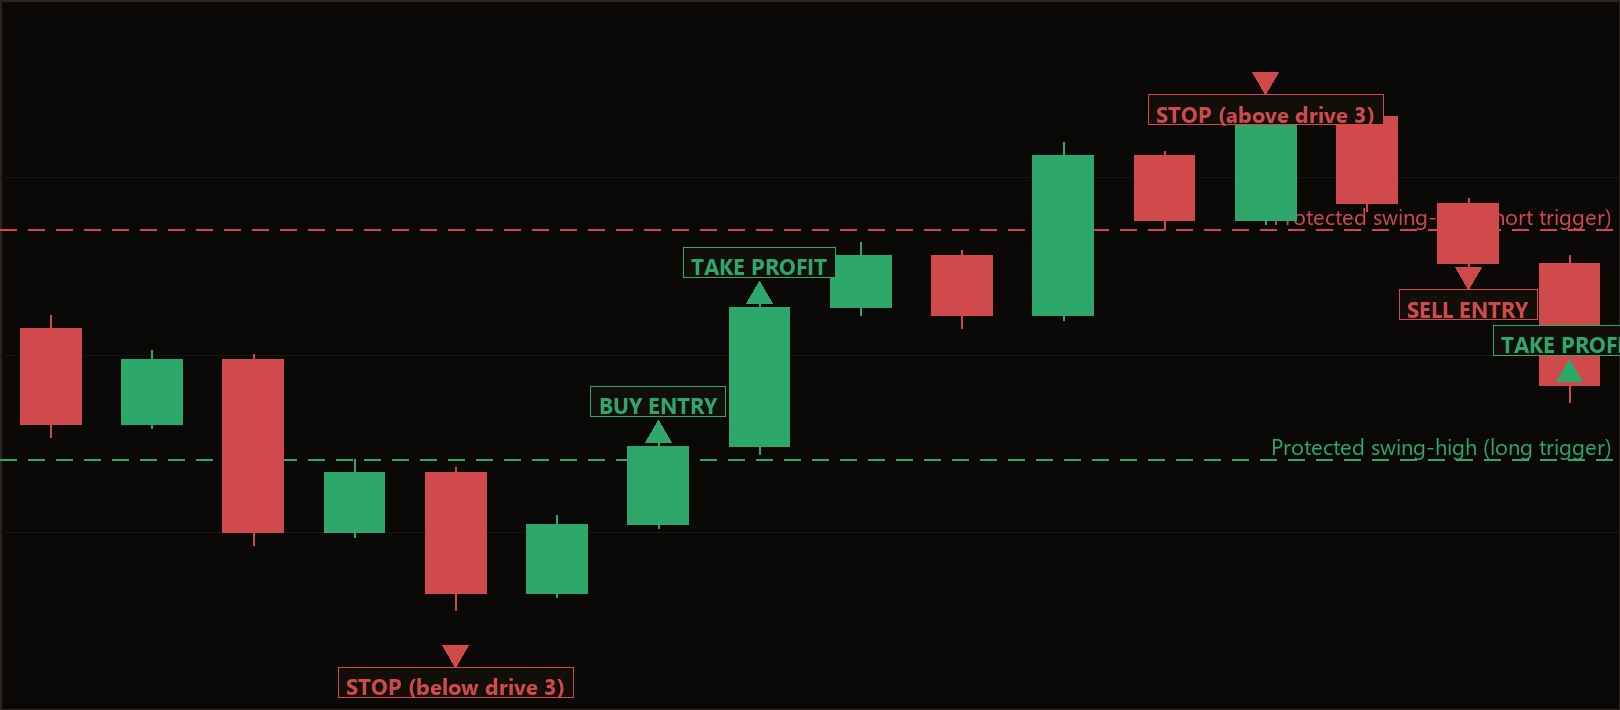
- A break of structure confirms the turn. The just-closed candle must close below the protected swing low that sits between drive 2 and drive 3 — a lower-low that signals the up-move has failed. Only then does the strategy signal a sell.
The long setup is the exact mirror: three descending drives down (L1 > L2 > L3), a decelerating final drop, descending lower-highs for context, the third drive still being the low, and finally a candle that closes above the protected swing high between drives 2 and 3 — triggering a buy.
Exit logic is fully structural and rule-based:
- Stop-loss is placed just beyond the third-drive extreme. The buffer is expressed as a fraction of the drive's height (StopBufferFrac × drive height), so the stop auto-scales to any symbol or timeframe without needing point-size or ATR settings.
- Take-profit is set at a fixed reward-to-risk multiple (RewardRatio) of that structural stop distance.
- Freshness filter. The break-of-structure trigger must occur within MaxWaitBars candles of the third drive, keeping the setup timely.
- Once a trade is open, the broker's SL and TP manage the exit; the strategy does not add to or scale the position.
Strategy Parameters
| Parameter | Default | Min | Max | Description |
|---|---|---|---|---|
| PivotLeftRight | 3 | 2 | 8 | Number of bars required on each side of a candle for it to qualify as a confirmed swing pivot. Higher values find larger, slower pivots. |
| DecelFactor | 1.00 | 0.40 | 1.50 | Deceleration filter. The third drive must add less than this fraction of the ground the second drive added (gainBC < DecelFactor × gainAB). Lower values demand stronger exhaustion. |
| StopBufferFrac | 0.20 | 0.00 | 1.00 | Stop-loss buffer placed beyond the third-drive extreme, expressed as a fraction of the drive's height. Larger values give the trade more breathing room. |
| RewardRatio | 2.00 | 1.00 | 5.00 | Take-profit distance as a multiple of the structural stop distance. A value of 2.00 targets twice the risk. |
| MaxWaitBars | 12 | 4 | 40 | Maximum number of bars allowed between the third drive and the break-of-structure trigger, keeping the setup fresh. |
| Lots | 0.10 | 0.01 | 1.00 | Fixed order volume (position size) in lots for each trade. |
| Magic | 7401 | 0 | 9,999,999 | Unique magic number used to identify and manage this EA's positions. |
Recommended Chart Settings
Three Drive Exhaustion runs on a single timeframe — whatever timeframe the chart uses at runtime — because every bar is read with the chart's primary period. The strategy is a natural fit for a clean, trending instrument such as XAUUSD (gold) or EURUSD on the M30 or H1 timeframes, traded counter-trend at exhaustion points where extended moves tend to stall.
These are starting points for study, not guarantees. The behavior of any pattern-based strategy will vary considerably across different symbols, brokers, spreads, and market conditions. Always test on a demo account across multiple periods before drawing conclusions about how the logic responds.
How to Install on MetaTrader 5
- Download the .ex5 file from the link below
- Copy it to your MT5
MQL5\Expertsfolder - Restart MetaTrader 5 or refresh the Navigator panel
- Drag the EA onto a chart matching the recommended symbol and timeframe
- Configure the input parameters and enable Algo Trading
What to Consider Before Using This EA
The main strength of this approach is its objectivity and transparency. Because it relies only on price structure, there are no indicator parameters to curve-fit and no lagging signals to second-guess. The deceleration filter and the break-of-structure requirement together demand real evidence of exhaustion and confirmation before any trade, which historically helps filter out premature fades. The self-scaling, structure-based stop is another educational highlight: risk is defined by the chart itself, not by an arbitrary fixed distance.
The limitations are equally important to understand. Counter-trend strategies face a well-known challenge: strong trends can extend far beyond what looks "exhausted," and a three-drive pattern can simply become a four- or five-drive continuation. In such conditions the strategy may take losing trades against a persistent move. The pattern is also relatively rare, so signals can be infrequent, and during choppy, directionless ranges the swing-pivot logic may produce setups that lack a clean trend to reverse. Because only one position is held at a time and exits are left entirely to the broker SL/TP, the strategy does not adapt to news shocks, gaps, or sudden volatility expansions once a trade is live. None of this makes the approach good or bad — it simply means it should be studied within the market context it was built for.
Risk Management Tips
Sound risk management matters far more than any single entry signal. Consider these general principles as you study this or any EA:
- Size positions conservatively. A common educational guideline is to risk no more than 1–2% of account equity on any single trade. Adjust the Lots parameter so the structural stop distance maps to that fraction of your account.
- Always start on a demo account. Run the strategy in a risk-free simulated environment until you understand how it behaves across different conditions before considering any live capital.
- Understand drawdown. Even a logically sound strategy will experience losing streaks. Know the maximum drawdown you are willing to tolerate and how it would feel in practice.
- Account for costs. Spreads, commissions, slippage, and swap can meaningfully affect outcomes, especially on counter-trend trades that target fixed reward-to-risk levels.
- Never trade money you cannot afford to lose, and treat automated systems as tools that require ongoing supervision, not "set and forget" solutions.
Risk Warning
Trading foreign exchange, CFDs, and other leveraged financial instruments involves substantial risk of loss and is not suitable for all investors. The strategies and tools discussed on this page are provided for educational purposes only and do not constitute financial advice, investment recommendations, or solicitation to trade. Always consult a qualified financial adviser before making trading decisions. Past backtest performance is not indicative of future results.
Downloads
- Expert Advisor: ThreeDriveExhaustion.ex5 (56 downloads)
- Source Code: ThreeDriveExhaustion.mq5 (56 downloads)
- Documentation: ThreeDriveExhaustion.pdf (62 downloads)